wedge40
Veteran Member
- Joined
- Oct 8, 2007
- Messages
- 2,195
Ok I've finally got the chipper together. Takes a tad more time when you're just one person. Now have a stupid question about the chipper blade adjustment.
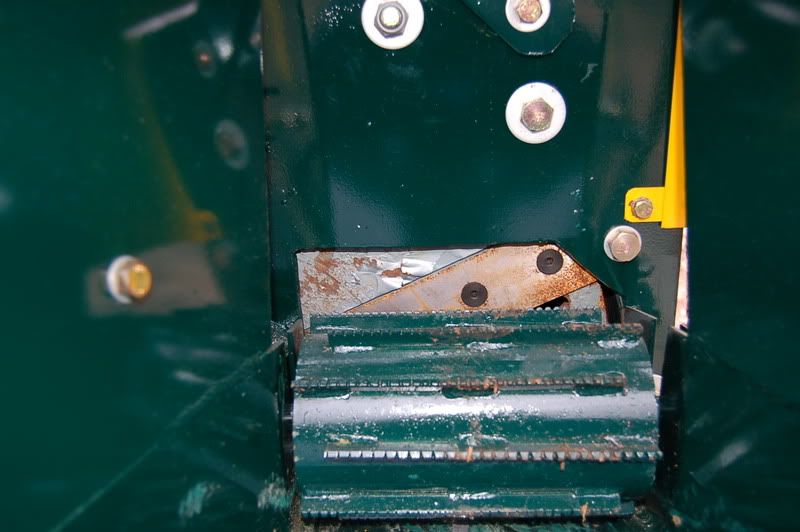
Just where is this gap measured from?
Here is the view from the PTO side of the chipper?
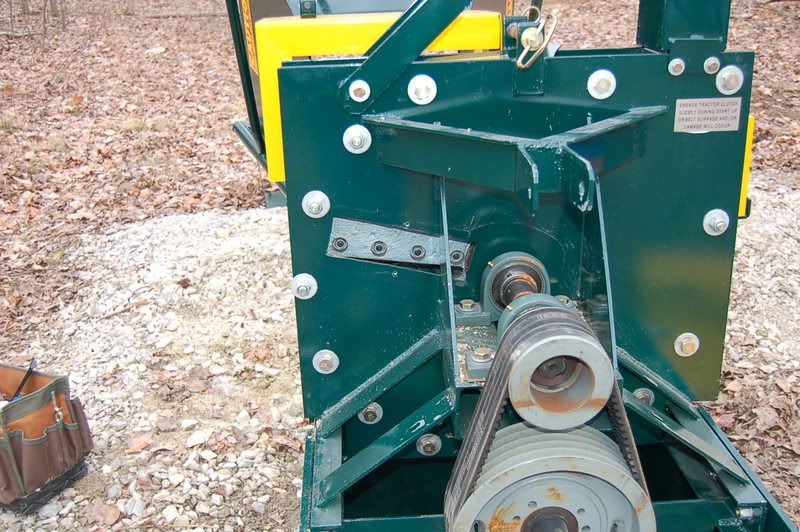
As I look at this photo does the flywheel turn clockwise or counter clockwise?
Here is from the chipper side.
Or am I going to set the distance between the blade and flywheel?
Sorry for the stupid question.
Also the plane of the two drive pulleys is out by a about .050". Is this a big deal or should I take the belts off and re-align the pulley's?
TIA.
Wedge
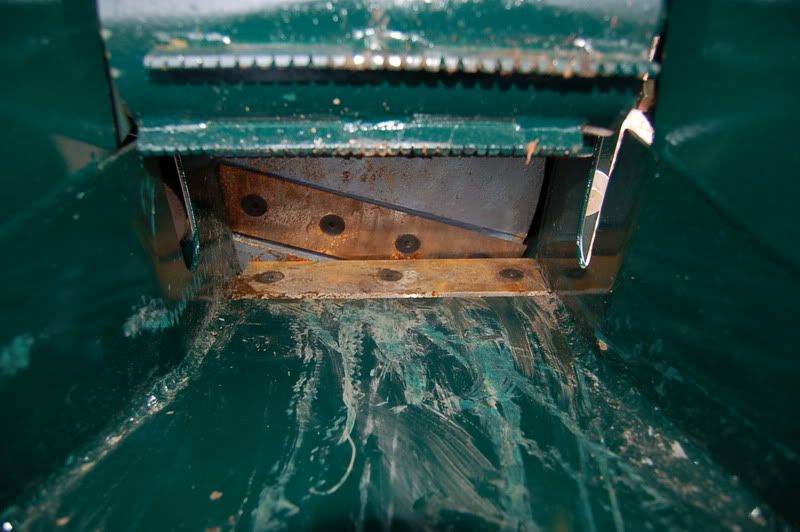
Just where is this gap measured from?
Here is the view from the PTO side of the chipper?
As I look at this photo does the flywheel turn clockwise or counter clockwise?
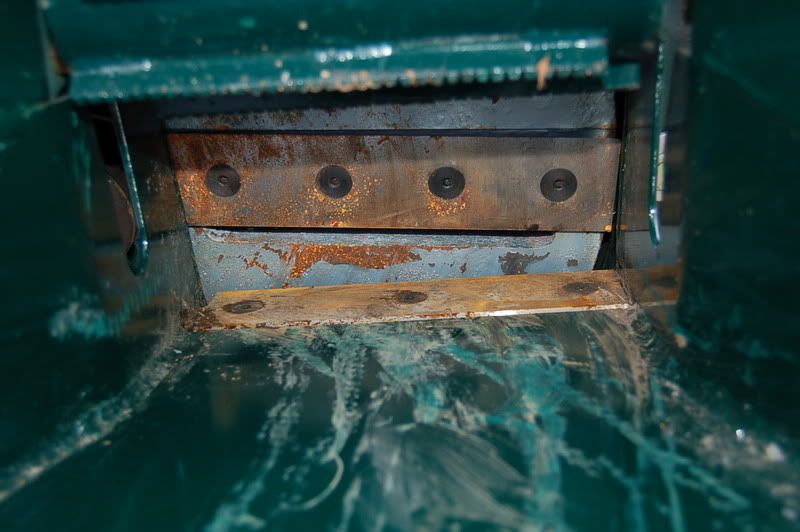
Here is from the chipper side.
Or am I going to set the distance between the blade and flywheel?
Sorry for the stupid question.
Also the plane of the two drive pulleys is out by a about .050". Is this a big deal or should I take the belts off and re-align the pulley's?
TIA.
Wedge

")