SteveCornell
Silver Member
I have looked all over the net for any information on the factory speakers in the Kubota RTV1100 but have found nothing and I have seen several post on here from folks asking about replacing them so I thought I would post pictures and some information as I replaced mine this evening.
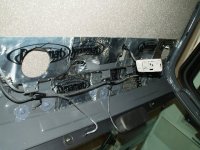
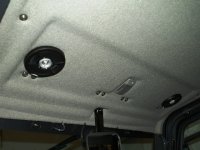
This is what it looks like with the headliner removed.
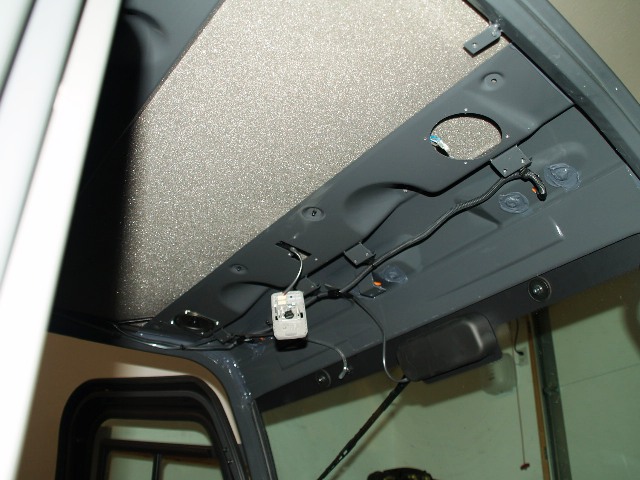
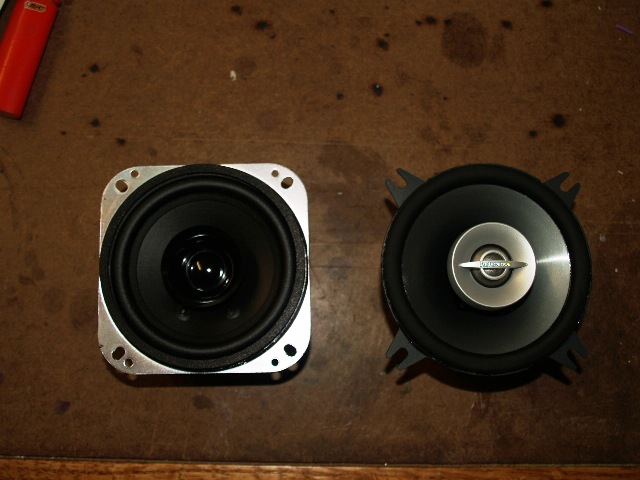
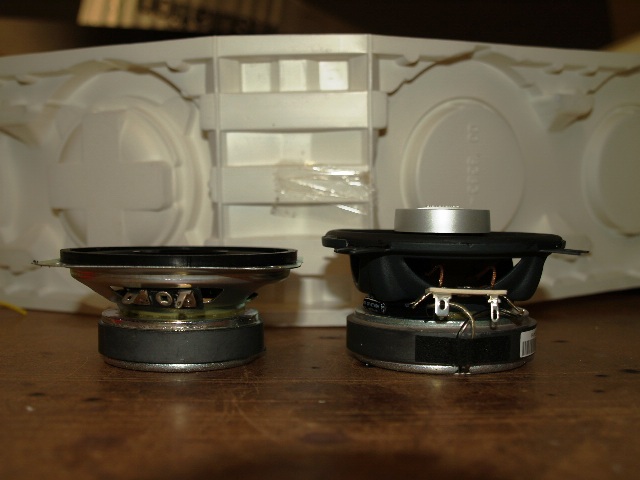
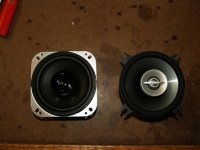
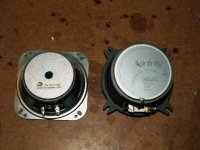
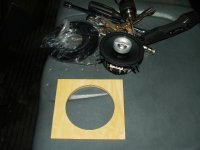
The factory speakers aren't bad for OEM, 4 1\2" poly cone, rubber surround and a decent magnet structure, I had a pair of Infinity 4 1\2" 4012i Reference speakers laying around from my old car audio days which were a perfect fit so I used them, you can see the difference in the factory speakers and the replacements below.

I also had some Dynamat from the old days so I added a layer to the speaker area.

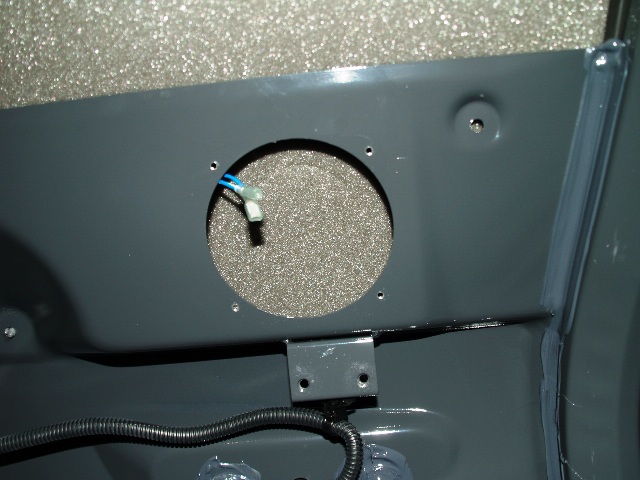
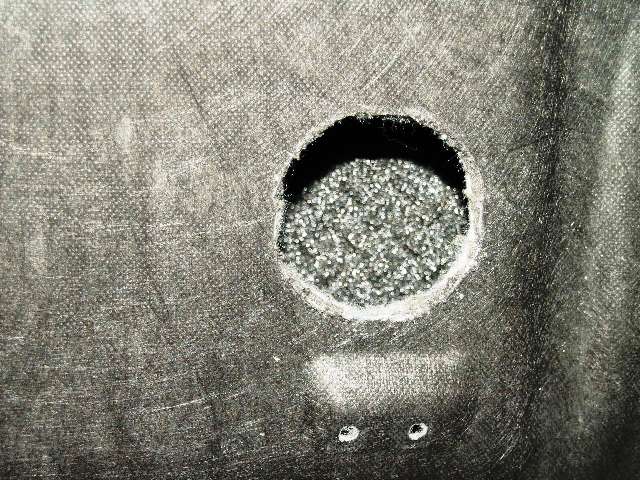
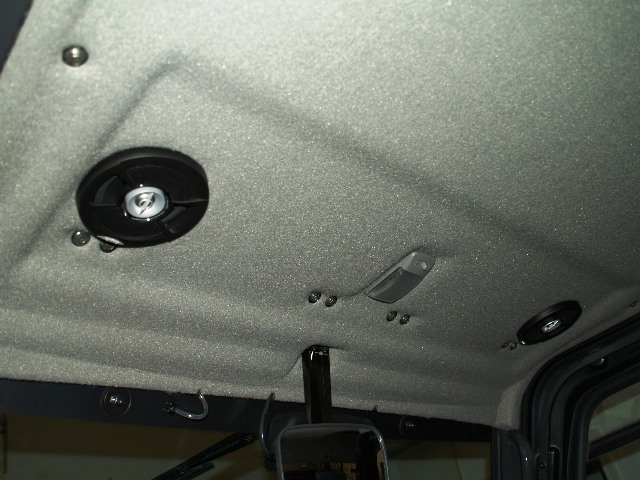
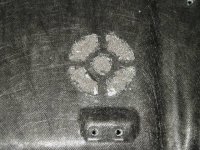
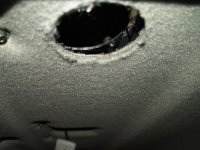
Part of the problem with the sound of the factory speakers is that the foam and carpet on the headliner is not very acoustically transparent even with the plastic part cut out as you can see below.
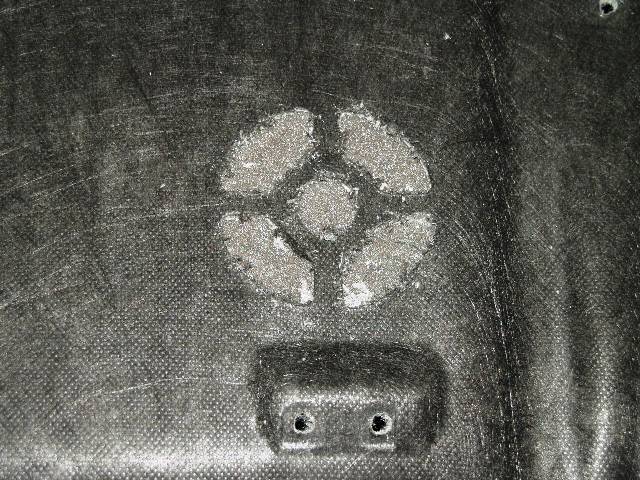
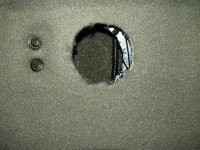
Since my new speakers are designed to be surface mounted I cut out the section of foam and carpet.
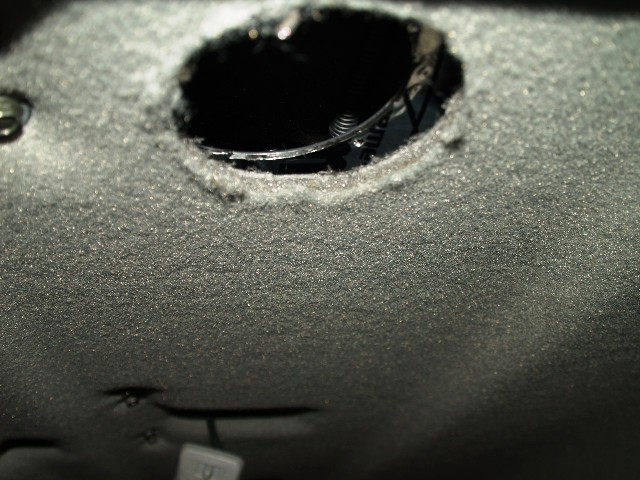
All was going well and it's time to reinstall the headliner and I find that the cutouts in the headliner are not lined up with the speaker mounting holes so part of the factory speaker was not even firing through the cut out.

Then the next problem I discovered is that there is about a 1\2" gap between the headliner and speaker mounting plate, I should have done some measuring before I cut the headliner... so learn from my mistake, no big deal but I would have cut the hole in the headliner differently had I realized this.
Since I did not want to deform the headliner that much I cut a 1\2" spacer out of plywood and mounted it to the headliner
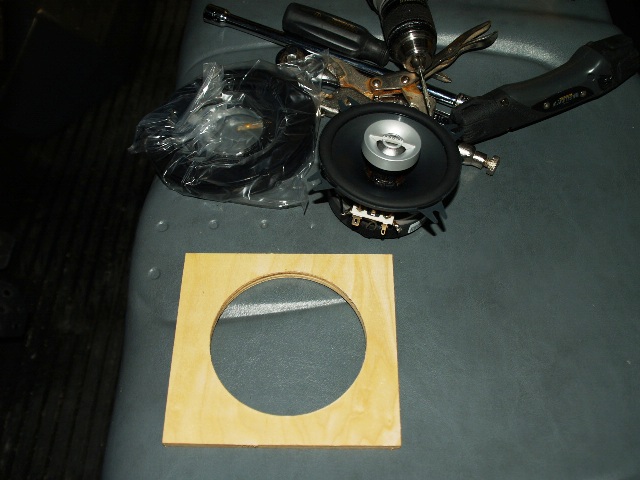
I drilled holes through the plywood and into the steel speaker mounting plates and secured the speakers with 1" sheet metal screws.
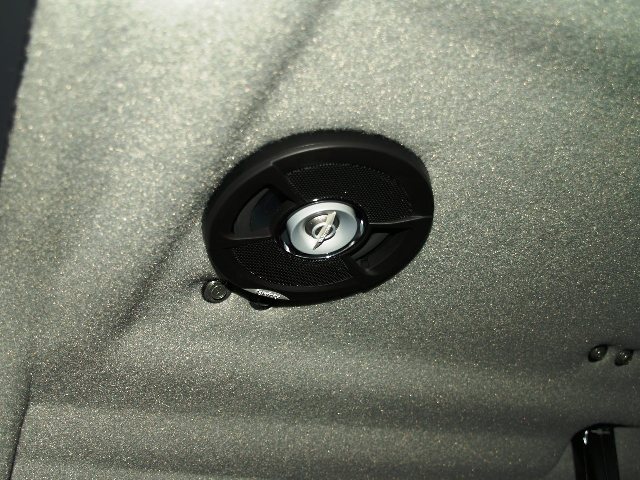
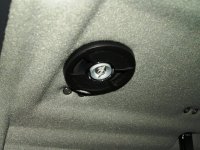
The new speakers sound MUCH better that the factory speakers and aren't "muffled" like the factory speakers trying to fire through the foam and carpet of the headliner.
As I stated above the speakers are 4 1\2", you could fit 5 1\4" speakers if you wanted to cut some metal in the steel mounting plate, this is not sheet metal, it's steel and around 1\16" thick and could be cut with a jig saw or nibbler.
If you don't want to cut the headliner and keep the speakers hidden the install would be as simple as removing 4 screws on each speaker and replacing them, while the headliner is out I would try to remove some more of the foam backing so the headliner wouldn't muffle the sound so much and since the factory cutouts are not even lined up with the speaker, it has the same effect as throwing a towel over the speaker
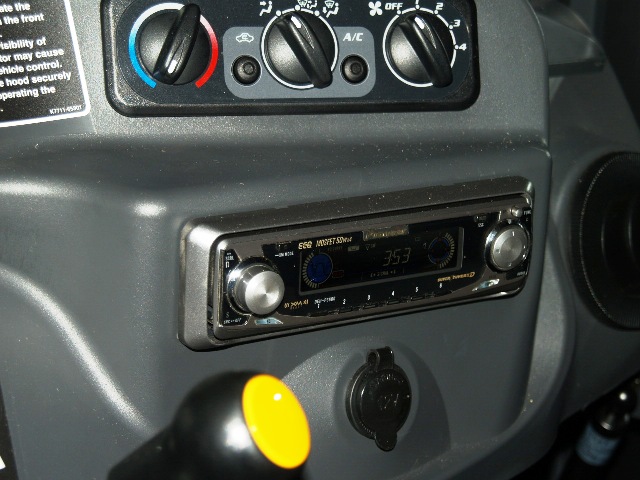
My radio is a Pioneer DEH-P3600 also left over from my old car audio days, I'm very happy with the way it turned out and I hope you find this information helpful if you are thinking about replacing you factory speakers.
This is what it looks like with the headliner removed.
The factory speakers aren't bad for OEM, 4 1\2" poly cone, rubber surround and a decent magnet structure, I had a pair of Infinity 4 1\2" 4012i Reference speakers laying around from my old car audio days which were a perfect fit so I used them, you can see the difference in the factory speakers and the replacements below.
I also had some Dynamat from the old days so I added a layer to the speaker area.
Part of the problem with the sound of the factory speakers is that the foam and carpet on the headliner is not very acoustically transparent even with the plastic part cut out as you can see below.
Since my new speakers are designed to be surface mounted I cut out the section of foam and carpet.
All was going well and it's time to reinstall the headliner and I find that the cutouts in the headliner are not lined up with the speaker mounting holes so part of the factory speaker was not even firing through the cut out.
Then the next problem I discovered is that there is about a 1\2" gap between the headliner and speaker mounting plate, I should have done some measuring before I cut the headliner... so learn from my mistake, no big deal but I would have cut the hole in the headliner differently had I realized this.
Since I did not want to deform the headliner that much I cut a 1\2" spacer out of plywood and mounted it to the headliner
I drilled holes through the plywood and into the steel speaker mounting plates and secured the speakers with 1" sheet metal screws.
The new speakers sound MUCH better that the factory speakers and aren't "muffled" like the factory speakers trying to fire through the foam and carpet of the headliner.
As I stated above the speakers are 4 1\2", you could fit 5 1\4" speakers if you wanted to cut some metal in the steel mounting plate, this is not sheet metal, it's steel and around 1\16" thick and could be cut with a jig saw or nibbler.
If you don't want to cut the headliner and keep the speakers hidden the install would be as simple as removing 4 screws on each speaker and replacing them, while the headliner is out I would try to remove some more of the foam backing so the headliner wouldn't muffle the sound so much and since the factory cutouts are not even lined up with the speaker, it has the same effect as throwing a towel over the speaker
My radio is a Pioneer DEH-P3600 also left over from my old car audio days, I'm very happy with the way it turned out and I hope you find this information helpful if you are thinking about replacing you factory speakers.
Attachments
-
 rtv1100 speak1.jpg88.7 KB · Views: 8,955
 -
 rtv1100 speak2.jpg100.3 KB · Views: 6,784
 -
 rtv1100 speak3.jpg86 KB · Views: 6,380
 -
 rtv1100 speak4.jpg103.1 KB · Views: 6,238
 -
 rtv1100 speak5.jpg77.5 KB · Views: 5,989
 -
 rtv1100 speak6.jpg90.5 KB · Views: 6,247
 -
 rtv1100 speak7.jpg101.8 KB · Views: 5,850
 -
 rtv1100 speak8.jpg97.3 KB · Views: 5,907
 -
 rtv1100 speak9.jpg97.9 KB · Views: 5,686
 -
 rtv1100 speak10.jpg98.9 KB · Views: 5,679
 -
 rtv1100 speak11.jpg98.7 KB · Views: 5,773
 -
 rtv1100 speak12.jpg99.5 KB · Views: 5,760
 -
 rtv1100 speak13.jpg99.8 KB · Views: 7,906
 -
 rtv1100 speak14.jpg104.6 KB · Views: 6,251
Last edited: