OP
DuckHunterJon
Bronze Member
- Joined
- Apr 18, 2004
- Messages
- 50
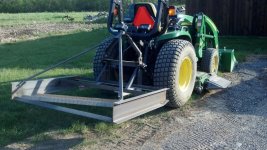
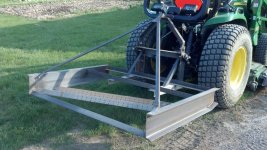
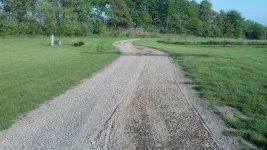
Just an update to this post. I removed the chains, and put in ridgid angle bracing. I also lowered the cutting edges 1/2" below the skids. It works like a charm! OK, I don't know how the factory ones work, but this does a beautiful job. I lowered it down, and with in 3 passes, the driveway was looking great. I did find that it moves a ton of gravel if it's not packed yet, but most of the time I will be using it on a packed surface. I'm very happy so far with it. Here are a couple updated pictures. I still need to finish the welds, weld in some gussets, and get some paint on it. I have had a quart of JD green kicking around since I touched up my bucket hooks. Should look good when done. Thanks again for the advice!