Electrolytic Rust Removal

   / Electrolytic Rust Removal #51  
That looks good!:thumbsup:
 
   / Electrolytic Rust Removal
  • Thread Starter
#52  
Soundguy said:
i have a buddy that heats with a wood stove and he leaves a kettle similar to that on the top for humidity.. lookin good!

That's the plan. When I'm out in the workshop this kettle will be on the stove. Then hot chocolate is right handy at any moment.
 
   / Electrolytic Rust Removal #53  
Just out of curiosity, what is the advantage of electrolytic rust removal? I could do the same job on that kettle in 10 minutes (literally) with some Naval Jelly and a hose.

JayC
 
   / Electrolytic Rust Removal #54  
JayC:

Couple things one it only attacks the RUST not the base metal that the acid will do. It also is very good at getting into nooks & crannies. It works well on very small or very large items the cost is also rather low & can be left unattended for a day or more..

Mark
 
   / Electrolytic Rust Removal #55  
and well remove grease and paint too.. things naval jelly won't.

I like naval jelly.. when in a good application for it.. etc.. ( naval jelly COULD have been use don much of this.. would have done a good job mostly.. might have taken alot of product though.. the sodium carbonate for this project was plenty cheaper though. either way.

heck.. the clr even did some to.. it's eats rust just like the naval jelly.. just doen't dry to that crust like NJ does.
 
   / Electrolytic Rust Removal
  • Thread Starter
#56  
Just out of curiosity, what is the advantage of electrolytic rust removal? I could do the same job on that kettle in 10 minutes (literally) with some Naval Jelly and a hose.

JayC
For me I just wanted to try it after reading about it here and other places. Once you have the set up (plastic container, electrodes, charger, etc.) it's pretty labor free. The second kettle probably took less than 15 minutes of my time from start to finish. That doesn't include the time to season it, but that would have been necessary no matter how I removed the rust.

I may try naval jelly on the next project. I have a small bottle left over from the estate of some ancestor... I don't remember if it was on my side or my wife's. Does that stuff ever go bad?
 
   / Electrolytic Rust Removal #57  
I thought I would revive this thread as i had some small parts to do this past week and took a couple photos.

again used the Arm & Hammer Washing Soda, Water and my Battery Charger with some welding wire out of the MIG gun that I pulled out the same week. The parts are "Fuel Injector Spring Clip/Retainers" for the Engine I'm rebuilding. I took a few photos of the process and the can afterwards.

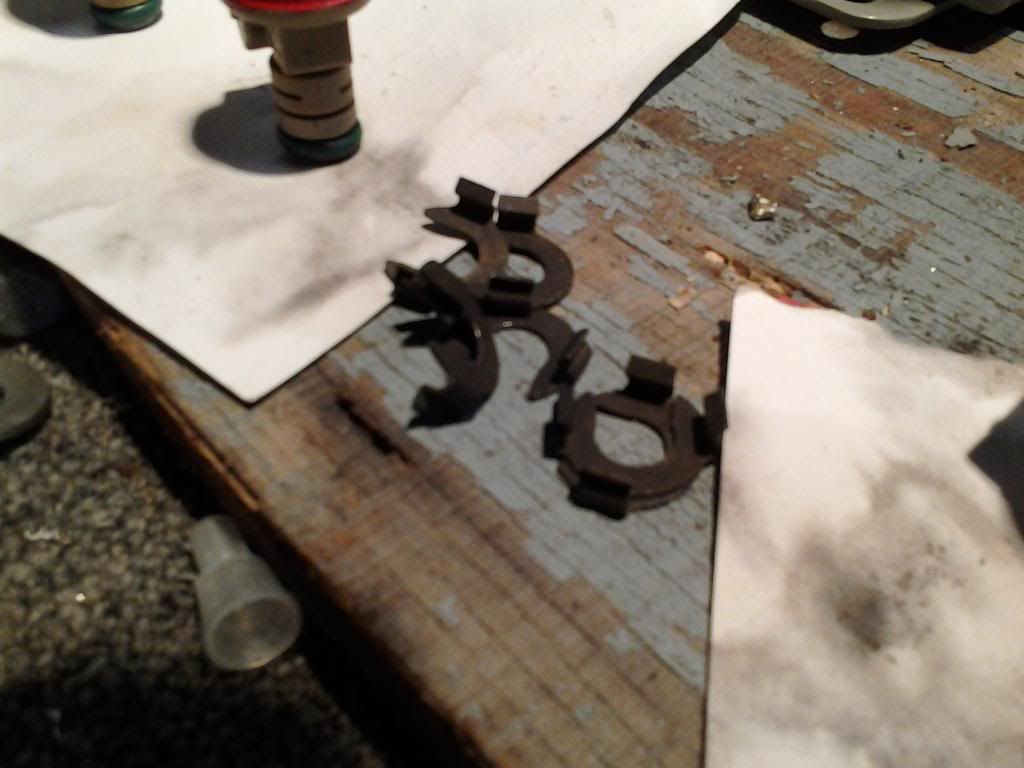
The clips were small and only 6 needed to be done. They are spring steel and very much impossible to do much for cleaning the rust off.

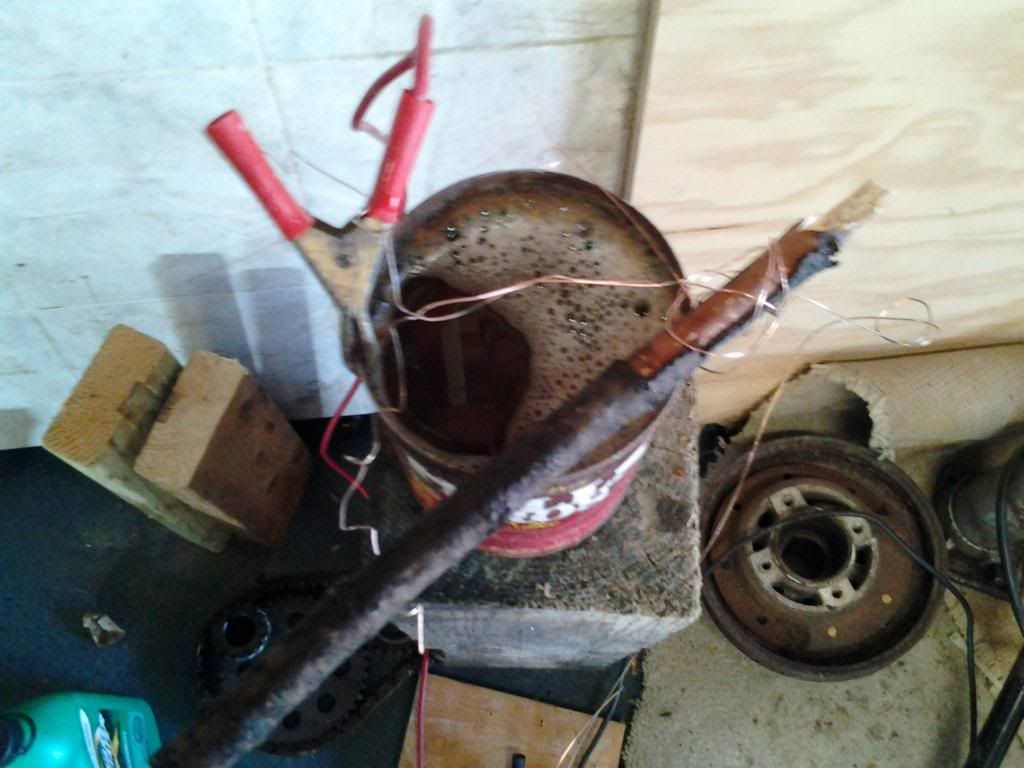
The CAN I used was an old coffee can (small one) and I turned it into the Sacrificial Anode (Charger +) as it was quick & easy.
The Parts were wrapped with 0.023 copper covered welding wire out of my small mig and were held in center of can by way of a stick out of the yard. the Battery Charger (-) was hooked to the wire hanging over the side away from the can by way of the stick.


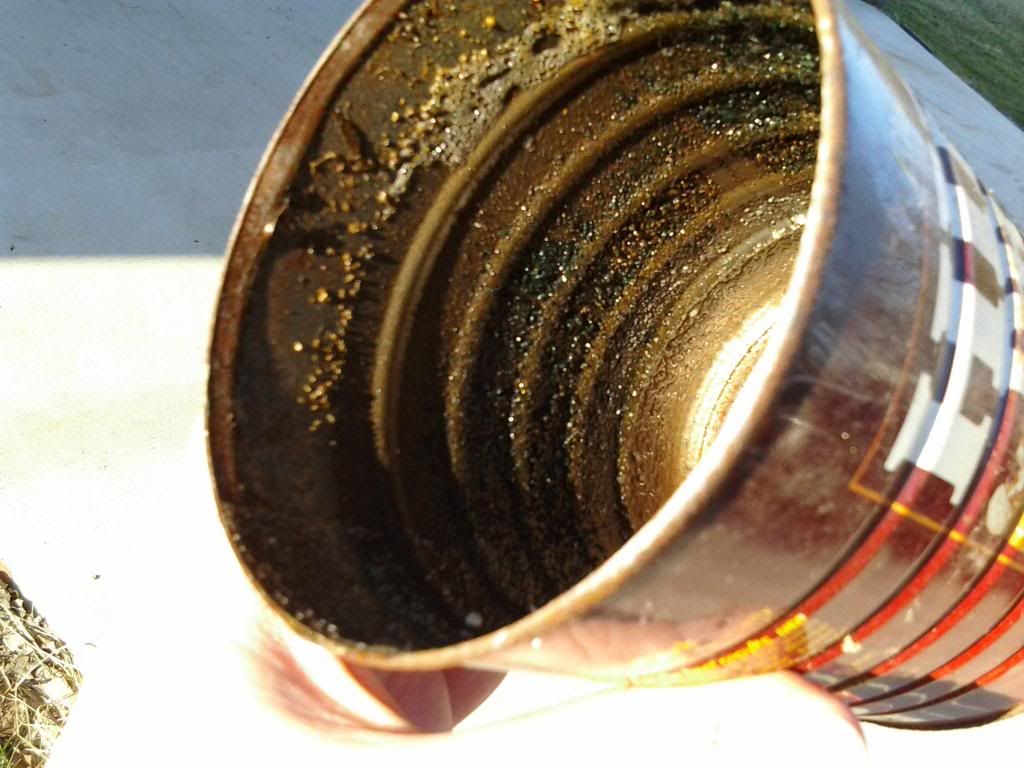
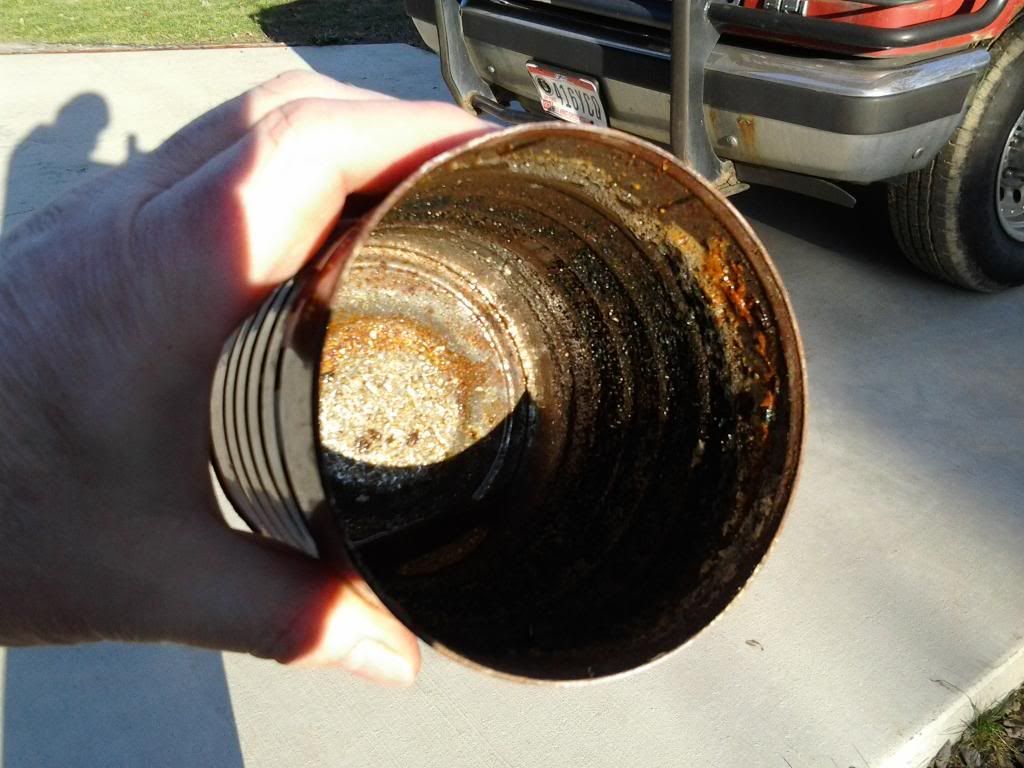
How the Can looked afterwards

0212131615a_zps41623a75.jpg


2nd pic

0212131615_zpsb9786b39.jpg


Clips after they came out the black oxide on them

0212131606a_zpsfa43e453.jpg


and them in the can boiling away, note they cooked on the 2 amp setting & were in there for maybe 45 min at the most. I didnt get a pic of them painted up yet but they are red to match the repaint of the injector bodies I repainted after cleaning them.

0212131606_zps65078354.jpg


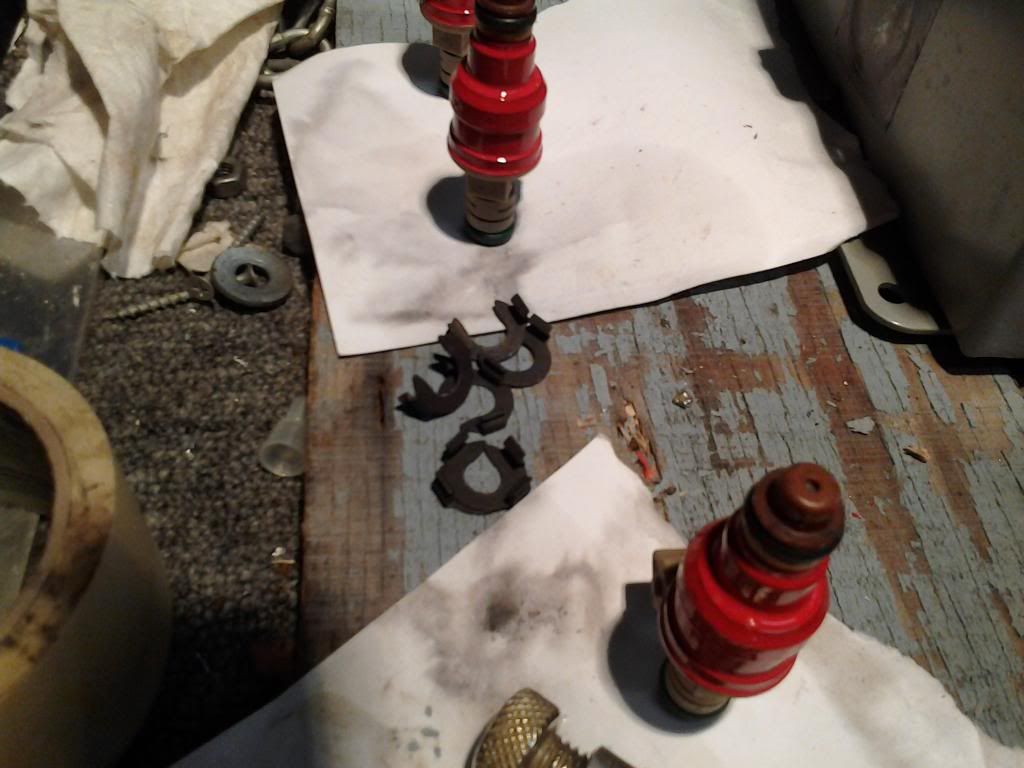
here is a pic of the clips with the injectors painted already then I had to scrub the clips to clean them which in this pic they just came out of the bath & had a rag dry/clean. They went into the house under how water and scrub brush to knock off the scale. then a quick dry and a dip into the rust convertor/primer/phosphoric acid as a pre-paint final .

0212131607_zps2363bc28.jpg


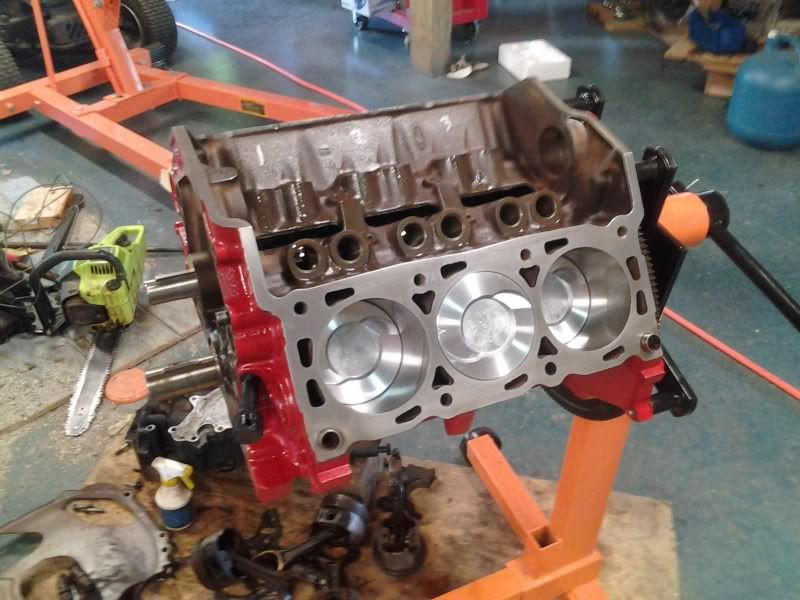
FYI the block lower end (it is all assembled now on the engine stand to the lower intake & rockers.)

0622121835.jpg


Mark
 
   / Electrolytic Rust Removal #58  
I thought I would revive this thread as i had some small parts to do this past week and took a couple photos.

again used the Arm & Hammer Washing Soda, Water and my Battery Charger with some welding wire out of the MIG gun that I pulled out the same week. The parts are "Fuel Injector Spring Clip/Retainers" for the Engine I'm rebuilding. I took a few photos of the process and the can afterwards.

The clips were small and only 6 needed to be done. They are spring steel and very much impossible to do much for cleaning the rust off.

The CAN I used was an old coffee can (small one) and I turned it into the Sacrificial Anode (Charger +) as it was quick & easy.
The Parts were wrapped with 0.023 copper covered welding wire out of my small mig and were held in center of can by way of a stick out of the yard. the Battery Charger (-) was hooked to the wire hanging over the side away from the can by way of the stick.

How the Can looked afterwards

2nd pic

Clips after they came out the black oxide on them

and them in the can boiling away, note they cooked on the 2 amp setting & were in there for maybe 45 min at the most. I didnt get a pic of them painted up yet but they are red to match the repaint of the injector bodies I repainted after cleaning them.

here is a pic of the clips with the injectors painted already then I had to scrub the clips to clean them which in this pic they just came out of the bath & had a rag dry/clean. They went into the house under how water and scrub brush to knock off the scale. then a quick dry and a dip into the rust convertor/primer/phosphoric acid as a pre-paint final .

FYI the block lower end (it is all assembled now on the engine stand to the lower intake & rockers.)

Mark

Nice work!

Gotta ask what vehicle the V6 is going in
 
   / Electrolytic Rust Removal #59  
Ericher69:

It is a Ford 3.8 V6 that is bored .020 over with the crank turned down .010 new pistons rings re-sized rods all the oil passageways, pump, heads, upper& lower intake de-burred ported & polished as I was board had the time and costs wasn't too much. The Heads had been done about 4K miles prior to the thing getting wrecked so I pulled em appart for the porting & polish job I did.

It started to JUST be an engine swap from a 68k mile crashed Ohio t-bird into a 140K one from N Carolina with no rust. When I got the engine out of the rusty bird I figured heck might as well pull pan and do a couple quick checks. Turned out the crank bearings were wiped when the bird was wrecked so once I got into it I ended up finding more & more wrong and ...

It was good for bore on 5 cylinders but one has some deep scratches ... Most of the damage probably leads back to the fact it was hit by a truck at close 40mph +/- as a dead center t-bone. The driver (teenage kid ran stop sign.) & they were original owners, the trans and heads were done at same time just couple months prior to the wreck.

common problem on the Ford 3.8v6 were blown head gaskets and the transmission kick down linkage clips broke causing trans and engine issues.

Mark
 
   / Electrolytic Rust Removal #60  
good example of work smarter, not harder!
 
 
Top