npalen
Elite Member
Not sure how many folks have used transfer screws to measure or transfer a hole pattern but here's a little project:
I'm looking at adding a front end loader to my Mahindra 3015 (30HP) and probably going to have to design and make mounting brackets to fit.
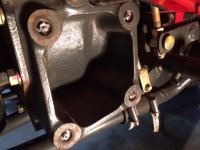
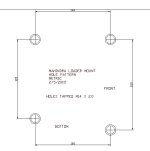
The 4-hole pattern shown in the pic is on the side of the tractor chassis and is one place that the mounting brackets will attach to.
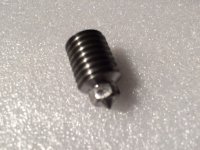
The purpose of making the transfer screws, which are M14 x 2.0 thread, was to measure accurately the hole locations which is not a square pattern.
You may notice the point on the end of the screws which normally creates a center punch mark pattern when a piece of material is held against the screws and hit with a hammer or such.
I simply installed them and then measured the distance between holes. Will probably drill the mating plates on my vertical mill using digital readout.
The long hex piece shown in the link below is actually a wrench for storing the screws inside and installing the screws using the female hex on the end.
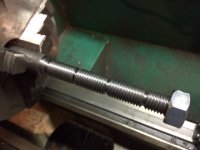
I didn't find any transfer screws online to fit a M14 threaded hole so made these on the lathe by single pointing the thread and then milling the hex.
HHIP 361-25 7 Piece Transfer Screw Set 1/4-2: Amazon.com: Industrial & Scientific
Edit: Did a bit more refined search and did find these online. Would have been easier to buy but then I wouldn't of had the fun making them.
Apis Inc.


