Engine Overhaul Kama 554

   / Engine Overhaul Kama 554 #1  

3RRL

Super Member
Joined
Oct 20, 2005
Messages
6,825
Location
Foothills of the Giant Sequoia's, California
Tractor
55HP 4WD KAMA 554 and 4 x 4 Jinma 284
Hi guys,
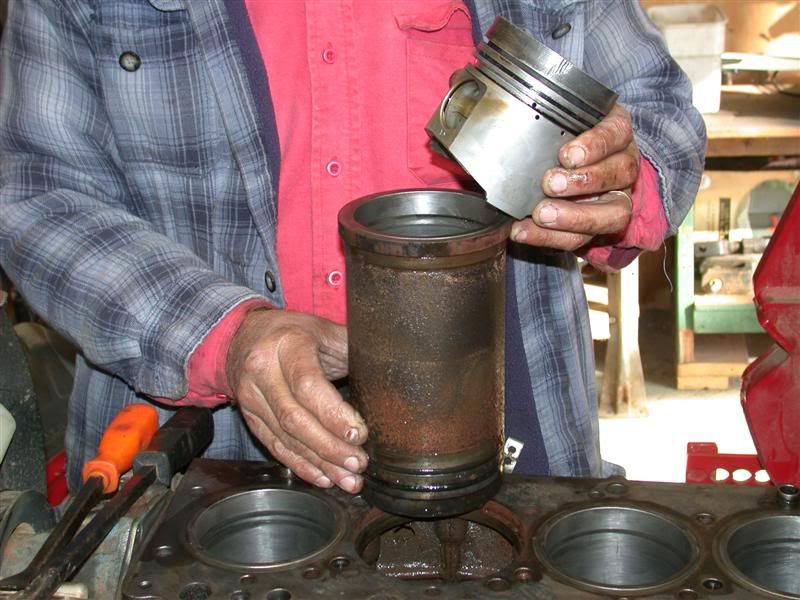
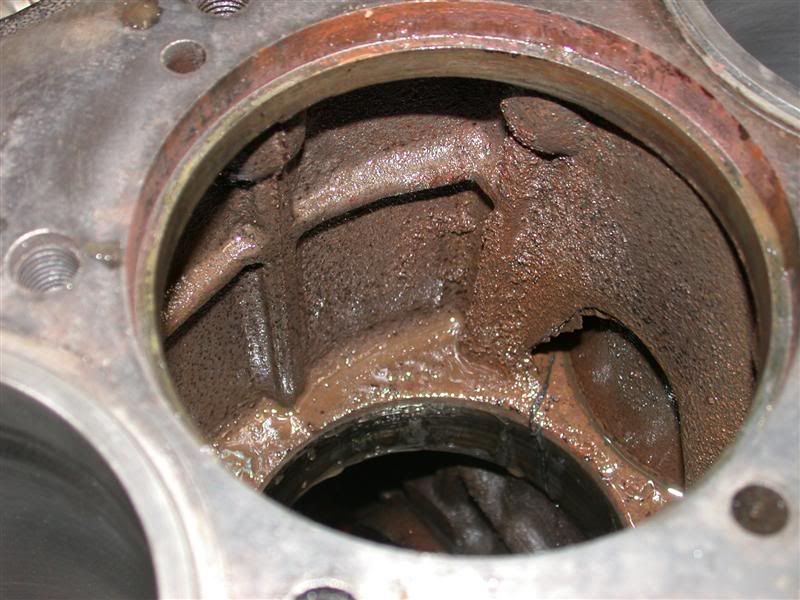
I've decided to tear the 554 Kama apart to deal with the excessive blow by I've had since about 500 hours on the machine.
You might remember me trying several things to reduce (and hide) it in related threads here:
Re-Route Breather Vent Kama 554

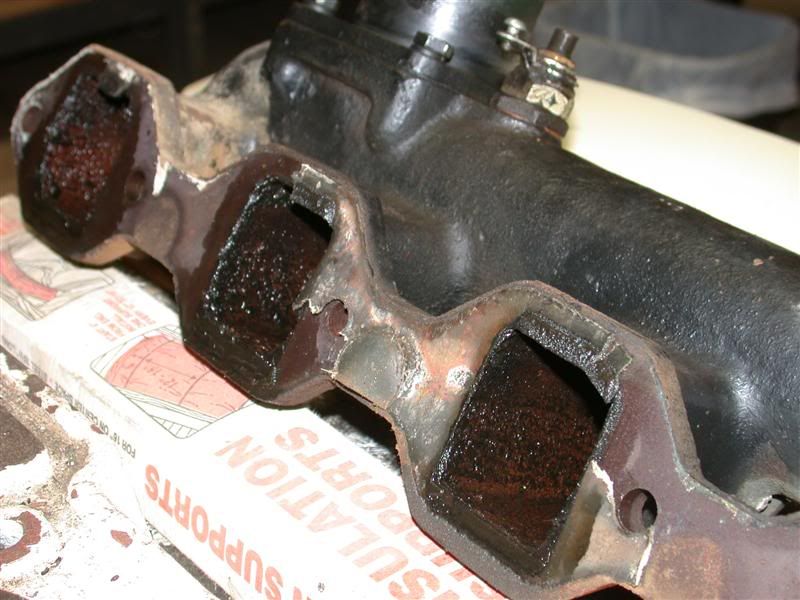
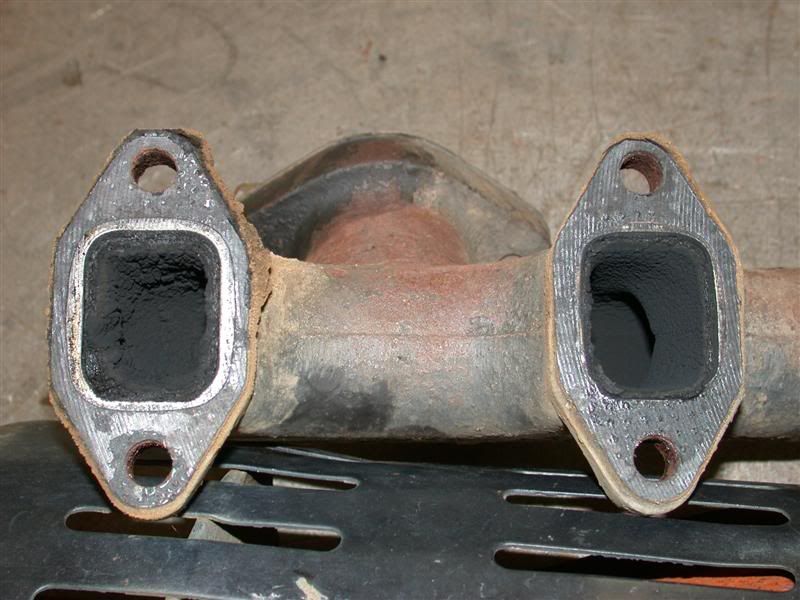
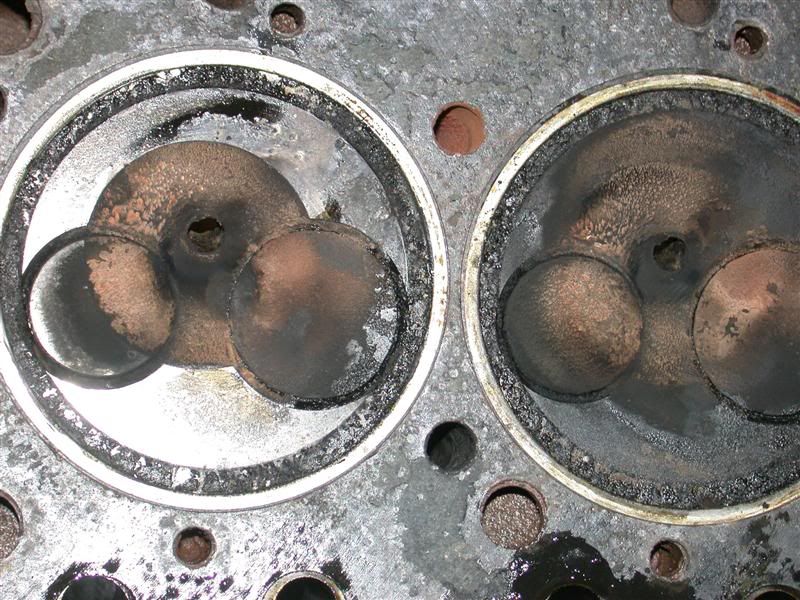
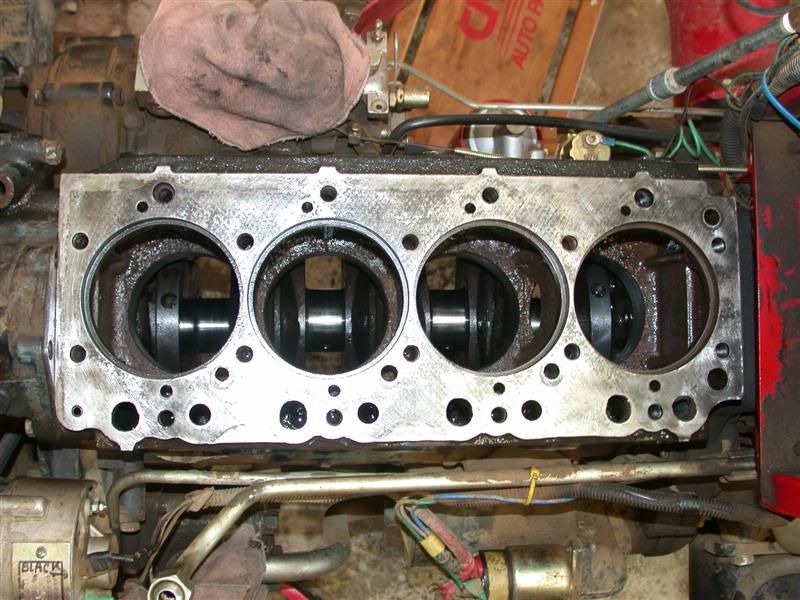
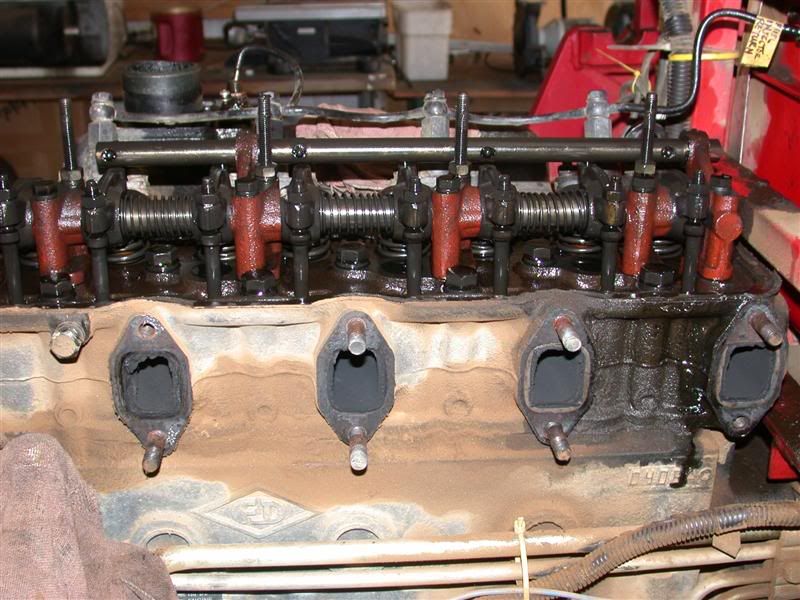
I've got 718 hours on the clock, but in reality because the way my hour meter works (via rpm's not time), it's probably got easily over 1,000 hours on it. I've had the Kama since 2005 and have used it for almost every aspect in building my log home and maintaining/improving the 27 acres of Oak forest. The 1000 hour maintenance schedule calls for removing the head and cleaning off all the carbon build up so I decided to do that and get to the bottom of the blow-by problem.

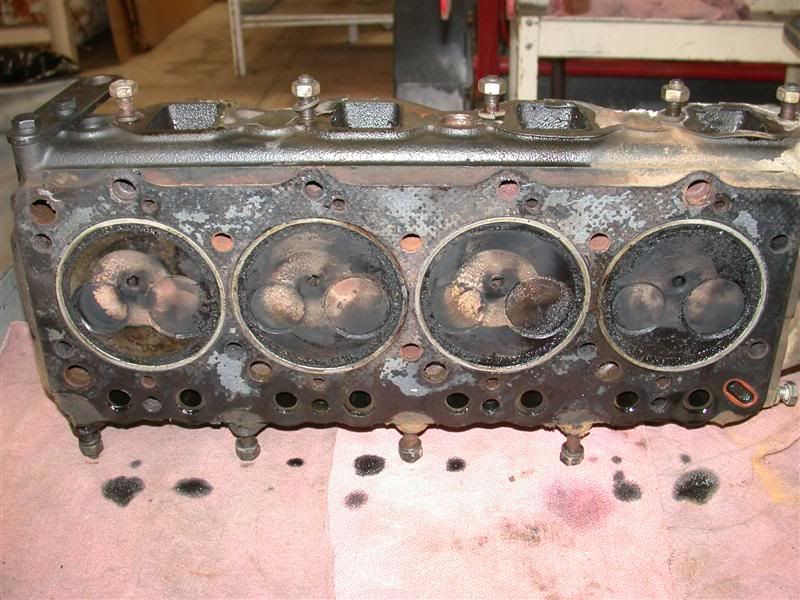
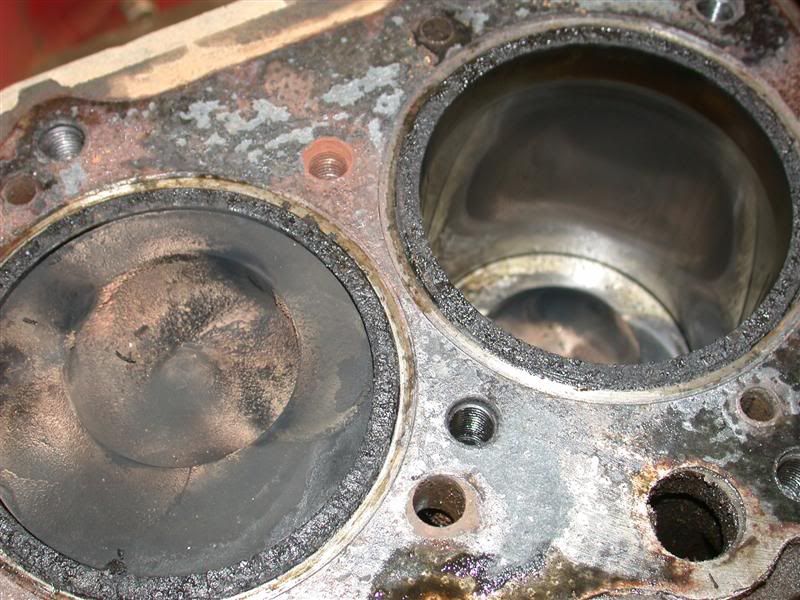
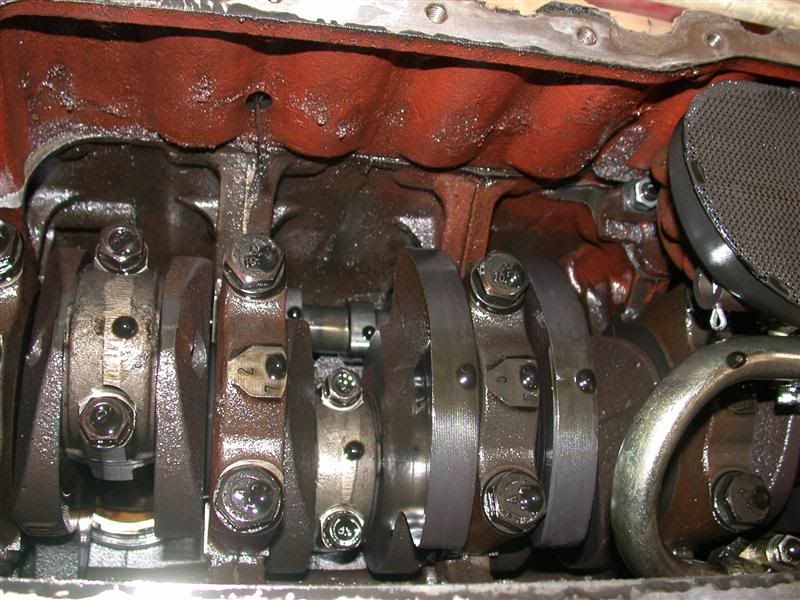
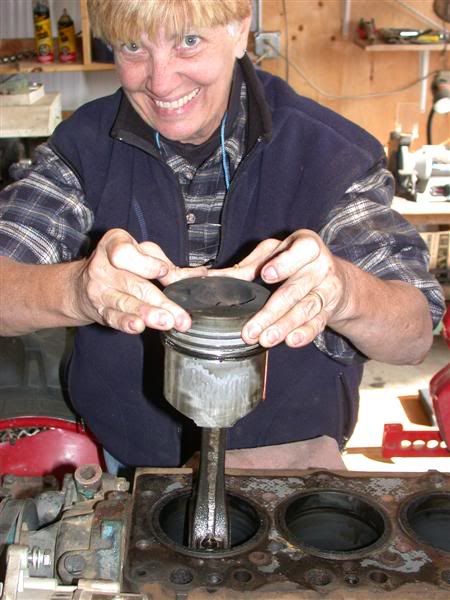
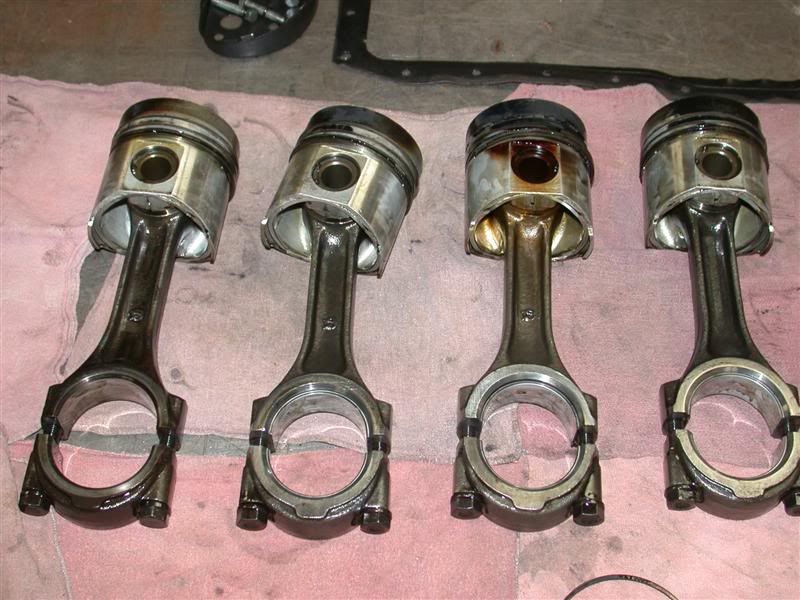
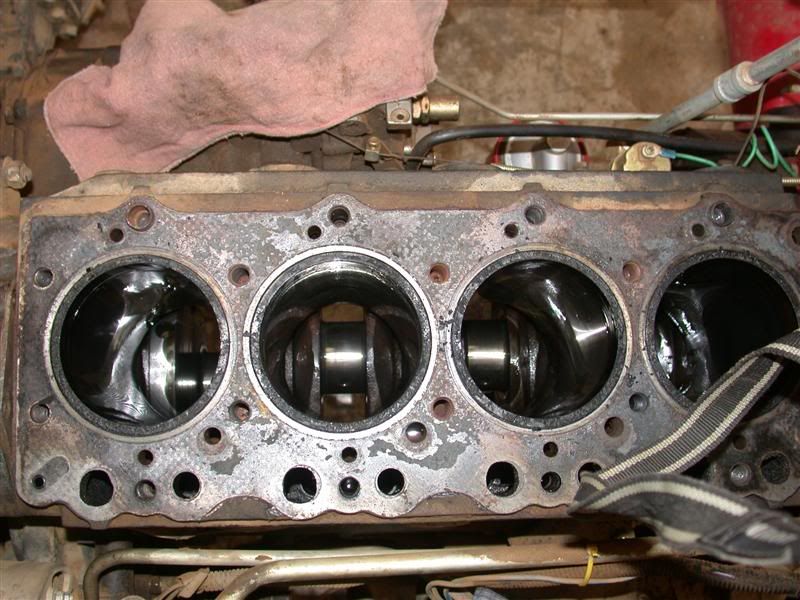
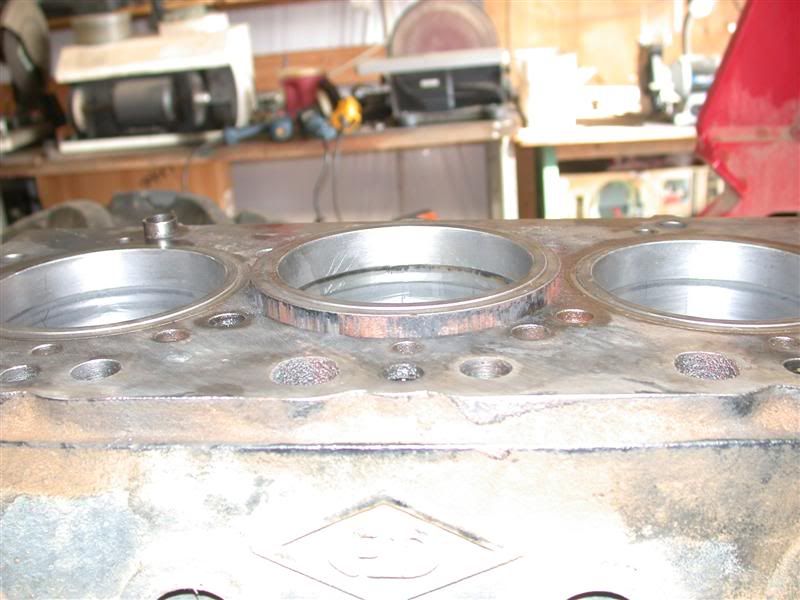
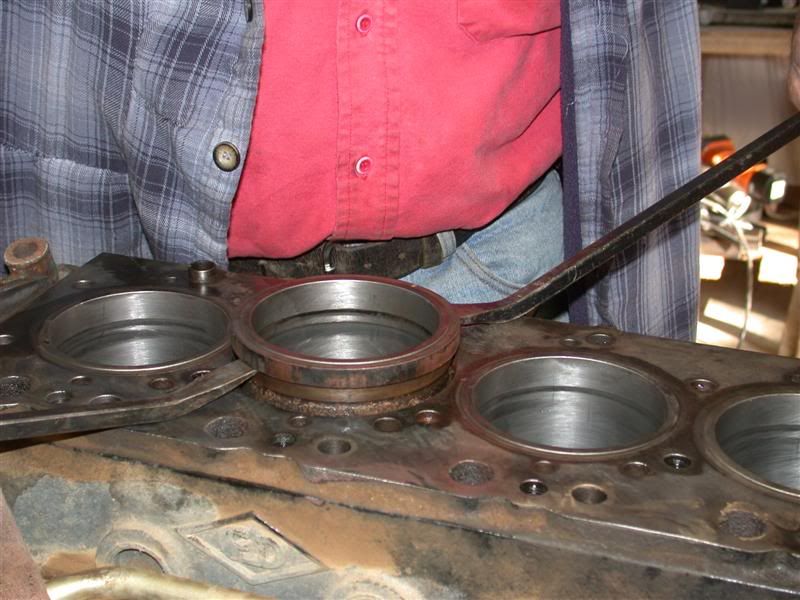
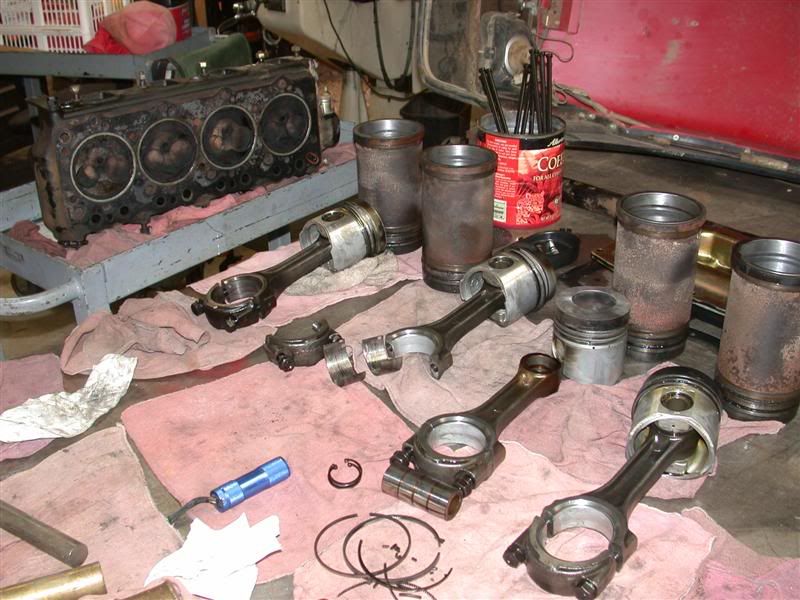
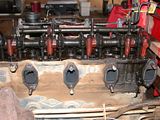
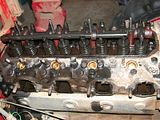
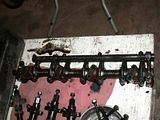
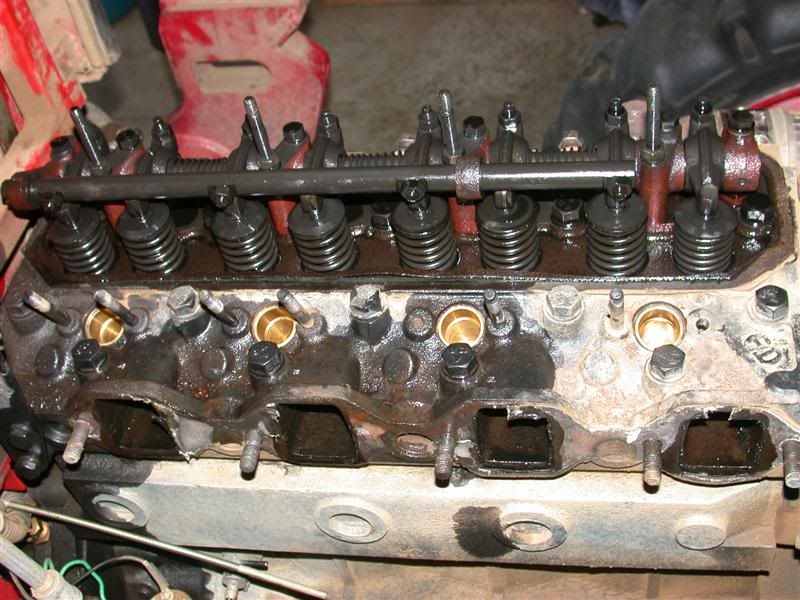
I've got a few photos to share and show what's going on.
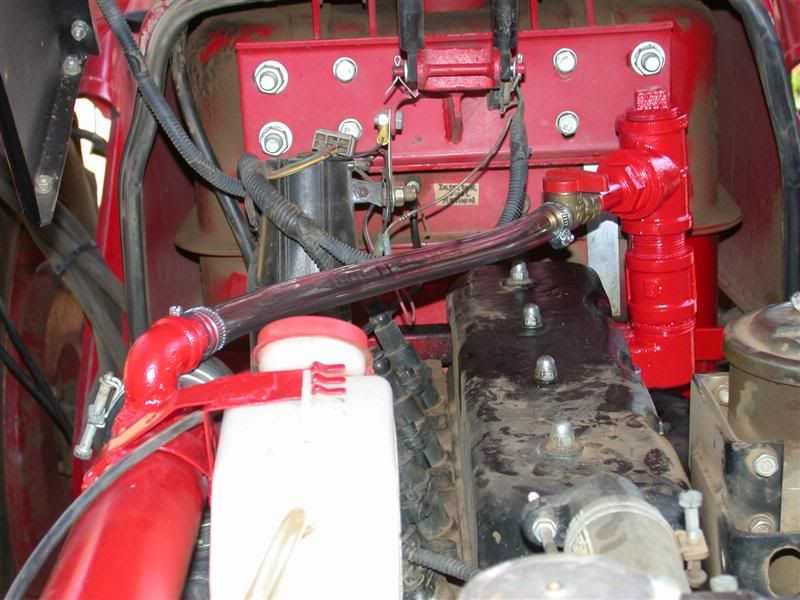
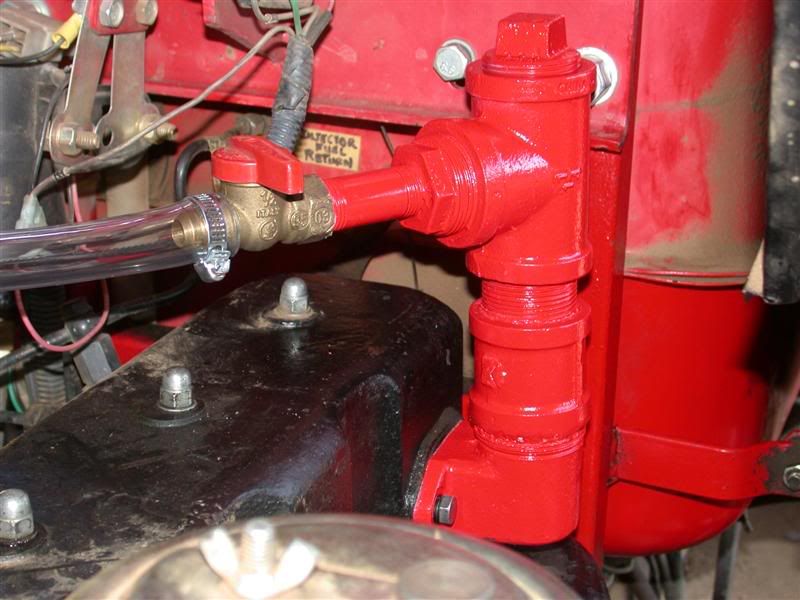
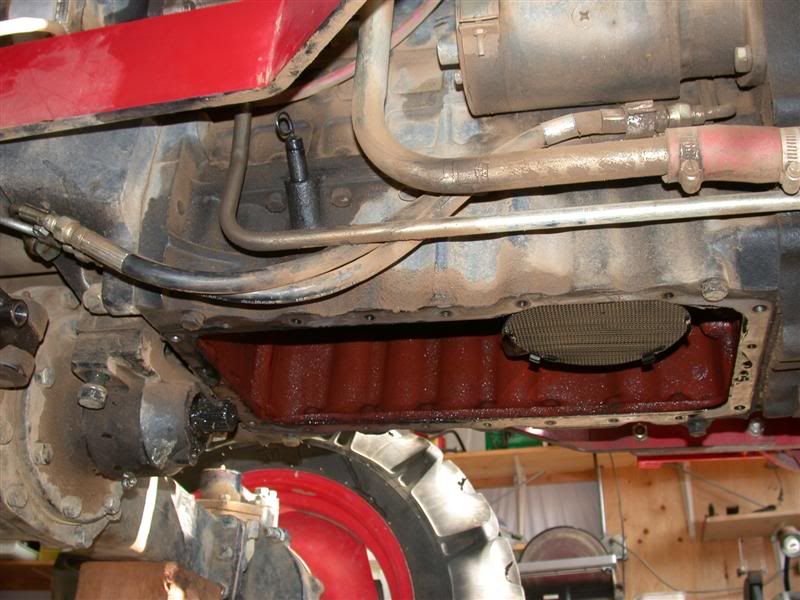
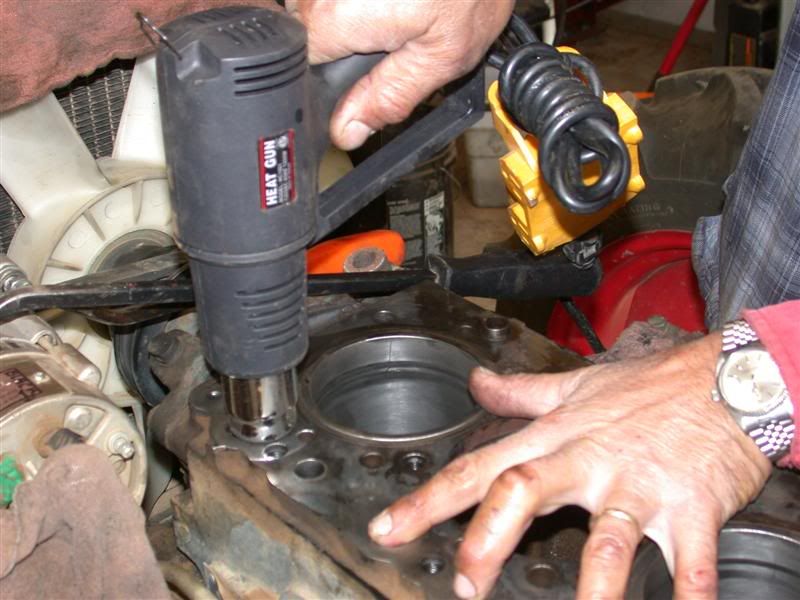
Most importantly, to help with re-assembly later on because I don't have an engine parts manual. This is going to be an "In Frame" engine overhaul. First was to remove the hood for better access. Then start taking things off one by one. Before removing, I marked every component so they go back in the same place.


Since I started a couple weeks ago, taking my time, I've been in touch with Chip at Artrac for advice and ordering new parts from him. He has been a gold mine of information for me.
 
   / Engine Overhaul Kama 554 #2  
Rob, I'm not trying to diminish your initiative here. But what I see in the 2nd and 3rd photos is a leaking valve cover gasket. When I did the original head bolt retorque and valve lash adjustment, I replace that POS gasket. I bought a roll of bulk gasket material from NAPA and simply cut my own replacement. Dry as a bone ever since.

//greg//
 
   / Engine Overhaul Kama 554 #3  
I can hardly wait to see if you still have any cross hatching left, and if there is a ridge in the liners. Maybe it's just a case of piston ring misalignment.
 
   / Engine Overhaul Kama 554
  • Thread Starter
#4  
Hi Greg,
Yes you are correct about a crummy valve cover gasket, but that is also where the breather is on my engine. And I had re-routed (re-made) that breather so it would go directly into my air intake tube. There was a lot of leaking oil in that area. In that other thread there are photos of what I'd done, but here is one of it.


I'm not going to bore you with every little detail since most of you Chinese tractor owners are probably used to working on your machine and have seen all this before. But I did want to share a few more photos of what I saw.
After removing the rocker arm and decompression assembly, I removed the fuel injectors. They had crud built up on them. I saw oil inside the intake manifold where it had been sucking the excessive blow by and the exhaust manifold had a lot of carbon build up in it. Shees, what a moron I am, looks like I won't be re-routing that breather tube anymore!


After removing the head, I saw carbon build up there and also on the top of the pistons.
You can see the head gasket is still on the head in the second photo below. I had no head gasket leaks of any kind. Once the bores were exposed, I saw a pretty good indentation where the rings had worn into the liners. Of course I will be cleaning everything before I re-assemble.

 
   / Engine Overhaul Kama 554
  • Thread Starter
#5  
I can hardly wait to see if you still have any cross hatching left, and if there is a ridge in the liners. Maybe it's just a case of piston ring misalignment.

Hi Bob,
You will see there are no cross hatchings left and there was a good size "ridge" formed at the top of each liner.
I had bought a new set of rings and valves from Chip about a year ago when I first started having the excessive blow by problem (fearing the worst). So I was able to install a new ring into the cylinder bore and measure the gap of the ring. It was in spec at the top of each liner, but below that, the gap got really big ... way out of spec. I had this condition on 2 cylinders. The other 2 were at the very end of the gap tolerance. After rotating the crank, I checked out each one.

But before I could see what shape the rings were in, I'd need to drop the oil pan and remove the connecting rod bolts so I could pull out the pistons.
Of course that meant removing the front drive shaft first. Here are some photos (below) of what it looks like in there from underneath with the oil pan removed. You can also see the crankshaft, oil pump suction screen and then the pump itself.


Up above the oil pump, where the spiral drive gear is, you can see the camshaft lobes. Unfortunately I couldn't get a good photo of that.
 
   / Engine Overhaul Kama 554
  • Thread Starter
#6  
The next step was to remove the connecting rod bolts and remove the pistons.
As always, my dear wife Loretta was there to help. She was "above" and I was underneath the tractor. I must say what a helper she's been in all the mods and repairs I've done. You can't imagine how frustrating and exhausting it gets having to crawl underneath and then get out above over and over again. She pulled out the pistons one by one as I pushed them up. Prior to that, I had marked the connecting rod upper and lower half and also (next to) the bearing journals so that they would go back in the same place and same orientation.

Note that in the third photo below, I finally found the culprit that was behind the excessive blow-by all along.
It was a cracked #1 ring (shattered) on piston #3. Note also that the ring groove on the piston was about twice as wide as it should be. The last photo shows the engine block without pistons in it.

 
   / Engine Overhaul Kama 554
  • Thread Starter
#7  
The last thing I had to do before ordering new parts from Chip was to remove the (wet sleeve) liners.
They came out pretty easy by tapping them out from the bottom with a copper bar. Once the head was exposed, I used a couple of small pry bars to get them out. So the photos below show them coming out and what the engine block looks like with the liners removed. Note the 2 "O" rings on the bottom of the liner sleeve. There was no "O" ring on the top or under the head of the liners.


At first I was afraid that the liners would not come out easily.
Since it was really cold in the barn, I used a heater that Larry G gave me to cure heat shrink tubing for the electrical kit he gave me. I put the heater all around the water channels on the block, hoping it would expand the block slightly. It definitely heated up the block and seemed to help with getting the tight liners out.
So now I'm stuck with a bunch of clean up to do.
I've got engine parts all over the barn. I've also got some photos of removing the valve springs and cleaning the head, but they are still in my camera in the barn. I'll follow up next week with an update.
Rob-

 
   / Engine Overhaul Kama 554 #8  
Hi Rob,

Sorry to hear that you found the need to do major surgery to your Kama:eek::eek:

Yes, now you are down to the bare bones the hardest part is going to be the cleaning - and it seems to go on for ever. I have no doubts that it will be better than new by the time you have finished the rebuild.

Please keep up the commentary - you are making things much easier for a lot of the novices out there, who would like to do some of this work but wouldn't know where to start. Being an inframe rebuild is gonna make it a tad awkward for you, but should work well. New liners, rings, bearings etc will make a huge difference to how it runs.

Great job - thanks for sharing.

Jim
 
   / Engine Overhaul Kama 554 #9  
Rob, I was thinking it had been a long time since we heard from you. Now I know were you have been. Getting dirty with the tractor. I am sure you along with the help of Chip will have it better than new and the TURBO upgrade will be soon to follow.:D

Chris
 
   / Engine Overhaul Kama 554 #10  
but that is also where the breather is on my engine.
Yup, on mine too. When I cut the new valve cover gasket, I also cut a new breather gasket
I finally found the culprit that was behind the excessive blow-by all along.
Excellent. Now I feel quite fortunate that my fix wasn't any more complicated than a coupla bucks worth of gasket material from NAPA

//greg//
 
 
Top