BayouMan
Silver Member
I have a 1978 John Deere 2640 that I have owned for about 16 years now. I have been trying to update the tractor over the last several years to try and get it closer to current standards for newer tractors. I have added drag link stabilizers, canopy, limb protectors and additional lights. After I put a front end loader on 2 years ago, I added a bucket level indicator and built a set of forks.
This project was inspired by reading about other lighting projects on this forum and from 2 separate incidents where I had a light switch burn out. The las one occurred about 2 years ago and I thought I was going to lose my tractor, before I got the small fire put out. The problem was due to my ignorance and I had 6 ea, 55w lights, all controlled with 1 fused light switch. After the fire, I put in a second switch to break up the load. Have not really had any issues since, but all of my reading and research shows that there is a tremendous amount of knowledge and expertise on this forum about installing lights.
With all that said, I have purchased the following list of items:
1. 1 ea new switch ( reusing existing 2 switches )
2. 3 ea new 30 amp SPDT relays with sockets
3. 1 ea 6 position fuse panel
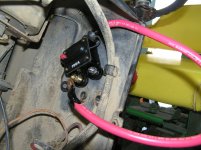
4. 1 ea 100 amp circuit breaker
5. 30' of 6 gauge, red and 30' of 6 gauge marine wire
6. 100' each of 16 gauge red and black marine wire
7. Assorted lugs for connectors
8. terminal strips for ground and hot connections.
9. Flex conduit to run wiring in
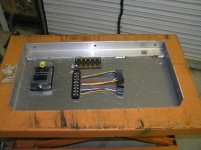
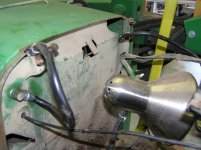
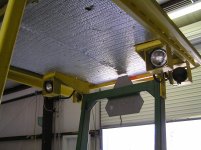
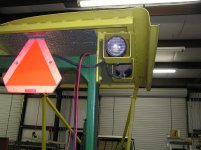
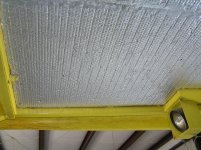
I already had an aluminum diamond plate step from an old firetruck, that was 6' long by 2' wide with 2" rolled edges. each end had a 2" x 2" aluminum angle welded in each end. I cut a 12' piece off of one end. This will give me 3 sides and will allow me to make a hinged glove bos in the upper right side of my canopy. This picture shows that side of my canopy and the box will be just in front of the light.

