After looking everywhere and not being able to find a LED work light with a integrated switch I decided to make my own. The light has a rubber housing. I am not sure if you will be able to do this to a lot of the LED lights with a aluminum housing since most of them have a heat sync on the back and it would make it hard to mount a switch.
Skill Level: It is so easy a caveman could do it.
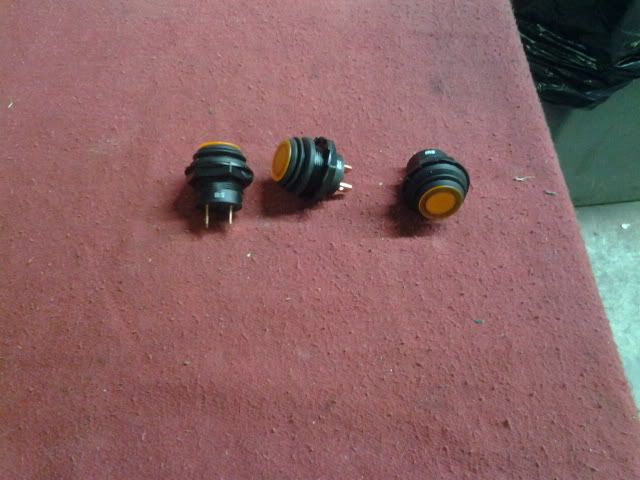
I chose a switch that was threaded and had a nut on the back of it so it would fit nice and tight. The switch is water resistant. The switch came from digikey.
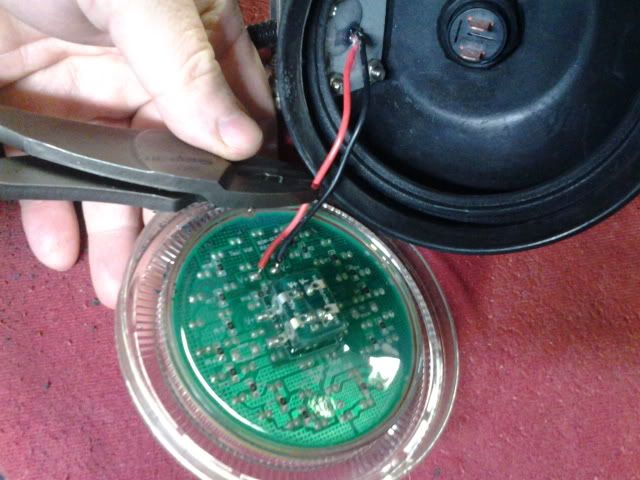
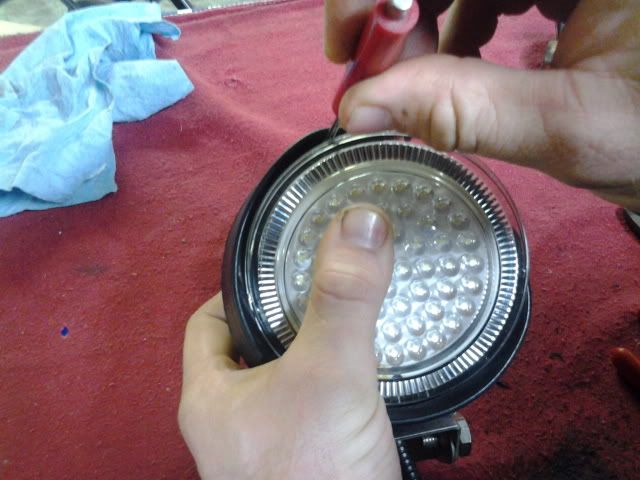
The first thing you need to do is to get the light out of the housing. If you hold the light like pictured below and push with your thumbs and pull with your fingers it comes out easily. You will want to be carefull that the light does not come flying out and get damaged. I did it over a tool cart with a fender cover on it so if I dropped it would not damage anything.
I then marked the location of where I wanted the switch.
Then I drilled a pilot hole.
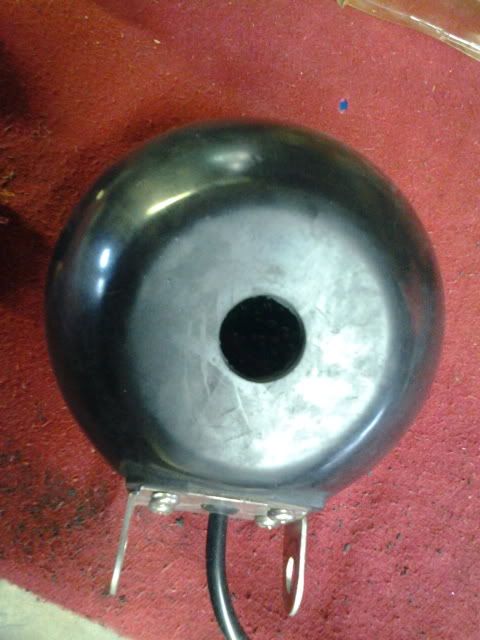
I used a 7/8'' spade bit to drill the hole in the light. When you drill rubber it stretches so you want to use a smaller bit than the size of the hole you need.
Here is the light with after the hole is drilled.
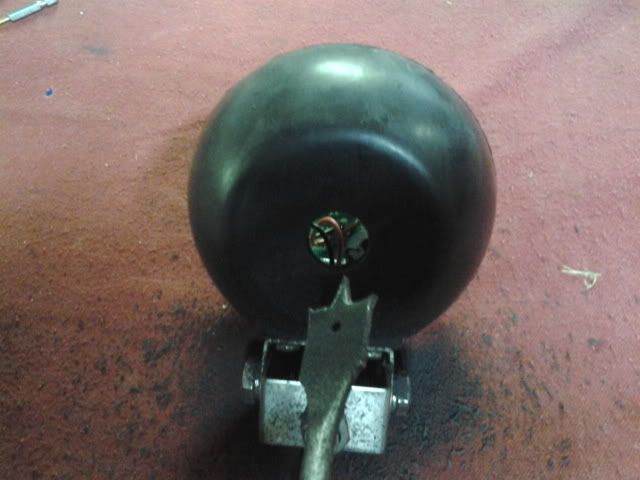
I added the switch. I used a socket (without a ratchet, just my hand) to tighten the nut on the switch.

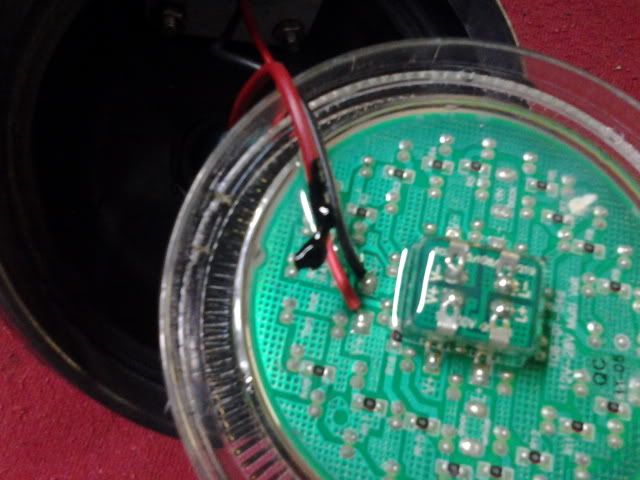
The next thing I did was cut the red + wire. There is not much wire inside the light so you will have to add some on one side to reach the switch. Just be sure you leave one side long enough to reach the switch so you don't have to add to both sides.
I soldered a piece of wire to the one side because it was too short reach the switch. If you don't want to solder you could use crimp on butt connectors. I crimped on spade connectors because that it is what I needed to connect to the switch. I put a dabble of dielectric grease on the spade connectors to help fight corrosion. It was probably not necessary since everything was housed in the light.
I used liquid electrical tape to cover where I soldered.
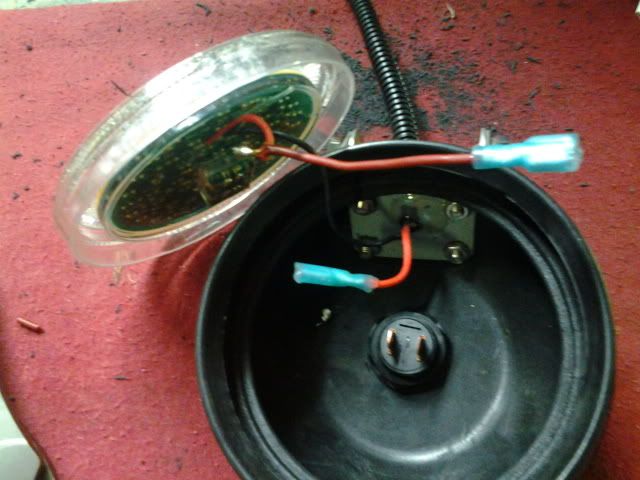
Now you can connect the wires to the switch. It is also a good idea to test the light before you put it back together to make sure it works. Be careful that you have negative wire going to ground because LED's are polarity sensitive.
To put the light back together I started the light in the bottom and used a small screwdriver to carefully pry the rubber back so it would pop back together.
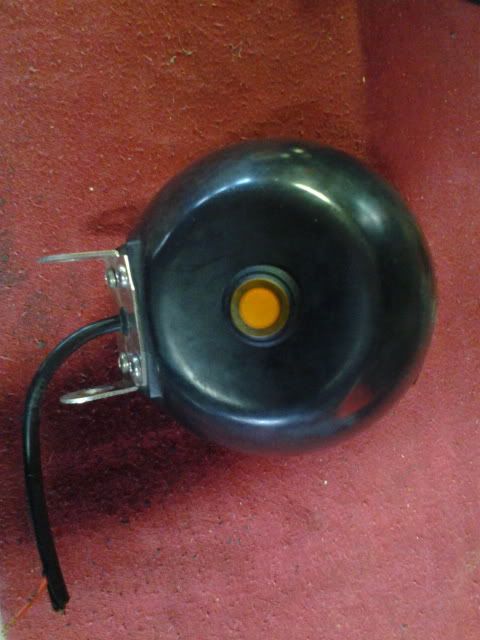
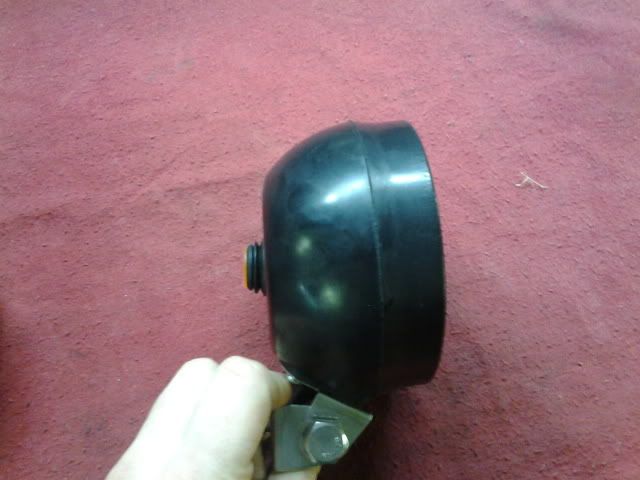
Here is the finished product.:cool2:
This project cost around $45 a light.
Skill Level: It is so easy a caveman could do it.
I chose a switch that was threaded and had a nut on the back of it so it would fit nice and tight. The switch is water resistant. The switch came from digikey.
The first thing you need to do is to get the light out of the housing. If you hold the light like pictured below and push with your thumbs and pull with your fingers it comes out easily. You will want to be carefull that the light does not come flying out and get damaged. I did it over a tool cart with a fender cover on it so if I dropped it would not damage anything.
I then marked the location of where I wanted the switch.
Then I drilled a pilot hole.
I used a 7/8'' spade bit to drill the hole in the light. When you drill rubber it stretches so you want to use a smaller bit than the size of the hole you need.
Here is the light with after the hole is drilled.
I added the switch. I used a socket (without a ratchet, just my hand) to tighten the nut on the switch.
The next thing I did was cut the red + wire. There is not much wire inside the light so you will have to add some on one side to reach the switch. Just be sure you leave one side long enough to reach the switch so you don't have to add to both sides.
I soldered a piece of wire to the one side because it was too short reach the switch. If you don't want to solder you could use crimp on butt connectors. I crimped on spade connectors because that it is what I needed to connect to the switch. I put a dabble of dielectric grease on the spade connectors to help fight corrosion. It was probably not necessary since everything was housed in the light.
I used liquid electrical tape to cover where I soldered.
Now you can connect the wires to the switch. It is also a good idea to test the light before you put it back together to make sure it works. Be careful that you have negative wire going to ground because LED's are polarity sensitive.
To put the light back together I started the light in the bottom and used a small screwdriver to carefully pry the rubber back so it would pop back together.
Here is the finished product.:cool2:
This project cost around $45 a light.