Building a stick frame house in the woods in 90 days

   / Building a stick frame house in the woods in 90 days #1,001  
Thanks, Dave, and kudos to you and your friend using it yourselves. I can only imagine the the head-slapping going on as a totally new user. :laughing:

If/when Pete come's back, we'll have to see if it makes sense to get some good background pics.

Jay,
Just to see if you can do it. Save a copy of Peter's Day 74-1 image to your computer.
Import the entire image into a new file in your CAD program as dstig instructed.
It should only take a second.
Since you have used a background in your renderings that was probably in the goodies of the program, you know that
it is capable of working with Raster images.
All the drawing and work you add to your file are vector images, which basically means they can be enlarged, reduced, etc., without distortion of pixels as you get when trying to do that to a raster photo image.
Your program essentially probably works similar to Photoshop, Paint Shop Pro and others that use layer sandwiching to develop the final image you see on top. Basically if you have image 74-1 as the background, things that are added above it have transparent backgrounds.
Therefore, if you add the wall, only the the concrete blocks behind them will be covered. Items can be stacked and individually moved around in position without disturbing any other item as long as each has it's own layer. You can turn on and off layers so the item will appear or disappear without pasting it to a transparent layer again. As long as you don't combine merge the layers you have complete control and can change things over and over. If you save a copy of the stack in the native format of the software you can open it again
and make changes at any time. These files get rather large so to display the final consequence on the net or to print it, the software saves a copy as .jpg which is a single 8 bit raster layer showing everything merged. Vector images can be made to look almost as real as a digital photograph and combined with a photographic background are often hard to distinguish with all the shadowing the softwares are capable of these days.
Ron

 
   / Building a stick frame house in the woods in 90 days #1,002  
First time for a dupe for a while of above. Editor wouldn't delete till I left the page and came back. Then when deleted the duplicate took me to the first page of the thread.. Another waste of time..

Jay,
I forgot to mention.
I would imagine if you wanted to add your grass or whatever to Pete's picture you would just outline the part you wanted with a selection tool and then paste in the grass from your catalog of goodies.
To copy his siding or some other item just select it and save to your goodie catalog.
Then if you wanted to complete the siding on the front you would use it like you did his stone to paste into a selection of the area that needed it. Saving it in your goodie catalog probably vectorizes it, so it can be pulled, stretched, reshaped, duplicated, etc. without any signs of pixel disintagration, like you would have in a raster image.
The combination of vector and raster images used together can do some amazing things.
Ron

Ron
 
   / Building a stick frame house in the woods in 90 days #1,003  
Thanks for all that Ron. :D I have photshop (CS4) and adobe illustrator, but don't use them much. My Cad program is quite a bit different than those two. I don't think it handles images the way that you're thinking.

Was post #906, the picture you were referring to? I'm pretty sure I can import a pic as a background, but any of the pics I've seen in recent pages are "too full of house" to use as a background (static) image.

I'm sticking with my standard background for now. :punch:
 
   / Building a stick frame house in the woods in 90 days #1,004  
Thanks for all that Ron. :D I have photshop (CS4) and adobe illustrator, but don't use them much. My Cad program is quite a bit different than those two. I don't think it handles images the way that you're thinking.

Was post #906, the picture you were referring to? I'm pretty sure I can import a pic as a background, but any of the pics I've seen in recent pages are "too full of house" to use as a background (static) image.

I'm sticking with my standard background for now. :punch:

Ok Jay:cool2:
Your background is very similar to the house anyway.
Yes, the post #906 first image is the one that has the same perspective as your CAD produces for the ground level shot.
The first image on that page almost matches yours. I posted yours and it, side by side back somewhere.
The second image is the one Stu refers too showing you the wall setback at the post from inside the house.
Your front perspective angle would probably not show that other than what you have now. The overhead view probably would.
This site should take .png images with transparent backgrounds. I am attaching, or will attempt to, a cutout of the house image with transparent
background. The transparency will probably appear white around the house in your browser, but if they don't mess with it and you can download it as a .png it will have a transparent background.
See if you can export it into your CAD program and paste it over your favorite background of the deep woods.
It should work. Even the cheapo free and $10 dollar programs will do that.

Ah-ha TBN did take the .png format, so let's see if you can import it into your favorite deep woods.:D
Ron
 
   / Building a stick frame house in the woods in 90 days #1,005  
I need the woods, not the house. :D
 
   / Building a stick frame house in the woods in 90 days #1,006  
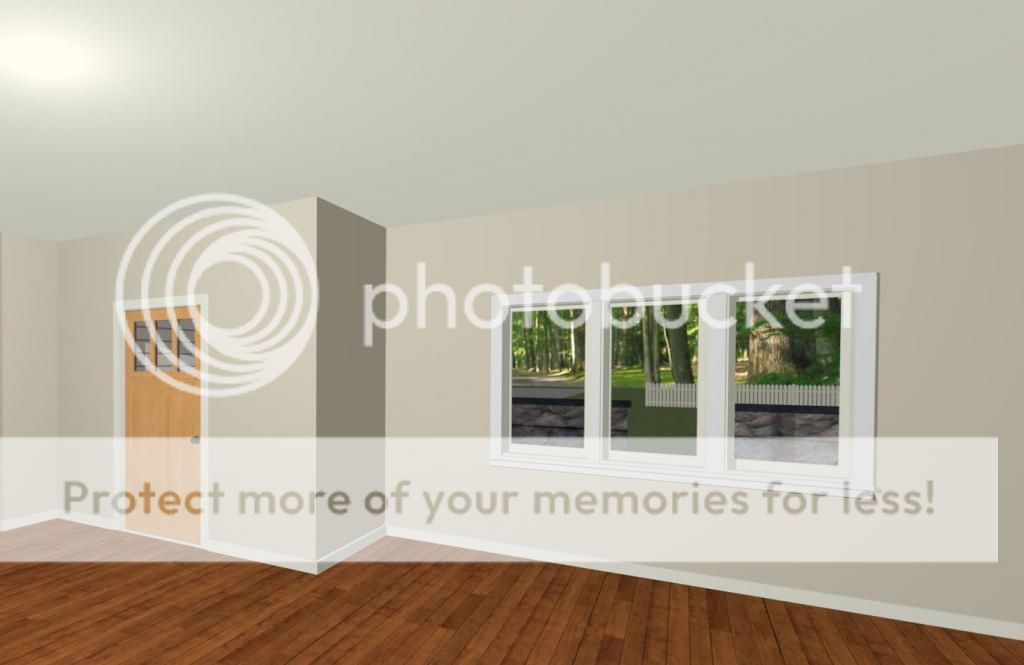
I'm going into the (virtual) house to see about some dinner. :laughing:

Intglass1_zpsff778e39.jpg


IntRender1_zpsa903bcc8.jpg
 
   / Building a stick frame house in the woods in 90 days #1,007  
This stuff is amazing. Who knew that you guys knew?
 
   / Building a stick frame house in the woods in 90 days #1,008  
Folks who are anxiously awaiting an update as am I:

I can tell you that Peter is probably working on an update as I type this message - assuming his internet access is working. All I can say, without stealing his thunder, is that things are coming along quite well. Perhaps sheetrock starts tomorrow? Stay tuned...
-Stu
 
   / Building a stick frame house in the woods in 90 days #1,009  
Since Peter is AWOL and Jay's doing the inside, here is my last piddle, I promise, on the outside, just using Photoshop Elements 11.
You can see how much wall I cut off by the blocks still showing behind the stone on the right side of the garage.
Ron
 
   / Building a stick frame house in the woods in 90 days
  • Thread Starter
#1,010  
Wow, I'm gone for a few days and look what happens!

Awesome rendering guys! Only tool I'm using right now is that crappy MS Paint program that comes standard with Windows!

At any rate, I meet with the builder over the weekend and again just a little while ago, and we got it all worked out. I'll explain as we go along with the pics.

Day 75

I got to have some seat time playing with dirt over the weekend leveling out the remaining dirt piles and moving it around to the low side of the house.

day75-1.jpg


day75-2.jpg


day75-3.jpg


Dirt was still very wet and sticky, so I was able to scoop up some decent bucket loads at a time to drive around to the low side of the house.

day75-4.jpg


Day 76

They painted the house Sunday, but unfortunately, we were not happy with the end result as their was almost no contrast against the beige trim.

housecolor1.jpg


So they are going to repaint the house tomorrow from the Navajo Beige to the Autumn Tan as seen below.

exteriorcolor.jpg


Builder agreed that there was not enough contrast and he should not have let us pick that Beige in the first place.

Day 77

They got those 3 top rows of block knocked back down. Also, instead of that river rock look, we're going more of field stone look. Specifically, the Tennessee Valley style as seen at this website (this is the guy doing the rock work web site):

https://www.facebook.com/ValleyStoneLLC

Actual rock:

tnvalleystone.JPG


So on to today's pics.

Front of house

day77-1.jpg


Work has begun on the parking area

day77-2.jpg


Forms being set for the stamped concrete sidewalk

day77-3.jpg


And apron in front of garage

day77-4.jpg


And side porch

day77-5.jpg


day77-6.jpg


Retaining walls started

day77-7.jpg


We decided to pour a pad in front of the walkout basement

day77-8.jpg


They got the gutter drain pipes in on the uphill side

day77-10.jpg


day77-11.jpg


Insulation is in the exterior walls. The foam was thick enough they had to go with R13 instead of R19

day77-12.jpg


day77-13.jpg


And finally, a view from the office showing how knocking down those 3 rows really helped restore the view of the driveway

day77-14.jpg


We are going to leave the open triangle and stick something in there down the road to fill it up. Also, that long 1x14 or whatever that runs across the top of the garage door will probably get painted a darker color to kind of making it look like a structural member. The garage door itself is going to be contemporary looking and will consist of 4 plain leaves (no glass), something like this:

http://www.allcountydoors.com/gallery/wayne-dalton-contemporary-garage-door/
 
Last edited:
 
Top