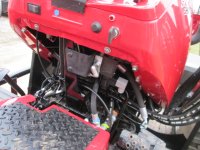
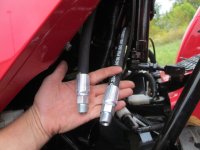
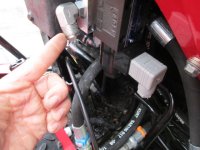
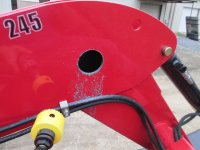
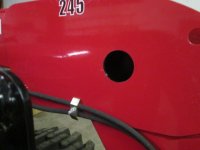
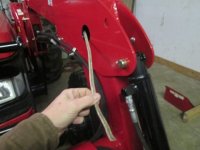
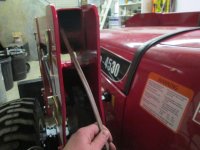
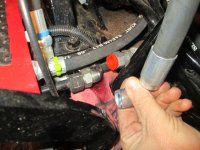
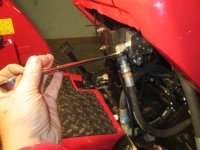
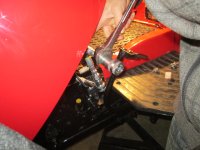
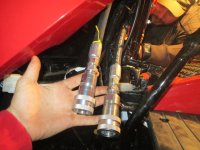
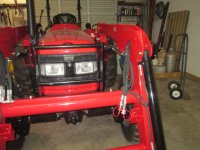
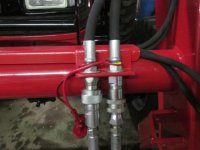
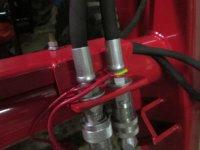
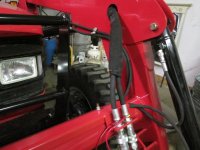
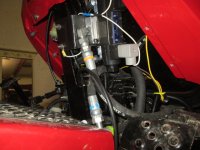
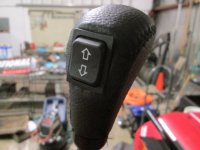
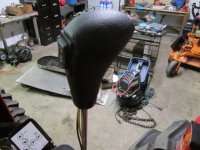
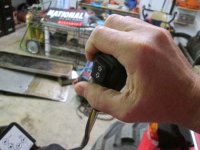
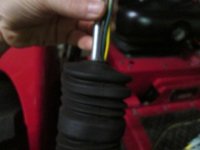
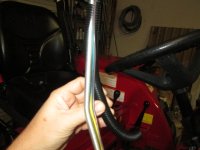
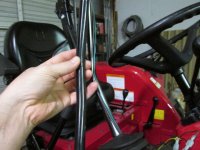
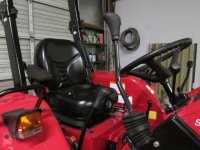
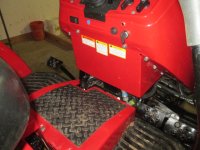
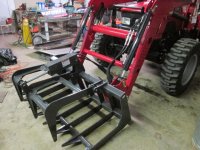
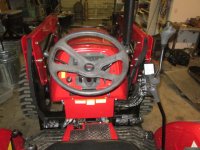
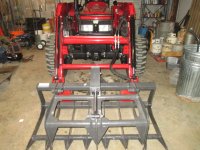
It started out simple enough. I needed to add a function to my tractor for a grapple. So I launched a thread here and my journey began. Installing a third function is relatively easy and requires only basic mechanical skills and the ability to do some light metal fab. I know you can get a kit. But if you get a kit, you have to install it anyway. So I figured if I had to install it anyway then I would just buy the parts and do it myself and save some cash. In the kit you are paying for someone else's homework, which may be fine if you are short on time or don't care to learn, but if tractor ownership is where you are at, then learning about hydraulics is a plus.
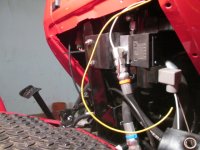
I only had one main goal (besides adding an additional function) and that is to have a factory (or better) looking install. That precluded a kit since you will simply get a generic mount and hose routings. That also precluded having someone else do it because unless I can see work you've done, then I am not going to be able to see if you can do a clean install until after its all done...too late then.
So I am going to outline my install in hopes that others will see how easy it is and have the joy that only DIY can bring. My disclaimer: I am no hydraulic expert at all. I am just a regular guy who wanted what I wanted and wasn't afraid to go for it. Hopefully you can too.
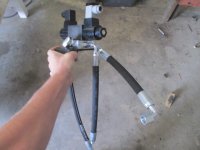
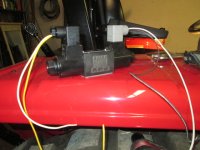
I first selected a valve. For my open center system and true third function I needed a 4 way 3 position solenoid valve with a spring to center. Here is briefly what all that means.

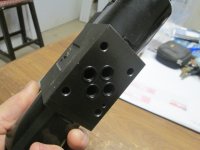
There are two solenoids on each end of the valve, the black cylinders. Those are operated electrically to rout the fluid to the proper place. A look at the bottom of the valve shows 4 ports (ie 4 way). One is IN and the one across is OUT. The two on the sides are controlled by the solenoids and direct flow to either of the two control hoses that will operate your double acting cylinder when you push your control button. The valve is set up with a spring to center. That means whenever no choice of solenoid is made (ie no button is pushed) the valve returns to center and the fluid returns to tank and closes off the two side ports. So that gives it 3 positions. Left, Right, or Center. In function terminology that would be opening, closing, or holding.
I only had one main goal (besides adding an additional function) and that is to have a factory (or better) looking install. That precluded a kit since you will simply get a generic mount and hose routings. That also precluded having someone else do it because unless I can see work you've done, then I am not going to be able to see if you can do a clean install until after its all done...too late then.
So I am going to outline my install in hopes that others will see how easy it is and have the joy that only DIY can bring. My disclaimer: I am no hydraulic expert at all. I am just a regular guy who wanted what I wanted and wasn't afraid to go for it. Hopefully you can too.
I first selected a valve. For my open center system and true third function I needed a 4 way 3 position solenoid valve with a spring to center. Here is briefly what all that means.


There are two solenoids on each end of the valve, the black cylinders. Those are operated electrically to rout the fluid to the proper place. A look at the bottom of the valve shows 4 ports (ie 4 way). One is IN and the one across is OUT. The two on the sides are controlled by the solenoids and direct flow to either of the two control hoses that will operate your double acting cylinder when you push your control button. The valve is set up with a spring to center. That means whenever no choice of solenoid is made (ie no button is pushed) the valve returns to center and the fluid returns to tank and closes off the two side ports. So that gives it 3 positions. Left, Right, or Center. In function terminology that would be opening, closing, or holding.
Last edited:


