Brockwaykid
Gold Member
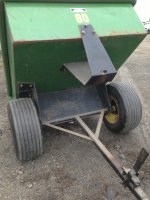
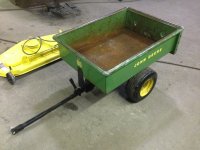
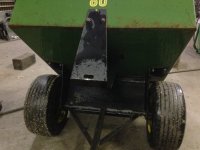
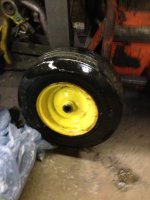
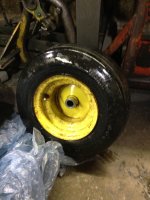
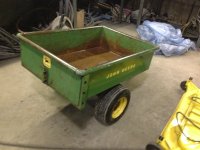
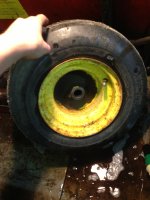
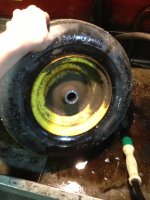
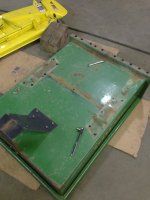
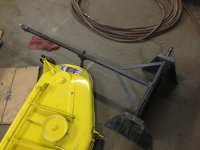
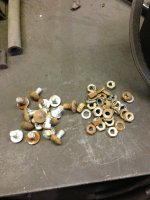
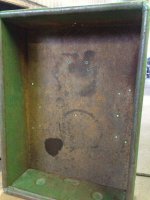
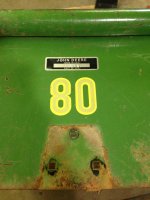
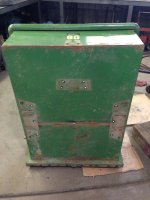
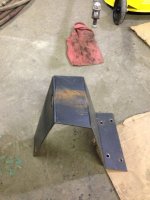
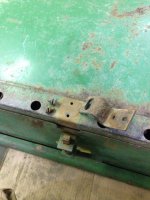
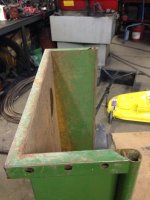
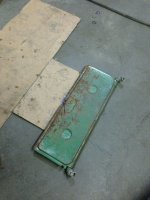
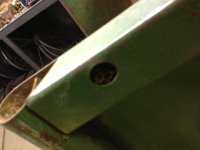
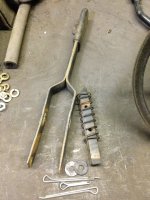
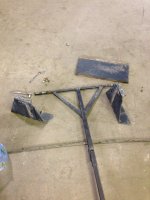
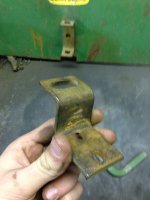
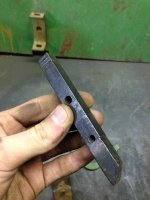
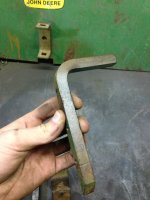
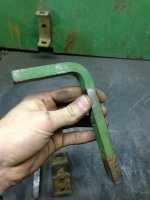
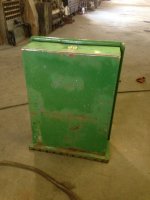
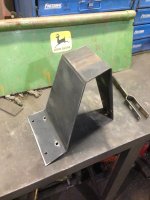
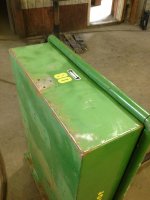
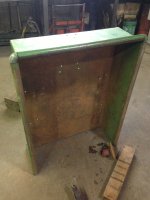
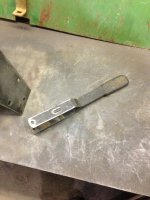
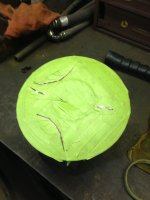
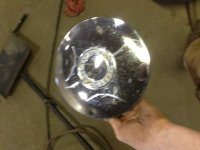
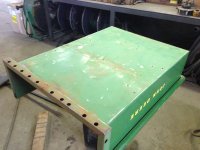
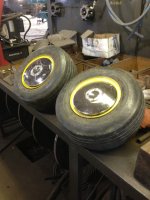
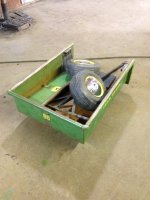
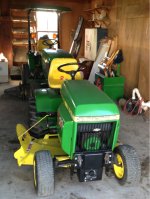
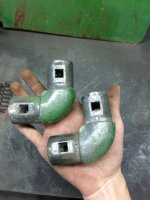
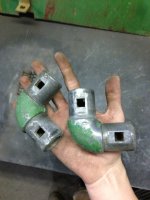
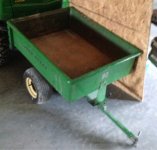
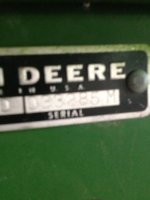
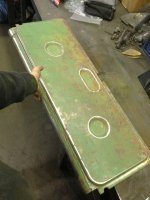
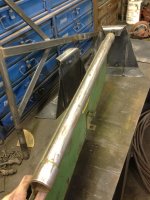
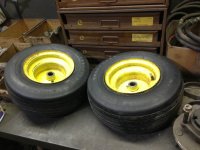
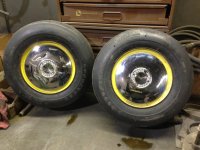
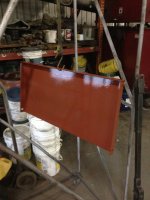
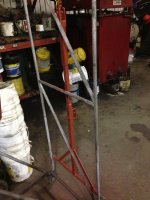
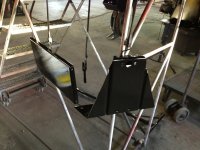
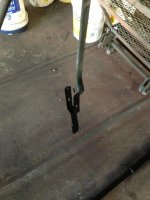
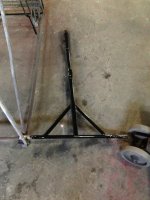
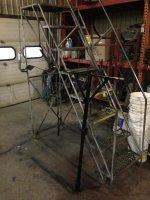
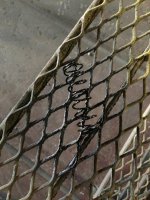
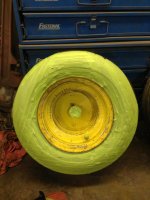
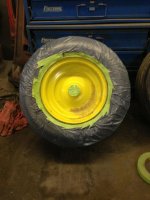
Okay, so most of you know that I have a 317 thats just about done with, so tonight I asked my grandpa if I could get out the 80 to bring it over to our shop to start the process. He said go for it and left for a meeting in town. So I jacked it up, and started to take the tires off but it was 5:00 so me and dad had to go home. I managed to get 1 tire and ril off, and its in overall good condition. Its an aluminum sticker tag with the number 7846, so next week it will turn 34 years old! Heres a pic of what it looked like when I dragged it across the yard. The pic of my hand is where my father extended the hitch to reach the 2210 my grandpa has now.
Attachments
-
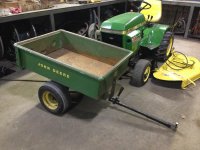 image-1230052258.jpg496.2 KB · Views: 1,001
 -
 image-1785784767.jpg479.2 KB · Views: 325
 -
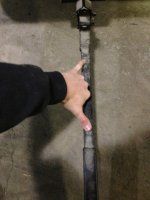 image-3108360163.jpg464.1 KB · Views: 300
 -
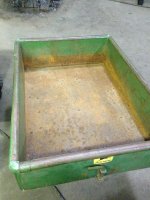 image-1933579425.jpg546.1 KB · Views: 257
 -
 image-1466385005.jpg490.6 KB · Views: 275
 -
 image-4271243053.jpg427.7 KB · Views: 268
 -
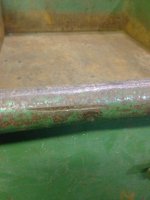 image-1223605709.jpg458 KB · Views: 221
 -
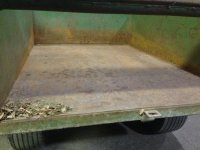 image-1632418368.jpg463.6 KB · Views: 257
 -
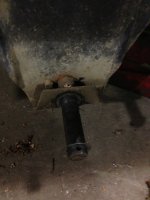 image-2430776582.jpg442.1 KB · Views: 239
 -
 image-38100698.jpg471.6 KB · Views: 236
 -
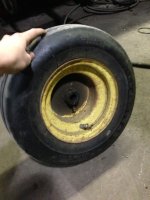 image-4273198781.jpg455 KB · Views: 248
 -
 image-1708925031.jpg492.1 KB · Views: 267