Kubota G1900 shaft replacement..tips on how?

   / Kubota G1900 shaft replacement..tips on how? #1  

Sniggle

Silver Member
Joined
Jan 27, 2008
Messages
234
Location
Jefferson County, WV
Tractor
2003 Kubota B7800 (new to me @ 435 hours
Hello,

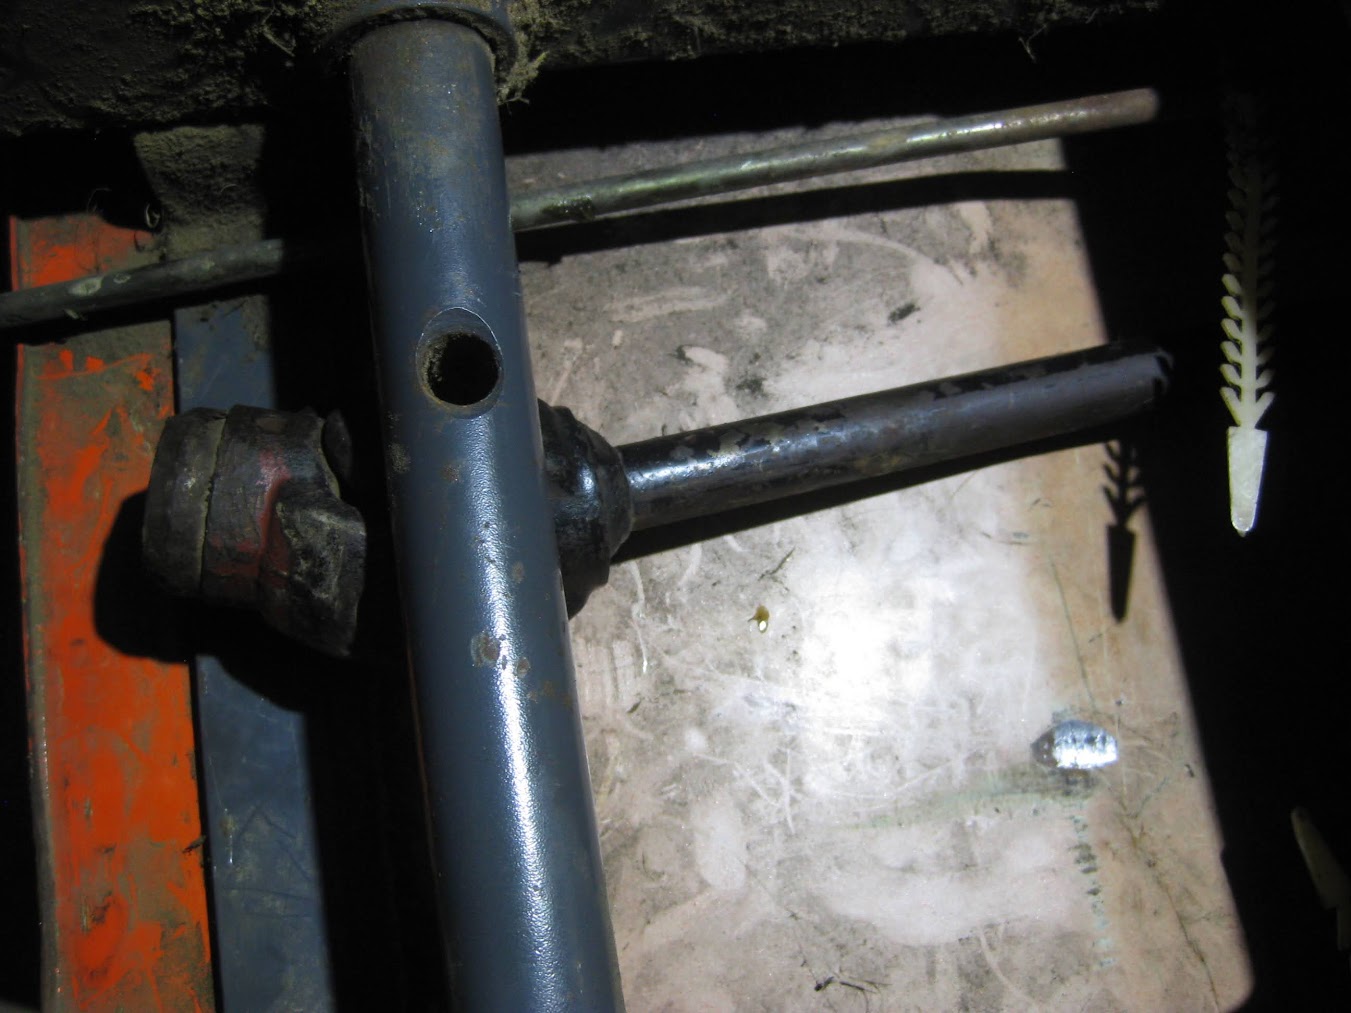
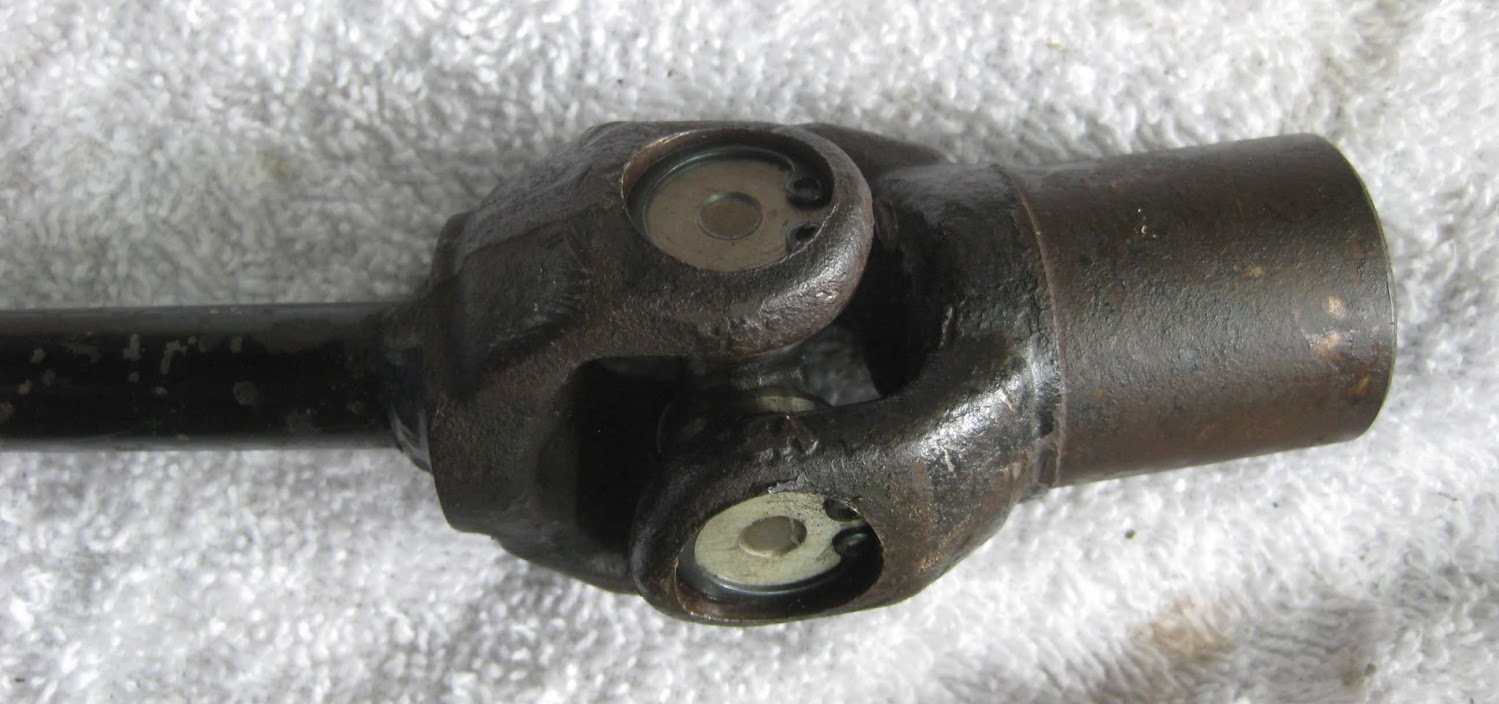
I have an old G1900 (1200 hours) that needs a new drive shaft (old one was flopping around and making quite a racket.

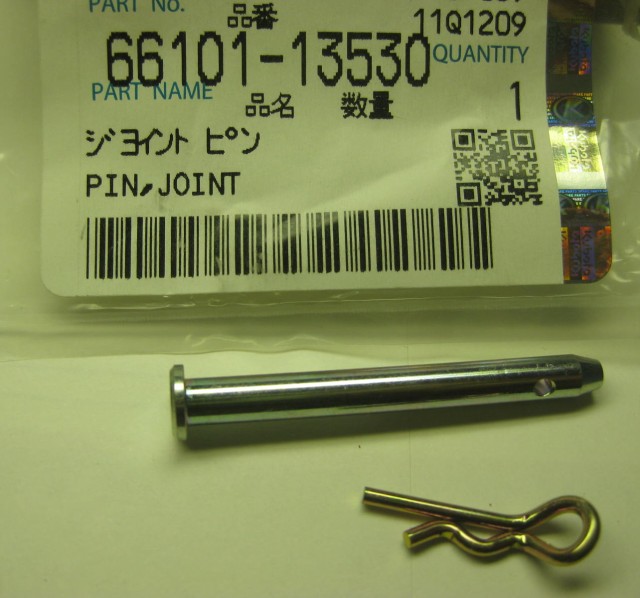
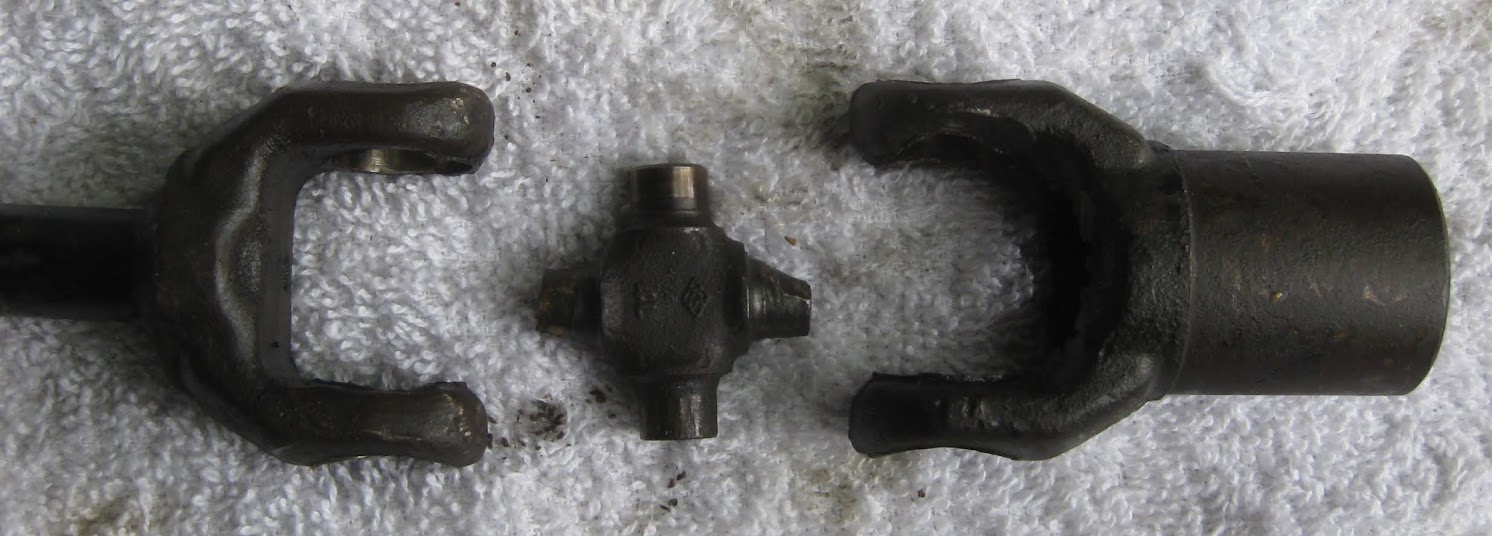
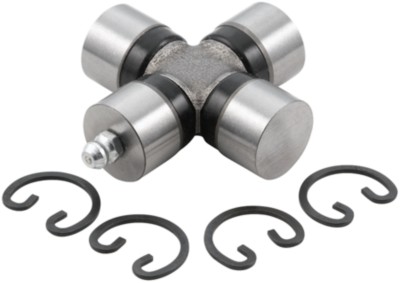
I bought all the parts needed for a new one (my tip: individual parts are cheaper than buyin the whole kit now, $214 vs $280). I have partially assembled the new drive shaft.

It looks fairly simple, but before I crawl under the tractor to remove the old and install the new, I thought someone here might have done it and could give me some pointers.
The projuect will not be until mid march, as I will need to remove the plow before tackling this.

Thanks in advance.
 
   / Kubota G1900 shaft replacement..tips on how?
  • Thread Starter
#2  
Well, I finally got around to replacing the drive shaft.

It was difficult but doable...took me about 2.5 hours.

Lots of that time was spent trying to figure out how to remove the old drive shaft and then how to get the new one in place. The drive shaft must be taken out and fed in from the area to the left front (when facing engine) of the engine compartment. It will take some work to get the old one out and the new one in, but the will fit without having to take apart anything else on the tractor.

You also need to remove the shaft plate that connects to the engine (3 bolts), pull it out, and then work it back into position when the new drive shaft is in place.

The shaft parts cost about $215. Note that the shaft replacement kit is $300, so it is better to just have the dealer order all the parts.

My G1900 runs like new again (no flopping drive shaft). And I saved about $300 that the dealer would have charge me for labor.
 
   / Kubota G1900 shaft replacement..tips on how? #3  
The shaft just slid off the pump spline on my G1900 and flopped around making quite a racket as described above. I managed to reach up in there and slide it back on but could not get the holes lined up to insert a cotter pin (there is no sign of what was there originally and I see no service manual or parts list on the web for reference). I ultimately gave up and put a hose clamp around the spline at the engine end to prevent the shaft from moving forward enough to come off of the pump end. That got me back to the barn where I jacked up the rear for better access but still couldn't get things lined up, so I hope the clamp proves to be a long term fix.
 
   / Kubota G1900 shaft replacement..tips on how? #4  
The hose clamp was a temporary fix at best. I eventually got the hang of aligning the shaft and collar holes, but cotter pins are too soft and the third one just let loose on me, so I just broke down and bought the OEM parts at highway robbery prices. Time will tell whether this will be a more permanent fix or if a worn shaft assembly is causing premature failure.

Code:
Kubota 66101-13530 (PIN, JOINT) Quantity: 1  $23.85
Kubota 66611-14130 (PIN SET)    Quantity: 1   $5.66

img_5326.jpg
 
   / Kubota G1900 shaft replacement..tips on how? #5  
The pin never failed, but the front joint finally did at just over 2100 hours.

The drive shaft must be taken out and fed in from the area to the left front (when facing engine) of the engine compartment. It will take some work to get the old one out and the new one in, but the will fit without having to take apart anything else on the tractor.

You also need to remove the shaft plate that connects to the engine (3 bolts), pull it out, and then work it back into position when the new drive shaft is in place.
This was super helpful. Most posts on this job imply that significant disassembly of the tractor is required for access, but thanks to that tip, it took about fifteen minutes to remove mine with the mower deck off and the front wheels on ramps.
  1. Remove Pin from rear Yoke Clamp. Some models have a Yoke Clamp with Bolt.
    AIL4fc-jfFdOX3uVCI-vbNQsLBgRuvLMpwc_XpGYWBtHwxeknoDdjYbBb2d97PK46aSAiZ2-7m_PJ5rWyIJ2E9QXd8v8gA34ymMXe8As4VHIZOzokG_DIkv1eAXnpAj6r_VVVP3d1jytYs4n96LfmOZksPXL1Q=w1336-h1002-s-no

  2. Unbolt (3 x 12mm) front triangular splined shaft plate from engine (for reference, that belt drives the generator and radiator fan).
    AIL4fc-sxkZpmnvnuexk3qNVeNSs7x4yNS-iygDmIJBFUYyZCOTBj6PsKJZ6Pp5IOXKnlIRPQmkZzgQRkm4BZfU61IBP-D-cQMrHO5nixax1nYhr821kd-e8aO-FhmWDLU-nnOicvm5zb4EG8Tb_ohuCwXASBw=w760-h1013-s-no
  3. Slide assembly forward and off of transmission splined shaft or rearward and off of flywheel until free at both ends. Maneuver assembly as far rearward as possible (between transmission fan blades), then over to the engine oil filter side of tractor, and finally out through the front.
    AIL4fc9M6Bl20S8_uegxwki6uRBmXlplWaGyhTZyPyCz9WpA-hLbiGkVANV2YSJoW9VEzJ2SXMX1qSU8Shex4lH8-S0118zs49Q31UjwSe1Y_MB2j7cueBGvadPvdPJhwLfxILxSUHB1h2g3eDDctS7lETB3gQ=w1351-h1013-s-no

    The rear Yoke Clamp can be pried out between the bottom of the floor panel and the top of the horizontal frame tube, which has a hole located and sized conveniently to accommodate a large screwdriver for leverage.
    AIL4fc-YAsKxbMZqw1miqB73f9FAiNAgn2aYZlW3Q_f0xDVm68C2NEKRtNj0CbNe7ZhHxOeOpmAD6AiCobuCCElNitzJaUoToD05vw76Zm_MHdepcRPTjGuxa-UmjSZFYeti9Xd8FWO-TFGRGRlmviobvpihIA=w1351-h1013-s-no
    The oil filter can be removed for additional clearance (so if you're also performing an oil change, then leave the filter off until the end).
    AIL4fc_5U1eEIpPMnM3wbPFQod-UtdnwrjJ6vZ6d4KSbe0zhk5uo9bYDv6BvBL0unBaLY71iGxjA9GEK1a523cNpY99bvBwajNR8ErVtNLaVPnnMPtm8Tx2pTNd4eeb_a37C-RQEcEQEmgvdvWvJx1weIsBZrg=w1351-h1013-s-no

Once out, I followed this approach for disassembly with a hammer, sockets, and bench vise.

AIL4fc8-Nh9-nVs-ACIrJGLIuMmcwk4JJLwt4UvHy-FfESrm2yxCGzs360oUfSzIIIfKO5XuOO66ttuHH3ir_L3P8EWhfn5PNZHLoQYikgiK3gJJ6AFY9PeiKGDS086qRPpRB7zl7aCixPPF9_cSjjRXZkmorg=w1492-h536-s-no


The parts manual lists Assy Joint Cross 66101-13580 for my model:

AIL4fc-qdnCz_sxbtoSqiZ28li2bjyD79reyyD5F3yYKt7pL5-AimXnDr0RL2ngxcWjAr22vmVTniKTSYU0Vd9Q6aJlZX3GNnfWSoNF5CmgPIUZ2D3AMqTbHJwnE2lBL4LJROY1cJZML5Ycf7fU8ojIUuAz3Hg=w1021-h669-s-no

AIL4fc89FtPO8EZTop44eFKoJ3a0E8I8Lz0_apQwzyqdYjo0I6TUUokN4S08YY9dADILsxbkfhAMO7xS0ZW2ZmB7J3dYaboHsbja78ED6HIBLh-baZrhdvExEu_4TohNkjW8YIMcftmRtJI1cBiHrubsDBjR5w=w481-h348-s-no


According to Messick's, that has been superseded by 66091-61830:

ku_66091-618300.png


It would be nice to have a grease zerk, but though Napa UJ410 has been recommended as an alternative, it does not fit my model (correct diameter but too long to fit within the yoke).

3264889


AIL4fc_KerFZnNFfb-kUHUdSN8XuuoDKw1gAfEzu36MLbxgFKKRKWjTnOuDATdMfGxvMA86wChSYyYE0JOIezvcqSRJzyydP01FHxp558XOa_nqwy60SN0QeInCyRmIczIo7-l2tEqDFLt2rQFqn8gIPiVbqXQ=w748-h1112-s-no


AIL4fc_gp1ynejpZqQ-S5gbnK_1vTeRqgXuawnozgv4eSi5HOVir69G3HxVMYsnAG3bWY2BBELF6c35jonglr5J3fvhV0zE-YPDTmsfe1haUhYckjXytOMYbFI2qGaKn77PgxS3lewLFG-VqYDE2yNjgNIPrRw=w1192-h1112-s-no


I failed to find anything else locally, and my neighborhood Kubota dealer does not stock the part, so I ordered 66091-61830 from Messick's and followed this approach for easy assembly.

AIL4fc8-hkYgyozdqReSk9SOGs7pvdfZPtTQbQaxfNrKB-zq-Ax4-mCqwlnES3N6FuR1idlf91l3ylIitp-D4gQV6QLMXO6rvj4maaaXpGQC9jVsCf-IuVjfxXCwNMDp-JbHtleNyZNqPLBDynLYxkkDTyryog=w1499-h704-s-no


I reinstalled the shaft by performing the same three steps in reverse and everything now works perfectly!
 
 
Top