1510 complete service and inspection

   / 1510 complete service and inspection
  • Thread Starter
#11  
Got a few goodies in the mail from Messicks!
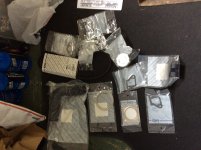
IMG_1771.JPG

Also got a diesel compression tester since I figured I would need it for this project. I have no idea how to use it, and the instructions are pretty basic. I was checking the service manual and didn't see any compression specs for my engine, or instructions to do it.
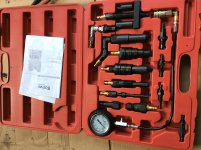
IMG_1772.JPG

Was looking for advice on blocking the loader arms up. Has anyone fabricated a cylinder lock before? Figured I would use some thick U channel and drill some bolt holes across it and block the extended piston. I'll also remove the bucket.
 
   / 1510 complete service and inspection #12  
Got a few goodies in the mail from Messicks!

View attachment 522505

Also got a diesel compression tester since I figured I would need it for this project. I have no idea how to use it, and the instructions are pretty basic. I was checking the service manual and didn't see any compression specs for my engine, or instructions to do it.

View attachment 522506

Was looking for advice on blocking the loader arms up. Has anyone fabricated a cylinder lock before? Figured I would use some thick U channel and drill some bolt holes across it and block the extended piston. I'll also remove the bucket.
Can't help with the stuck bolt, but for the lift locks we use some I channel just wide enough to slip over the ram. Measure the extended length and go about 1-2" shorter. The channel rests above the ram and bumps against the end of the cylinder and the pin.
 
   / 1510 complete service and inspection
  • Thread Starter
#13  
Some progress tonight after the kids were asleep.

IMG_1778.JPG

The oil drain plug leaked like the Exxon Valdez.

IMG_1786.JPG

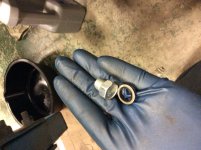
Got a new plug and seal washer from Messicks. The old plug was stripped out, and seal was ripped.

IMG_1779.JPG

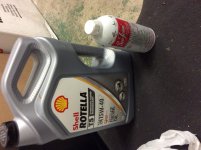
Putting in 15w-40 and 5oz of sea foam. Will run it for a few hours and change oil and filter again.

IMG_1781.JPG

Adjusted clutch pedal free play to one inch. It was over two inches before adjustment.

IMG_1785.JPG

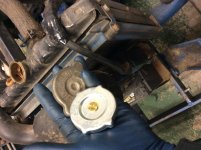
Putting a new rad cap on. I do this on new to me equipment to prevent problems down the road.

IMG_1780.JPG

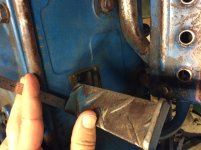
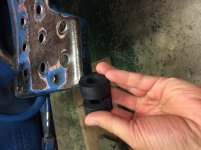
A new foot board isolator going on and bending the mounting shaft back into shape. Not sure if a 400lb guy got on or what, but it bent the running board support rod.
 
Last edited:
   / 1510 complete service and inspection
  • Thread Starter
#14  
Degreased the 1510 yesterday during our 90 degree heat wave.

IMG_1787.JPG

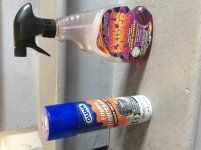
I used a combination of purple power and engine bright. I was very impressed with the purple power, worked great with a little agitation from a bristle brush. I didn't use a pressure washer, just hose nozzle.
 
   / 1510 complete service and inspection
  • Thread Starter
#15  
Almost ready to start actual work.

IMG_1793.JPG

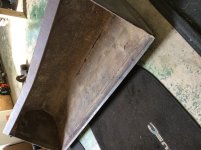
Removed the bucket. It's going to need lots of work. The top has a smile because of a grab hook there. I'm going to cut that off and add two hooks on the ends. There are several cracks and some rot on the bottom of the scoop. Going to weld in some plate in the bottom, and box tube on the top after straightening.
IMG_1792.JPG

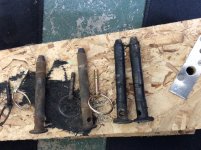
All the pins on the loader were kept greased with the exception of the lower bucket pins. Sure wish it was a quick attach bucket. Anyone know a good source for generic loader pins?

IMG_1788.JPG

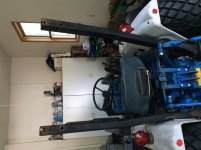
Removed the top bar from the rops. It appears you need to remove the rops to access the brake components.
 
   / 1510 complete service and inspection
  • Thread Starter
#16  
IMG_1791.JPG

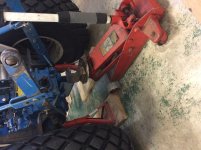
Front is up on jack stands. They are two ton stands. Rear stands will be next.

IMG_1789.JPG

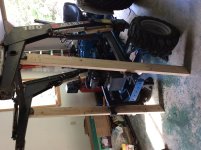
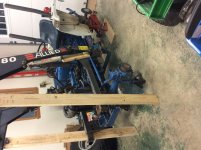
Here was my solution to secure the loader in the up position. I bolted two 2x6 boards to the loader parking stand brackets.

IMG_1790.JPG

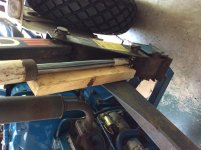
I also cut some 2x4 blocks to block the actuator up. I was able to hang on the loader with all my body weight with no movement at all.
 
   / 1510 complete service and inspection
  • Thread Starter
#17  
Now we are making progress.

IMG_1796.JPG

Received my British standard pipe thread female T for the oil pressure gauge line to hook into.

IMG_1797.JPG

Hind end up on jack stands and a floor jack. Going to keep the floor jack in there while I'm crawling around under there.

IMG_1798.JPG

Tires removed. I will be painting these, and also flipping the rear rims to the wide position. I believe the rear tires have tubes in them. There is some pretty bad rust around the valve stem from calcium at some point in its life. There is no fluid in the rear tires now though. I was surprised since it has a loader on it.

IMG_1799.JPG

Air filter removed.

IMG_1800.JPG

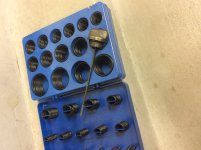
There was no o-ring on the hyd dipstick, so we found a match in our harbor freight kit.
 
   / 1510 complete service and inspection
  • Thread Starter
#18  
IMG_1801.JPG

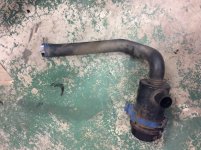
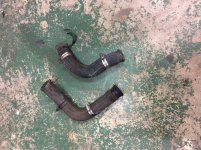
Radiator hoses removed. They will be replaced. Will keep the old ones for spares.

IMG_1802.JPG

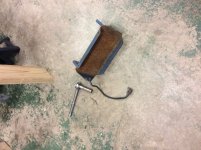
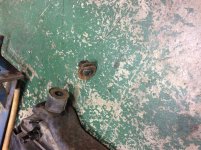
Battery tray removed. Will be painting this. There is a broken mounting bolt in the frame, but I can't drill it out because the loader frame is in the way. My OCD is kicking in...lol.

IMG_1803.JPG

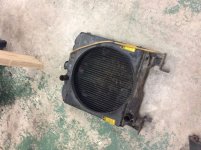
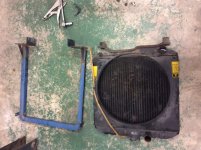
Radiator drained and removed. Some black muck came out the bottom, so it will be flushed when we go back together.

IMG_1805.JPG


IMG_1806.JPG

Radiator mounting frame removed. I broke one of the rubber isolator mounts, so will need to replace that. I had to replace one on my 1210 too, the rubber just dries out and any twisting you put on them tears them up.

IMG_1804.JPG

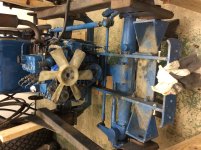
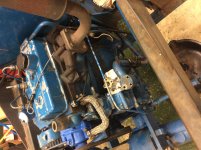
Here is where we are. Tomorrow I will drain the fuel and pull the tank.
 
   / 1510 complete service and inspection #19  
Great project!

I've had 1986 1310 for over 20 years and it's been very handy dependable little tractor.

:thumbsup:
 
   / 1510 complete service and inspection
  • Thread Starter
#20  
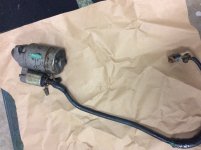
Had some fun cleaning the starter last night.

IMG_1807.JPG

To remove the starter you have to remove the hyd suction line from the pump.

IMG_1808.JPG

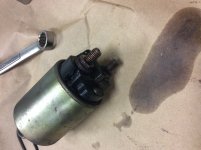
Starter on the bench. It is made by Hitachi.

IMG_1810.JPG

IMG_1811.JPG

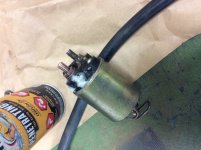
Solenoid removed. Had a heck of a time removing the wires as the nuts were rusted tight. The plastic housing was cracked at some point in its life and water had been getting inside causing corrosion. I used a wire wheel to remove rust, then a two part plastic welder to glue everything back together.
 
 
Top