dieselfuelonly
Gold Member
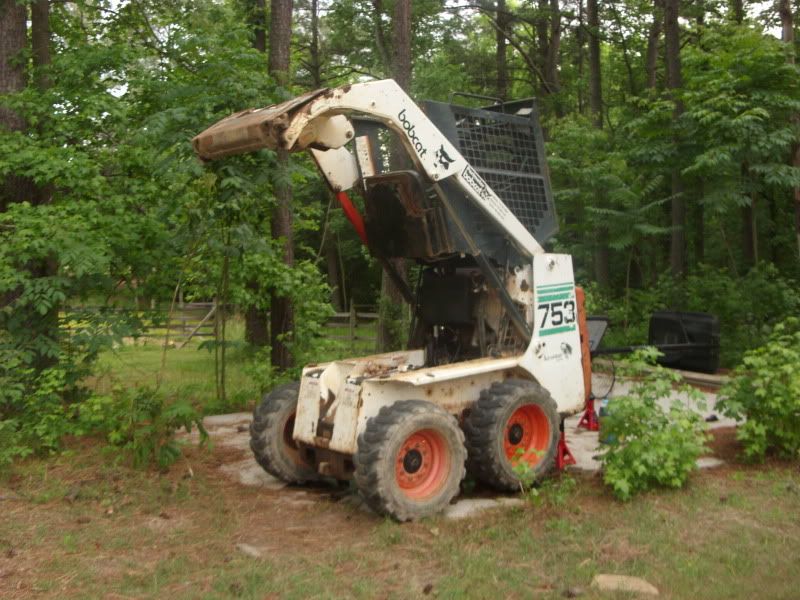
So, my Bobcat decided to leak fluid everywhere, originating from around the spool valves (though I'm still not sure exactly where) on the control valve block. I'm not talking a drip here and there, I'm talking waking up one day, checking the fluid before operating the machine and realizing its 3 gallons low.
DAY 1 AND 2:
First, you must take some steps before you start taking apart your machine. Start by buying a machine that the previous owner appears to have operated in a combination of North Carolina clay mudpits and syrup factories for its entire life. Add in about 10 pounds of mud that have come UP through the drain holes and clog everything up, so that when hydraulic fluid leaks out, it just sits in the bottom of the machine.
Also, you must have just finished your first semester of college and were planning on using your machine to make some money. Your dad just purchased a house and needs a lot of work done in the back yard to prep for a garage, and some other people that would have some work for you as well.
You must refuse to pay other people to do the work because of your stubbornness/lack of money in the first place.
But its ok: You like working on things in tight spaces, and getting REALLY, REALLY DIRTY.
Anyway... , heres where I started. I got a service manual off of eBay and went to work.
The first day was spent removing the throttle control handle, the pressure relief handle, and finally the control arms/panel. Then I removed the flexible hydraulic hoses, then the hard hydraulic lines, then a tire, and the final hydraulic hose, then the control block itself.
Of course, the service manual just states "Step 938374: Remove the control block". Great. Thanks for the help. Sure, you have to remove it, but removing it from about 50 hard hydraulic lines is a bit of a challenge. I just can't WAIT until I put it back in there. That will be even more fun!
Today I worked on taking the control block apart. First I removed the BICS part (basically the top half of the block) and took it apart. Then I moved on to the control block itself and took parts off of it. It was generally pretty easy to do, but really messy. Even if I would have gotten in and cleaned stuff off before taking everything apart, there would still have been mud/gunk everywhere. Part of the reason I decided to go ahead and take everything apart is that I can make sure that everything is completely clean when it goes back in, and there isn't a left over piece of mud that fell in the block when I removed it that is now going to undo all of my repair work. Not to mention the fact that I can go ahead and replace everything now and (hopefully) fix any future problems instead of just finding and fixing the leak and repairing that one part, only to put it all back in and have some other problem occur.
The way I look at it is at least I'm doing the work myself and not paying a shop, so I'm saving myself a lot of money. Sure, I may go a little slower, but, thats OK.
On to the pictures (I'll occasionally comment on a picture above it):
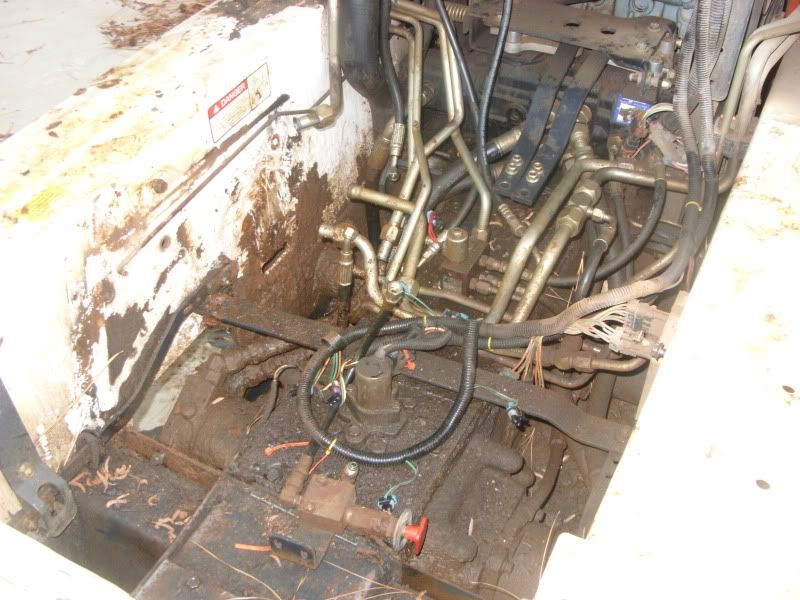
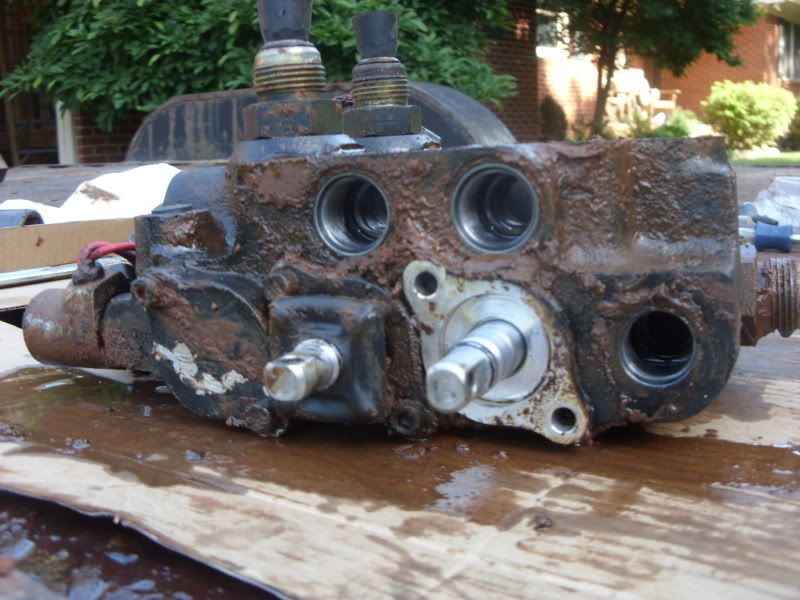
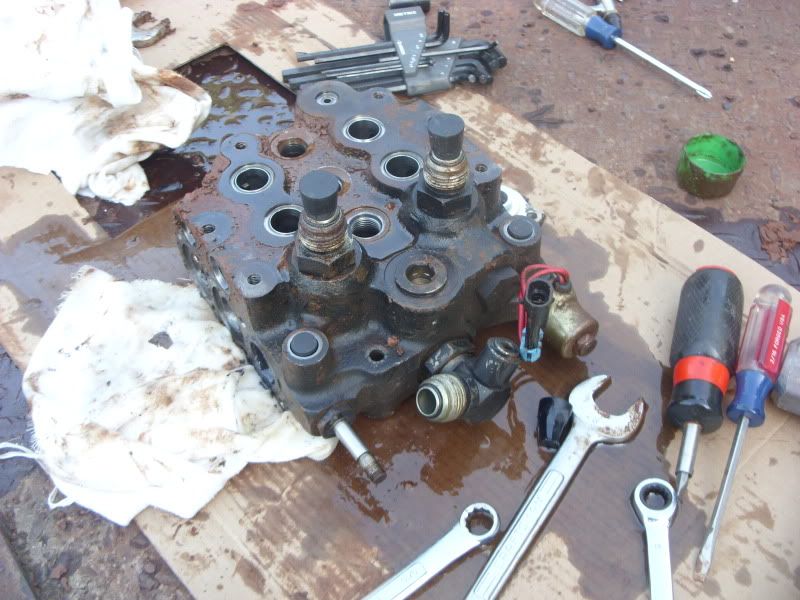
Here is the control valve with the BICS assembly removed:

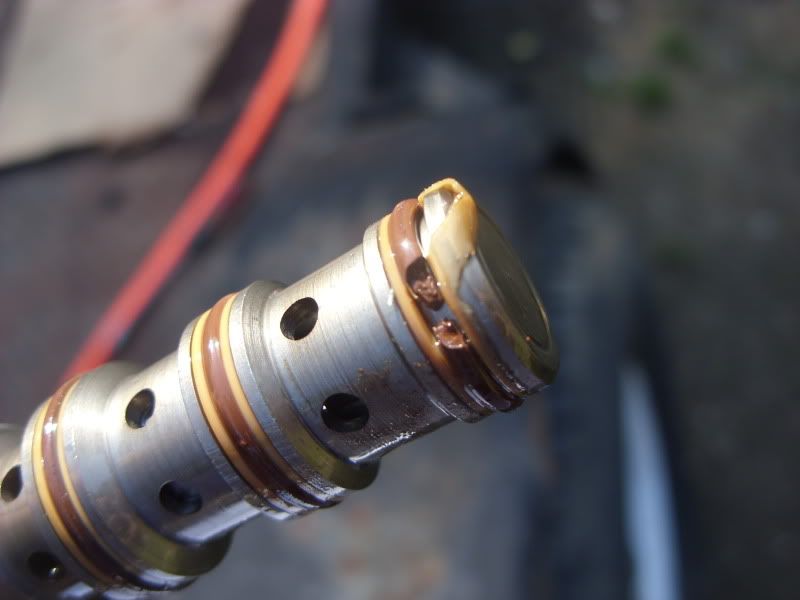
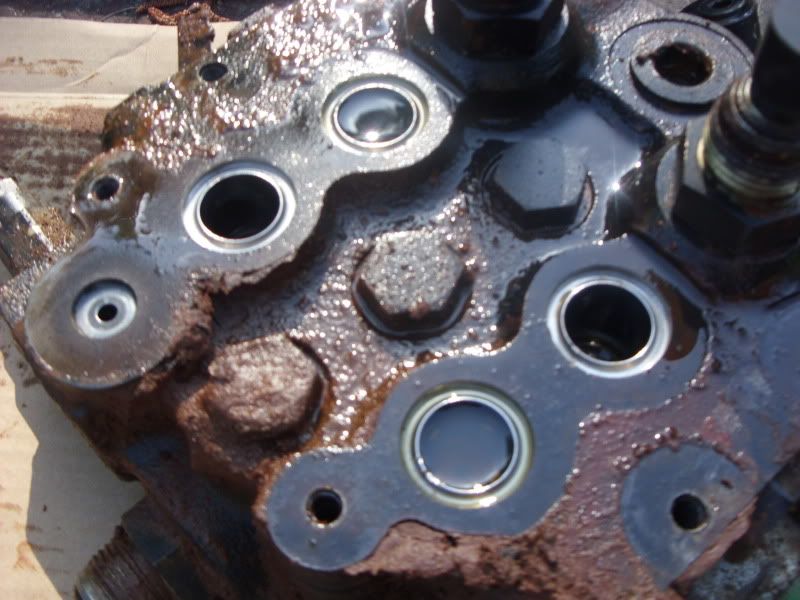
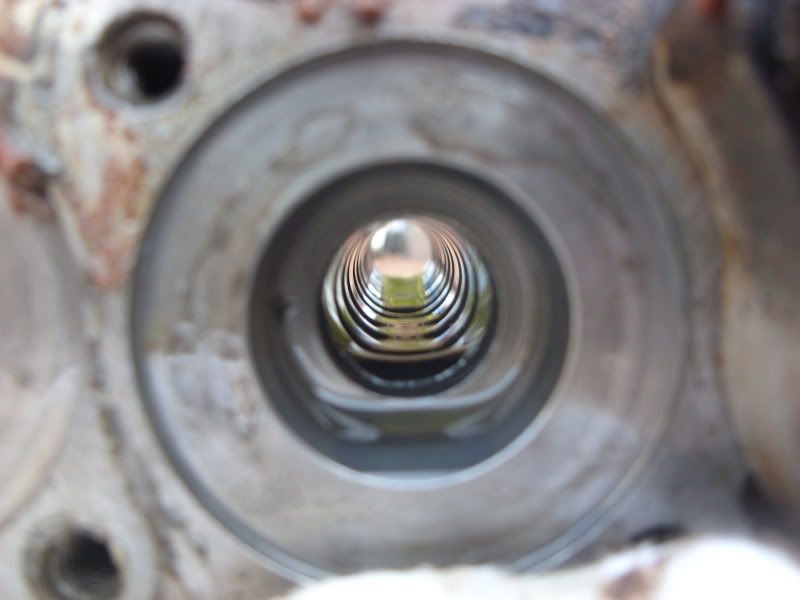
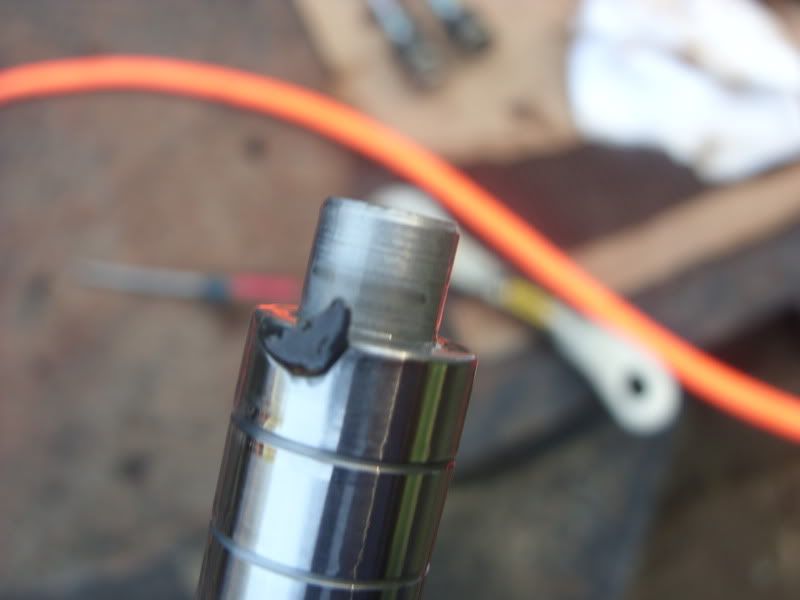
This is why I decided to rebuild everything. As far as I know the leak had nothing to do with this part, but you sure can see the o-rings were on their way out:
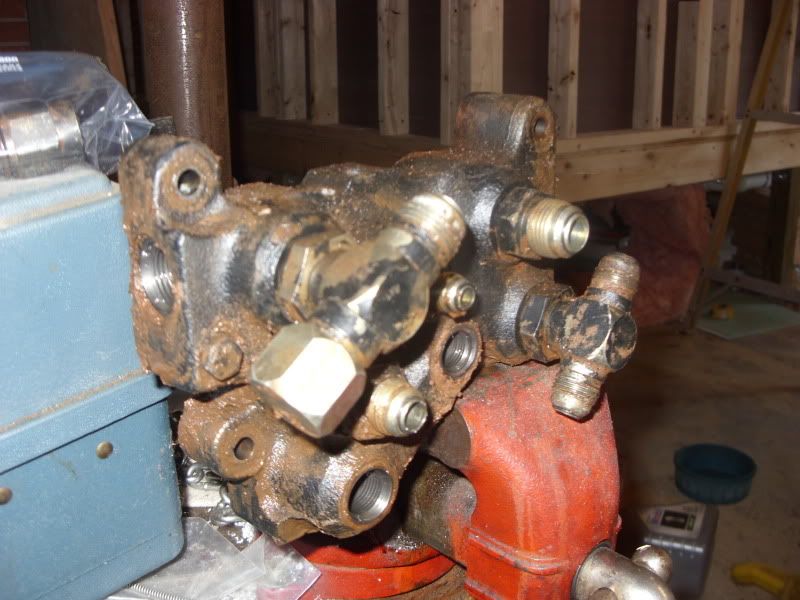
Here is the BICS assembly. It was easiest to take apart in a vice.
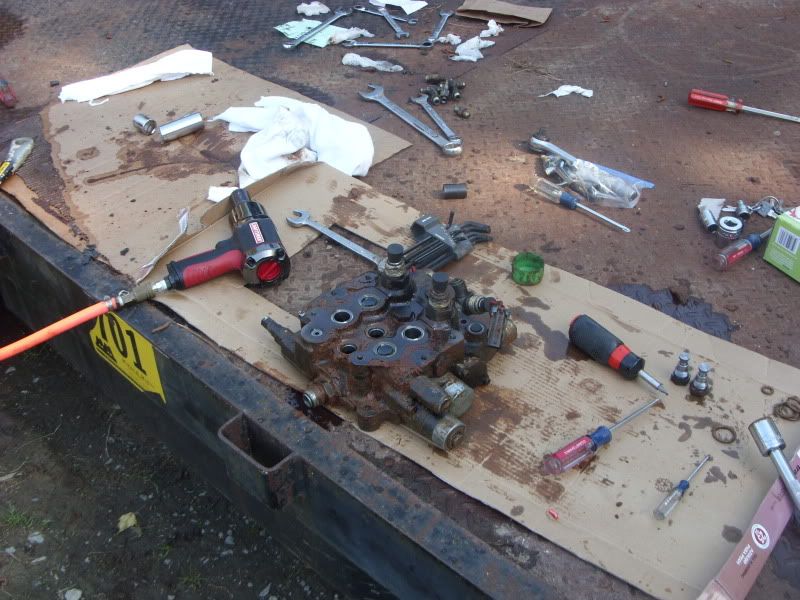
This is the nasty, sticky muddy mess I was talking about:
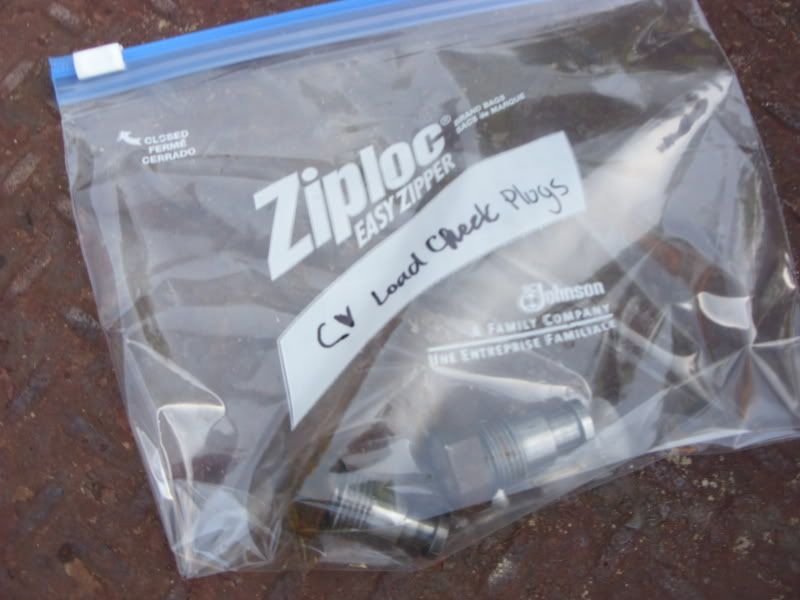
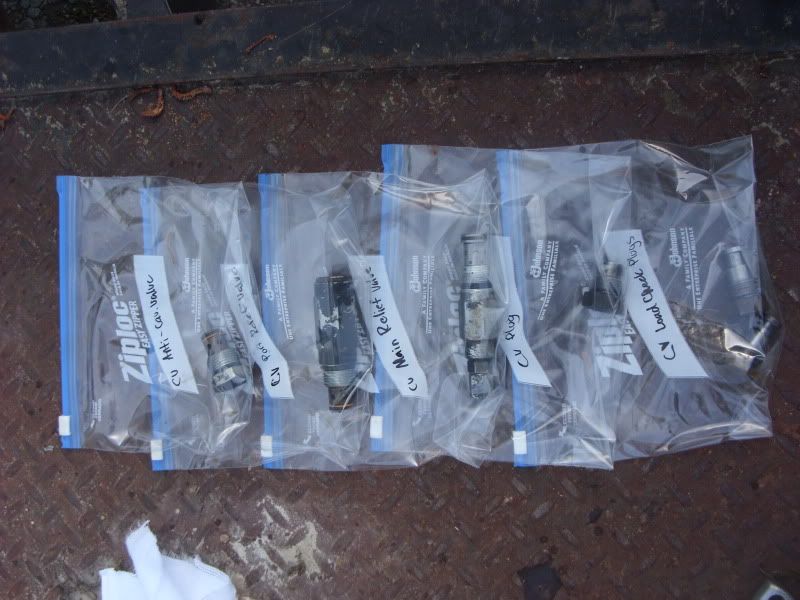
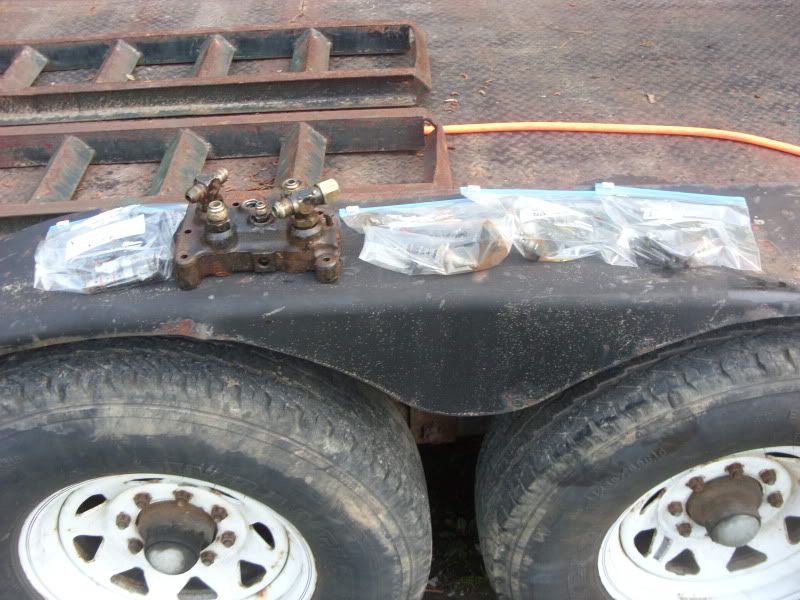
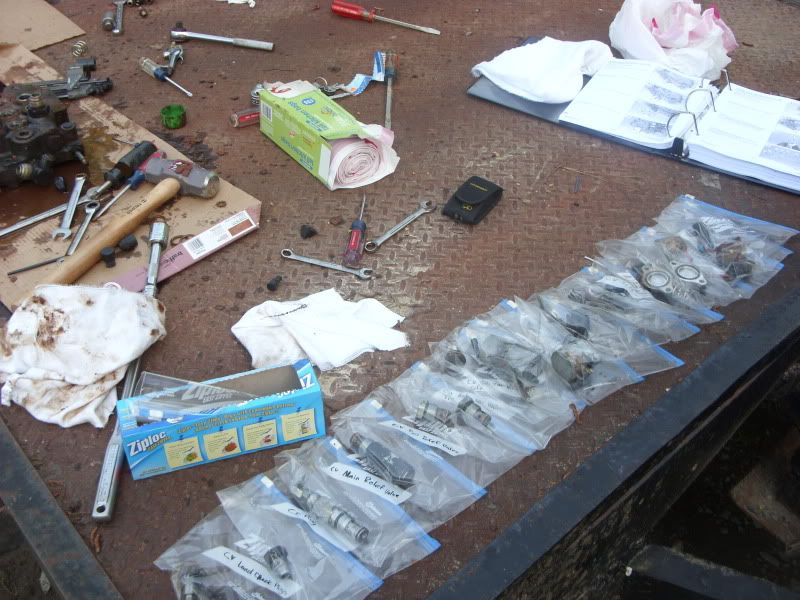
I put all the parts in plastic bags and labeled them:
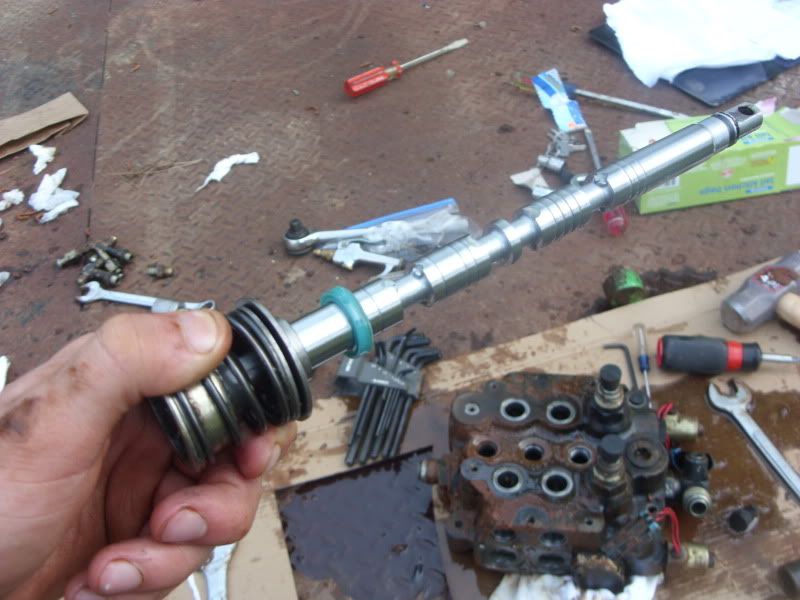
Working on taking a spool valve apart:
When they say to wrap the cover in a cloth to catch the spring and little balls when you pull the cover off, they aren't kidding. I didn't wrap mine up well and watched in what appeared to be slow motion as one of the little metal balls flew way up in the air and... landed on the trailer deck. Phew.

A piece of an o-ring:
Here is the BICS assembly and its parts:
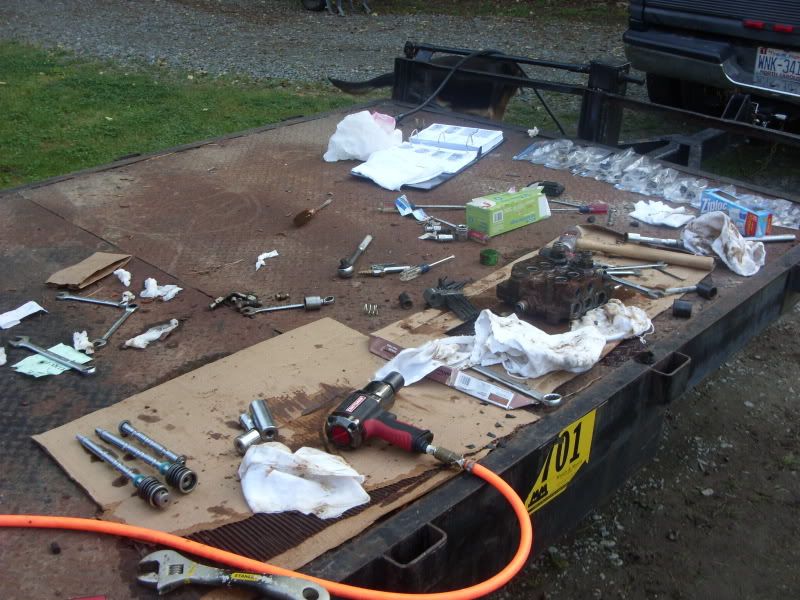
What a mess:
More parts:

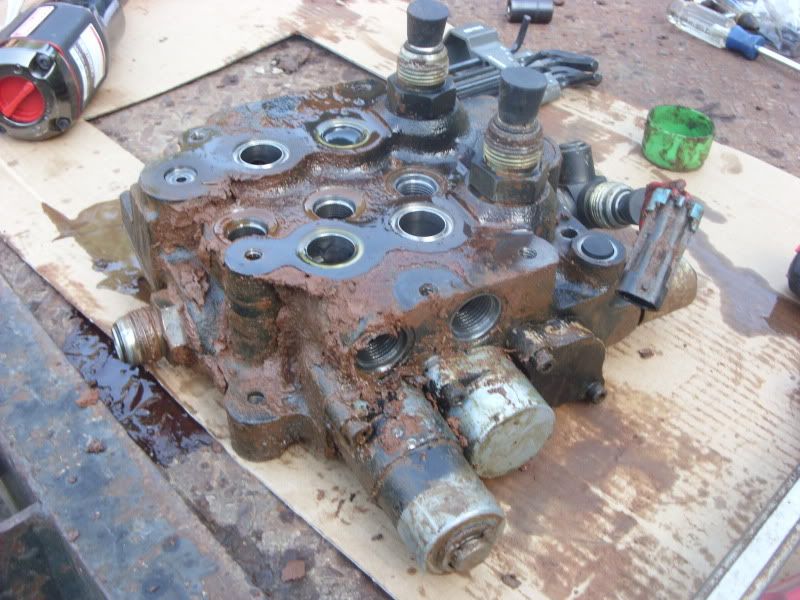
More gunk:
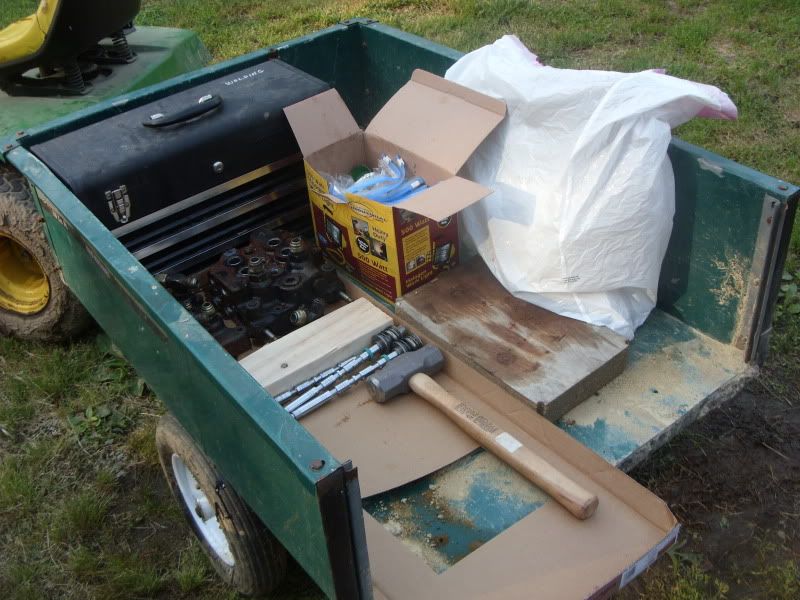
Well, thats enough for today. I just keep a small toolbox with tools in my truck and throw it in the little lawn cart when I'm working on stuff around the house. It works great.
I guess now I'll have to see if Bobcat or some other company makes a rebuild kit that includes all the o-rings, etc. that I will need.
DAY 1 AND 2:
First, you must take some steps before you start taking apart your machine. Start by buying a machine that the previous owner appears to have operated in a combination of North Carolina clay mudpits and syrup factories for its entire life. Add in about 10 pounds of mud that have come UP through the drain holes and clog everything up, so that when hydraulic fluid leaks out, it just sits in the bottom of the machine.
Also, you must have just finished your first semester of college and were planning on using your machine to make some money. Your dad just purchased a house and needs a lot of work done in the back yard to prep for a garage, and some other people that would have some work for you as well.
You must refuse to pay other people to do the work because of your stubbornness/lack of money in the first place.
But its ok: You like working on things in tight spaces, and getting REALLY, REALLY DIRTY.
Anyway...
, heres where I started. I got a service manual off of eBay and went to work.The first day was spent removing the throttle control handle, the pressure relief handle, and finally the control arms/panel. Then I removed the flexible hydraulic hoses, then the hard hydraulic lines, then a tire, and the final hydraulic hose, then the control block itself.
Of course, the service manual just states "Step 938374: Remove the control block". Great. Thanks for the help. Sure, you have to remove it, but removing it from about 50 hard hydraulic lines is a bit of a challenge. I just can't WAIT until I put it back in there. That will be even more fun!
Today I worked on taking the control block apart. First I removed the BICS part (basically the top half of the block) and took it apart. Then I moved on to the control block itself and took parts off of it. It was generally pretty easy to do, but really messy. Even if I would have gotten in and cleaned stuff off before taking everything apart, there would still have been mud/gunk everywhere. Part of the reason I decided to go ahead and take everything apart is that I can make sure that everything is completely clean when it goes back in, and there isn't a left over piece of mud that fell in the block when I removed it that is now going to undo all of my repair work. Not to mention the fact that I can go ahead and replace everything now and (hopefully) fix any future problems instead of just finding and fixing the leak and repairing that one part, only to put it all back in and have some other problem occur.
The way I look at it is at least I'm doing the work myself and not paying a shop, so I'm saving myself a lot of money. Sure, I may go a little slower, but, thats OK.
On to the pictures (I'll occasionally comment on a picture above it):
Here is the control valve with the BICS assembly removed:
This is why I decided to rebuild everything. As far as I know the leak had nothing to do with this part, but you sure can see the o-rings were on their way out:
Here is the BICS assembly. It was easiest to take apart in a vice.
This is the nasty, sticky muddy mess I was talking about:
I put all the parts in plastic bags and labeled them:
Working on taking a spool valve apart:
When they say to wrap the cover in a cloth to catch the spring and little balls when you pull the cover off, they aren't kidding. I didn't wrap mine up well and watched in what appeared to be slow motion as one of the little metal balls flew way up in the air and... landed on the trailer deck. Phew.
A piece of an o-ring:
Here is the BICS assembly and its parts:
What a mess
:
More parts:
More gunk:
Well, thats enough for today. I just keep a small toolbox with tools in my truck and throw it in the little lawn cart when I'm working on stuff around the house. It works great.
I guess now I'll have to see if Bobcat or some other company makes a rebuild kit that includes all the o-rings, etc. that I will need.
