Building a Guest Room at the Cabin

   / Building a Guest Room at the Cabin
  • Thread Starter
#11  
Thanks Depmandog. I'm going to follow all your suggestions.
 
   / Building a Guest Room at the Cabin
  • Thread Starter
#12  
Well, we built it! I lost my phone with pics for a while but my SIL found it in the brush/woods. I'll start posting some pics. I don't have pics of when we cleared the area the previous fall (2011) but we had to cut a few live and a few dead trees out and I rented a mini back hoe to dig out the stumps.

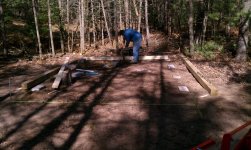
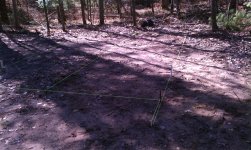
On April 17th 2012 we started with our layout lines for the building and the 3 6x6 runners we used for foundation.

IMAG0288.jpg

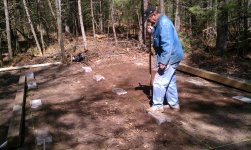
Then we put down cement blocks to support the runners level and off the ground a little.

Lay blocks.jpg
Blocks.jpg

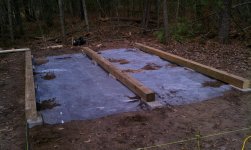
Placed the 6x6 runners
Runners.jpg

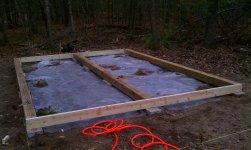
Then we tied the runners together with treated 2x6's

Tie Runners .jpg

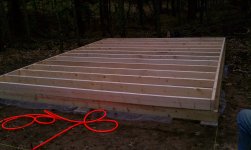
Then we layed out floor 2x6 floor joists but did not attach them to the runners yet.

Floor joists.jpg

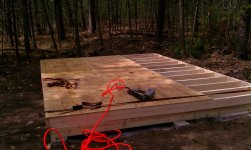
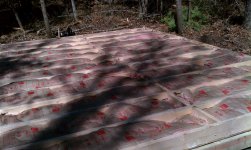
Next we glued and nailed 1/2" treated plywood to the joists.

Treated Sheathing.jpg
 
Last edited:
   / Building a Guest Room at the Cabin
  • Thread Starter
#13  
Then we flipped the floor joist system to put the treated plywood on the bottom against the runners.
We used the loader on the B2620 to help but we couldn't take pics of that process. We needed all hands on deck.

Getting ready to flip the floor .jpg

Flipped over.jpg

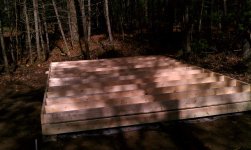
Then we nailed blocking in the joist bays to stiffen but also to allow a good attachment through the blocking and treated plywood to the runners. Here it is flipped over and placed back on the runners squared up.

Flipped over.jpg

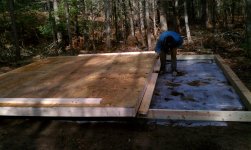
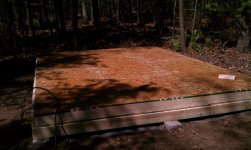
Then we insulated the joist bays and then glued and nailed 3/4" T&G OSB for the final flooring on our platform.

Floor Insulation.jpg

OSB Flooring.jpg

From there it was fairly typical stick built construction. We used 2x4 walls with 2x6 rafters with a ridge board.
 
   / Building a Guest Room at the Cabin
  • Thread Starter
#14  
Here's some pics of putting the walls up.

First wall.jpg

Back wall.jpg

Third wall.jpg

Fourth Wall.jpg

I took awhile to figure the rafters out but once we did, we moved along pretty quickly. It was now April 24th.

First Rafter.jpg

Rafters Up.jpg
 
   / Building a Guest Room at the Cabin
  • Thread Starter
#15  
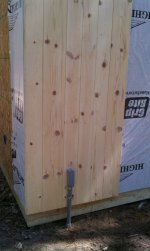
The walls on the outside were 1x6 and 1x8 knotty pine T& G. We put up the back corner first so we could set the conduit from the buried wire for the subpanel.

Knotty Pine and conduit.jpg

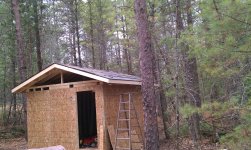
Then we completed the rest of the wall sheathing.

finished OSB sheathing on walls.jpg

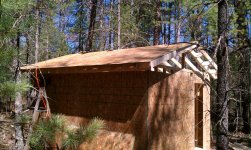
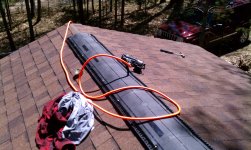
Next the roofing.

Roof sheathing.jpg

tar paper and Ice Shield.jpg

Roofing and ridge vent.jpg

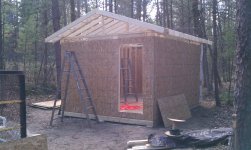
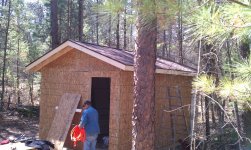
Then on Friday April 27th we closed up the shell and went home for a break.

Ready to close up and take a rest.jpg
 
   / Building a Guest Room at the Cabin
  • Thread Starter
#16  
I'll post more of the process later guys. It was a fun and satisfying project. But my brother-in-law and I did get tired in the process. Not bad for a couple of senior citizens.
 
   / Building a Guest Room at the Cabin #17  
That's an interesting detail of not going all the way to the top plate with the sheathing and (if I see it correctly) finishing with a 2x4 at the top of the wall instead. Any particular reason for that? I usually put sheathing all the way up to get full cross bracing tieing the top plate in to the wall studs.
 
   / Building a Guest Room at the Cabin
  • Thread Starter
#18  
That's an interesting detail of not going all the way to the top plate with the sheathing and (if I see it correctly) finishing with a 2x4 at the top of the wall instead. Any particular reason for that? I usually put sheathing all the way up to get full cross bracing tieing the top plate in to the wall studs.

I wanted the 4x8 sheathing to also cover the rim joist. I should have gotten 4x9. The top of the 4x8 was the bottom of the boxed in soffit. We later took the 2x4 off and filled in with scrap osb.
 
   / Building a Guest Room at the Cabin
  • Thread Starter
#19  
Here's some work on the "Guest Nest" as the wives are calling it.

We came back on May 15th. We wrapped the building in house wrap and nailed up the knotty pine t&g.
Oh, didn't post pics but we wired the place before we insulated.

InsulatedWallsandCeiling.jpg


HouseWrap.jpg


KnottyPineOutside.jpg


Deck.jpg


We made our door from T&G 2x6's. It's heavy and solid.

DIYDoor.jpg


Covered the ceiling of the porch with knotty pine as well.

KnottyPineonPorchceiling.jpg


We put the same vertical knotty pine on the inside with some horizontal backing where needed.

Bunksandknottypineinside.jpg


We built in 2 twin bunks, a bookcase on the bunk wall. Which left room for a queen size bed and small closet.

GuestNestKnottyPineCeilingandfan.jpg


We also wrapped the soffit and fascia with aluminum.

We did this in two trips, one in May and the other in June. The ladies picked out carpet and my sister-in-law made curtains.

Everybody loves it.
 
   / Building a Guest Room at the Cabin #20  
Looks really nice. I like the color on the finish. What did you use?
 
 
Top