Water Line and MiraFount Installation - lots of Pictures

   / Water Line and MiraFount Installation - lots of Pictures #1  

DT86

Elite Member
Joined
Dec 19, 2010
Messages
4,017
Location
VA
Tractor
Kubota
I thought I would share my experience of installing some water line and two livestock watering facilities. With these two waters I now have a total of six Mirafount waters for the cattle. The project began in mid/late October and was wrapped up a couple weeks ago.

Here are the things I did wrong... It could be done in considerably less time working on it full time, I should have started this thread sooner with updates as the job progressed and took more pictures of certain steps. However... other things were going on at the time like actually doing the work and it just didn't happen that way. :rolleyes:

At any rate I sincerely hope you all enjoy looking and ask questions. :thumbsup:

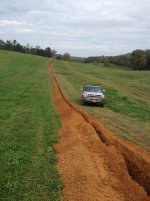
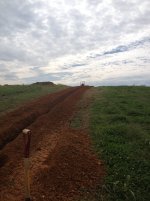
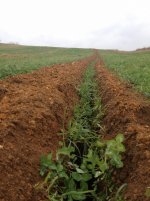
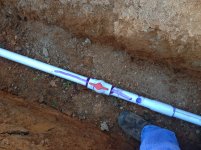
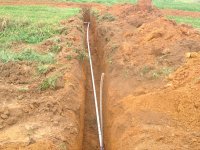
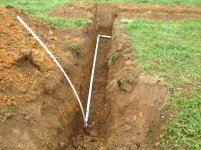
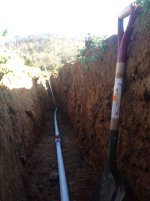
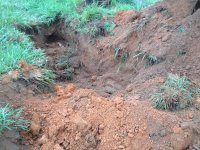
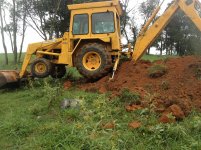
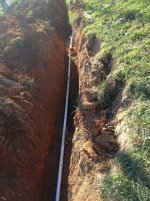
The project began with finding the stub end of the old water line we had left when we installed the last trough, 8 plus years ago. This 1 1/2" sch40 line serves the whole farm. I remembered where it was within about 10 feet and was able to dig it up with the backhoe with out damaging it. I then dug the first couple hundred feet of ditch with the backhoe toward the fence line, after crossing the fence it was a straight shot across open field with the rented Ditch Witch. My friends Dad is newly retired and according to his wife and sons needed to get out of the house. So I recruited him to run the Ditch Witch while I ran to get the pipe and do other things around the farm. This saved me two days of riding that stupid thing and it only cost me the rental, lunch, 12 Coors Lights and some gift cards (which he insisted were unnecessary). In two days time we had completed an estimated 2,740' of ditch between us or 137 x 20' joints of pipe.
a0.jpg a1.jpg a2.jpg
a3.jpg a4.jpg a5.jpg a6.jpg
 
   / Water Line and MiraFount Installation - lots of Pictures #3  
The project began with finding the stub end of the old water line we had left when we installed the last trough, 8 plus years ago. This 1 1/2" sch40 line serves the whole farm. I remembered where it was within about 10 feet and was able to dig it up with the backhoe with out damaging it. I then dug the first couple hundred feet of ditch with the backhoe toward the fence line, after crossing the fence it was a straight shot across open field with the rented Ditch Witch. My friends Dad is newly retired and according to his wife and sons needed to get out of the house. So I recruited him to run the Ditch Witch while I ran to get the pipe and do other things around the farm. This saved me two days of riding that stupid thing and it only cost me the rental, lunch, 12 Coors Lights and some gift cards (which he insisted were unnecessary). In two days time we had completed an estimated 2,740' of ditch between us or 137 x 20' joints of pipe.
Howdy,
You got a good deal on the ditch witch rider. :)
Wow, you used 20' sections? Since I never want to go back into the ground after a leak, I would have used HDPE pipe tubing.

Wish you luck for no leaks now and in the future. :thumbsup:
 
   / Water Line and MiraFount Installation - lots of Pictures
  • Thread Starter
#4  
Nice looking project DT86. Beautiful land too!!

Thank you. Stay tuned.


Howdy,
You got a good deal on the ditch witch rider. :)
Wow, you used 20' sections? Since I never want to go back into the ground after a leak, I would have used HDPE pipe tubing.

Wish you luck for no leaks now and in the future. :thumbsup:

I sure did. He enjoyed it too!

We use schedule 40 PVC for all our water lines, probably around a mile and a half total now. The only leaks I've had were from a frost free hydrant with a bad plunger and one other place that looked like the glue didn't set properly, possibly due to turning the water on too soon after installing a cut off valve.
 
   / Water Line and MiraFount Installation - lots of Pictures
  • Thread Starter
#5  
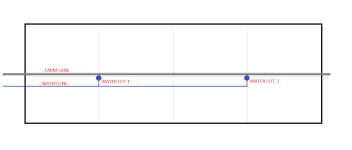
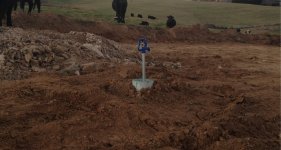
I'll start here by explaining the basic layout of the water line. It consists of the 1 1/2" line running 3/4 the length of the field. Off of this line are two spurs at 1/4 and 3/4 the length of the field. These spurs feed the water troughs, which are as close to the center of the field as possible.
Untitled.png

After getting the ditch dug we had a few days of light rain before we got the pipe in. I was worried about mud filling in the ditch but it didn't cause any problems.

I don't have any pictures of putting the pipe together. I'm sure we've all seen pipe being glued together.
 
   / Water Line and MiraFount Installation - lots of Pictures
  • Thread Starter
#6  
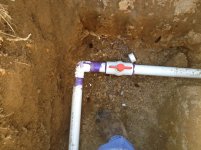
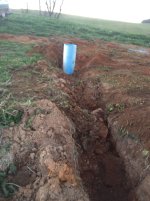
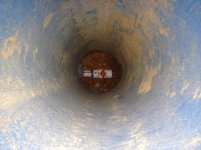
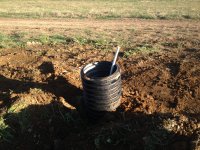
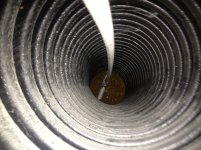
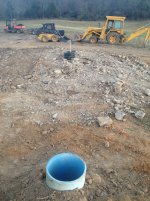
Each one of the troughs has its own cut off valve should it need servicing. The vertical line that enters the trough is reduced to 3/4" and runs through 15" corrugated pipe, called a heat well. This allows warmth from the ground to heat the bottom of the trough, keeping it from freezing in the winter.


a10.jpg a7.jpg a9.jpg a8.jpg


a12.jpg a13.jpg a14.jpg a15.jpg a16.jpg
 
Last edited:
   / Water Line and MiraFount Installation - lots of Pictures
  • Thread Starter
#7  
After all the water line was installed I let the glue dry for two or three days. Better safe than sorry. I then pressure tested the line for two more days before back filling every thing.

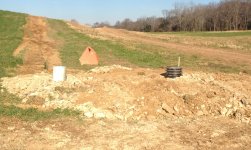
Water trough #1 was on a hill side that I benched out. It received 6 single axle dump truck loads of slate to bring it up to the desired grade.

a25.jpg a26.jpg a27.jpg a28.jpg


Water trough #2 is in a large flat area. It got three loads of slate to bring it up to a level that would drain water away from the trough.

a17.jpg a18.jpg a19.JPG a20.JPG a21.jpg a22.jpg a23.jpg


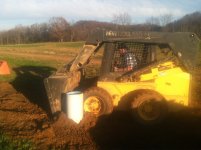
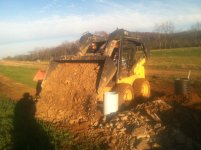
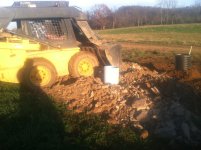
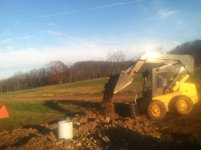
I spread all the slate with a friends skid steer that I swapped in exchange for the use of my tractor. This again was a great deal, I kept it several weeks and it only cost me the fuel I used.
 
Last edited:
   / Water Line and MiraFount Installation - lots of Pictures
  • Thread Starter
#8  
a29.jpg
After all the slate was pretty much where I needed it to be we packed it in real good with a D3.


a30.jpg a32.jpg
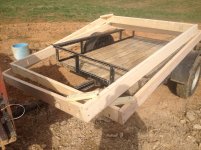
Next I set up the forms so I could pour concrete for the troughs to sit on.​
 
   / Water Line and MiraFount Installation - lots of Pictures #9  
Thanks for the pictures
 
   / Water Line and MiraFount Installation - lots of Pictures
  • Thread Starter
#10  
 
Top