Spending more of Mom's money.
")
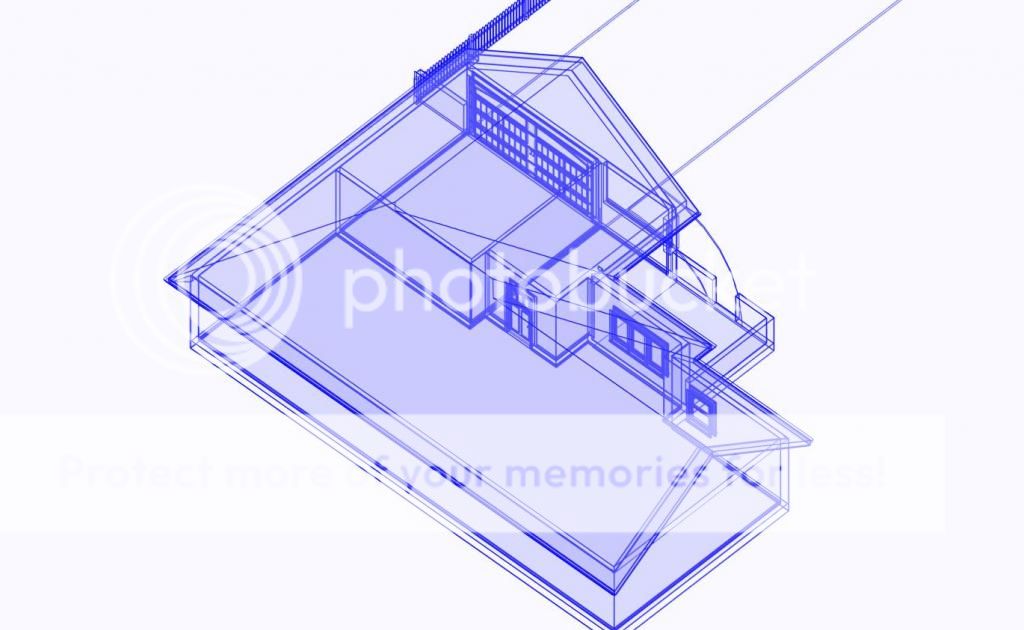
Wow Jay..
We've been out trimming hooves and trying not to get kicked and you've been busy playing with your Wacom tablet and stylus.
Nice job.
I see you copied Peter's actual stone sample image and used it in your latest rendition.:thumbsup:
Could you replace the square post with a round tapered white column? I think the square post looks too barny.
I recall Peter's roof plan was a 5/12 pitch. Looks like yours may be the same or close.
Try removing the stone above the wall and over the transom of the garage door to give a horizontal line cut.
Then maybe put in a fake round or octagon shaped gable vent up near the ridge. Some gables particularly on steeper pitched roofs
look kind of naked without something up there. Some look too cluttered depending on the garage door style.
Everything considered, since the front of the house ( curb appeal ) means everything, and since none of this outside stuff will delay Mrs. Clausen moving in, if it is not done by 1 May 2013, as long as she has clear entrance through the garage, I would:
1.Pull the one man masonry team off the front and leave the blocks as they are until a final resolve can be made to the design. They can be taken apart easily at any time along the mortar joints without breaking.
2. Get him to work on the inside fireplace now. Sometimes they want the plasterboard up first but that can be worked around or a temporary piece of 1/2' material put in to lay against. Fireplace work always makes a mess, and with hardwood floors and tile going down soon the fireplace stonework should be done first and cleaned up.
3. Then stick him on stoning the outside chimney if a final decision hasn't been reached on the front of house/stonework design.
Peter can continue using his software to show his mom different versions of the front until they are both happy or perhaps download one of the software programs currently available to add various design points and landscaping. I notice the best HDTV version is on sale now
for $80. I don't see a trial fully workable version but some other more expensive brands do have them available.
I have not used any of them so cannot, and would not anyway, endorse any of them.
Jay, I think your renditions help in a big way in seeing various solutions. We all multitask too much anymore to really see much of anything. Our brains see it but move right on without attention to detail. How many of us really know the exact color of our wife's eyes?
Ron