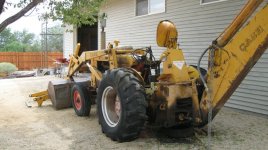
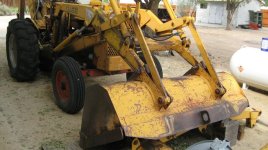
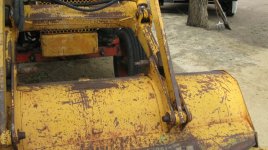
Well this is the first installment with more to come. I decided to start with a cylinder rebuild for the stabilizers since it was one of many parts that I was trying to 電ry up the bleeding of hydraulic fluid. Almost everything on the tractor was leaking and not one of the cylinders would hold its position after shutting down the hoe. Also for those that have not rebuilt a cylinder; this will show you the components and maybe illustrate how simple a cylinder is.
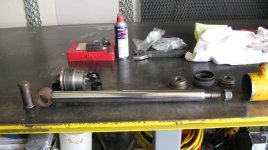
Here is the cylinder completely disassembled. Of course, the rod with the boss on the end where the pin connects to the stabilizer is front and center. On the left is the gland nut with an assortment of seals and wipers.
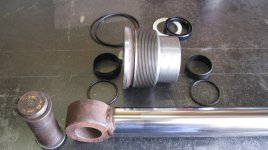
Close up of the gland nut and the seals and wipers

This one shows the metal washers that sandwich the packing which is spread out above. That center fibrous looking washer helps the piston (when installed in the cylinder) to ride gently on the cylinder walls and keeps it from binding up.
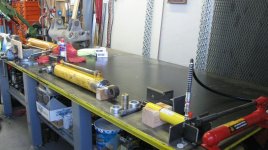
OK, this is the set up that I fabricated to assist in re-installing the piston back into the cylinder. The piston packing can be quite stiff and will resist normal efforts to push it back in, even with lots of lubricant. I used a port-a-power type horizontal jack and pump to facilitate the procedure. You will notice that at each end of the cylinder is an assortment of pins bushings and square tube boxes.
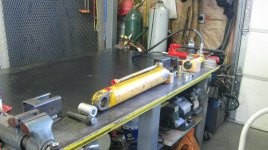
A view from the other end.
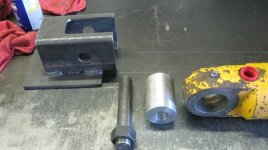
A close up with all the parts needed to hold the port end of the cylinder. You will note that I welded a shoe to the box tube so that the pin bore will always be oriented perpendicular to the axis of the cylinder. When re-installing the cylinder it just makes it so much easier to then install the pins. Once the piston packing is in the cylinder it is pretty hard to rotate it into position.
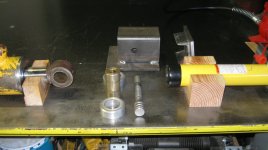
Since there are different sized cylinders on the loader/hoe it follows that there are different sized bosses connected the rods of those cylinders. So, I machined different sized bushing to fit the different sizes. You will note that I stitch welded a shoe or plate onto the sq. tube to keep the orientation with the port end.
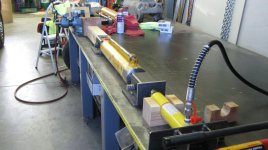
This is a view with the whole set up together to show you how I trapped the cylinder between the jacking device and one of my vises farther down the fab table. If I have a longer cylinder, I just unbolt the vise and move the block to the other vise even further down.
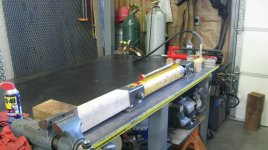
It is a simple set up and really saves time!
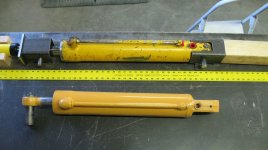
This one show an over view of a cylinder that I just finished and painted and one in the (set up) and a rule to give some perspective to the size. The metal tubes that connect the hydraulic lines were bent up like pretzels, but with a little work with mandrels (matched the I.D. of tubing) and a machinist vise and small hammer I was able to straighten them out again. I have had to chuck up in my lathe most of the gland nuts and re-face the ends then re-bore the シ holes because of the damage caused by others that did not use a spanner to unscrew the gland.
