You are using an out of date browser. It may not display this or other websites correctly.
You should upgrade or use an alternative browser.
You should upgrade or use an alternative browser.
Geothermal Heat Pump Project
- Thread starter techman
- Start date
- Views: 20919
/ Geothermal Heat Pump Project
#11
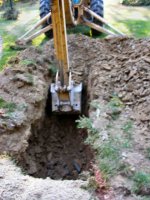
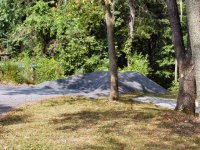
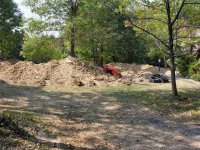
Here is the trench progressing. I had planned for a 7' deep trench, but at an average of 6.5' we hit blue shale (solid layer of hard shale), so we stopped when we hit that layer. In actuality the solid layer has a better heat conductivity than the surrounding soil.
paul
paul
Attachments
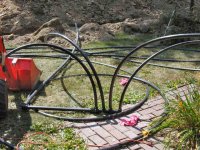

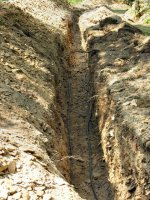
Here is a shot of the tubes in the bottom of the trench. One difficulty was that the coils had to be "unwound" without twisting. The tubing is quite stiff and will not lay flat if there are any lengthwise twists in the line. Often I had to flip the coils to take the twist out so it would lay flat.
paul
paul
Attachments
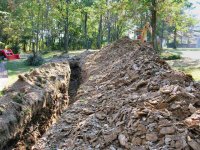
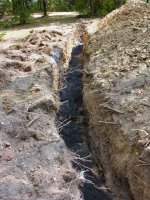
The tubing needs to have good thermal coupling to the ground, so the entire length, at both layers has gravel screenings put in to surround the tubing. Approximately 6" minimum around the tubing is needed. Screenings are very fine, almost like sand, and fill all of the voids between the soil, rocks and the tubing. It is a critical component for good performance. I used nearly 60 tons of screenings on the job.
paul
paul
Attachments
ESM
Member
Paul,
All the info is great! Thank you for putting the time into sharing your experience. I've learned a lot since we started discussing this back under the Kubota owners forum. For others who may be interested in tackling an installation themselves, the International Ground Source Heat Pump Association (http://www.igshpa.okstate.edu) offers Accredited Installer Workshops. I'm hoping to go through the course in May, in fact, it's up in your area of the country, Bethlehem PA. It's also offered in a few other states and Canada. I'm looking forward to reading more about your project.
Eric