Johndeere3720
Padawan Tractor Learner, Advertiser
- Joined
- Mar 14, 2009
- Messages
- 6,526
- Location
- NW Oregon
- Tractor
- Bobcat T62, MT55, E42R, E10, John Deere 4100
Excellent job! Cant wait to see it back in Yanmar red. :thumbsup:
Great "resurrection" ..... you will have looking so nice you won't want to use it


Quick update.
I finished the painting the other day. Now I'm working on the new headlight mount and wiring up the new horn and lights (both switches and wiring were missing).
Making the new headlight assembly required some exacting cuts, as not only is it a tight fit with little overlap, but the grill is curved.
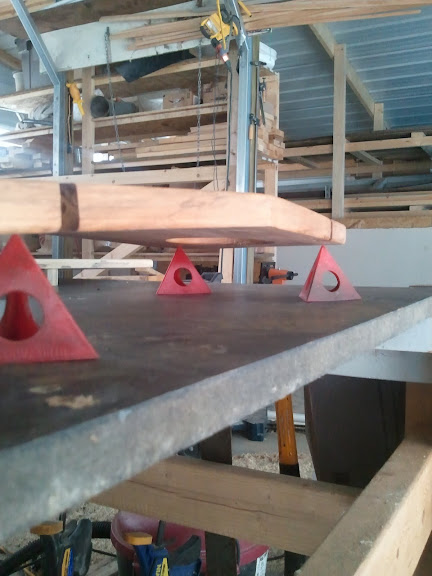
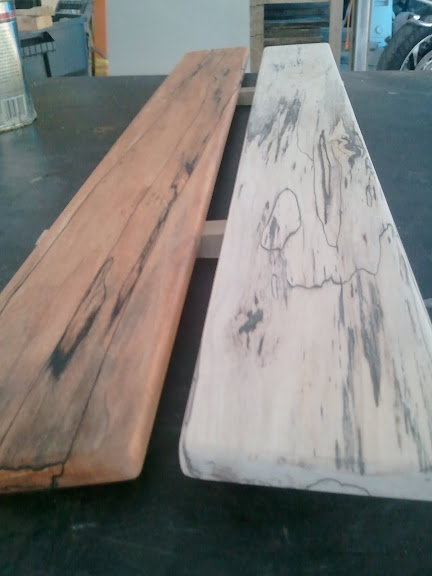
I'm also adding some wood siding on the hood itself. Sort of an homage to the old Woody wagons, as it serves no actual function. I'd love to figure a way to burn 'YANMAR' into the wood siding using a nice bold italicized font.
After a couple of coats of poly.
Tomorrow I have to do some web work, but hopefully I'll have a few to add the last few coats of poly and make up a bracket to affix the new headlights to the new mount. If all goes well, Friday I'll be wiring it all up and mounting the new horn.