glc24
Platinum Member
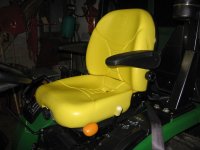
I started to figure a mount for the SE seat today. I didn't realize until I took the seat out of its box that the dealer had included the "Attaching Parts Kit" at no extra charge to me...........nice")
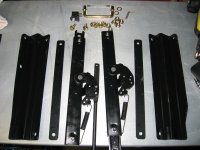
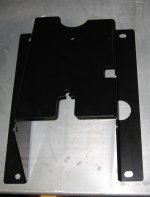
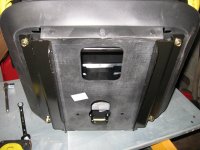
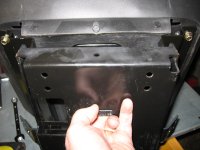
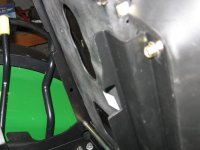
Starting from the upper left,the first and second pics are what comes with the kit. The third pic shows the original seat sliders. They are unbolted,that's why the one is leaning. In case you were wondering The fourth pic is the seat bracket that bolts to the sliders,and the fifth pic shows what I'm going to remove. I shouldn't have too much trouble,there is only those two small circular welds and the two small beads. I'll drill through the holes and use a cutoff wheel on the beads.
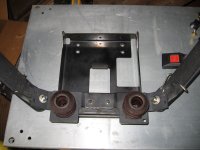
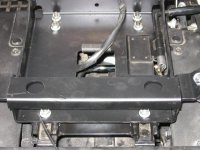
So far,unless something won't work out,the two pieces on the new seat shown in the lower left pic,is (hopefully) all I'll need to use. In the last pic,I'm holding the seat bracket. It's hard to tell from the pic,but I need another 3/8" on each side,so the brackets on the new seat end up on the outside of the bracket I'm holding. If I can't hold those seat brackets in the mill vise,I'm sure I can die grind 3/8",so as to make a slot and slide the brackets out to give me the necessary 3/4".
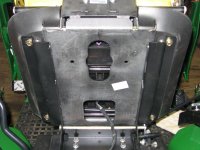
I may have to do something to the back of the original seat bracket where the new seat brackets will rest. I won't know what I'll need until I get the said tasks done.
kennyd,if you see this,might the attaching parts kit help you out getting that seat on your tractor?
Greg
Starting from the upper left,the first and second pics are what comes with the kit. The third pic shows the original seat sliders. They are unbolted,that's why the one is leaning. In case you were wondering
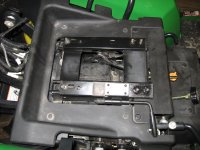
The fourth pic is the seat bracket that bolts to the sliders,and the fifth pic shows what I'm going to remove. I shouldn't have too much trouble,there is only those two small circular welds and the two small beads. I'll drill through the holes and use a cutoff wheel on the beads.So far,unless something won't work out,the two pieces on the new seat shown in the lower left pic,is (hopefully) all I'll need to use. In the last pic,I'm holding the seat bracket. It's hard to tell from the pic,but I need another 3/8" on each side,so the brackets on the new seat end up on the outside of the bracket I'm holding. If I can't hold those seat brackets in the mill vise,I'm sure I can die grind 3/8",so as to make a slot and slide the brackets out to give me the necessary 3/4".
I may have to do something to the back of the original seat bracket where the new seat brackets will rest. I won't know what I'll need until I get the said tasks done.
kennyd,if you see this,might the attaching parts kit help you out getting that seat on your tractor?
Greg