RDrancher's Photo Thread

   / RDrancher's Photo Thread
  • Thread Starter
#31  
so have you figured out how to keep the green out it yet?

By "green" I'm assuming you mean grass, etc. Round-up, if it's an existing driveway. :D Of course, when installing a new driveway using non-woven geotextile works the best. Another thing that works is to excavate for the driveway so that the finish elevation is level is just above the surrounding soil, as opposed to laying the gravel over the top of the ground. That way the edges are just as thick as the rest of the drive and the gravel is more contained. Material selection is important too. Locally, we have a brown-colored road base that looks great, but the fines are pretty fertile, so grass loves to grow in it. I don't use it.

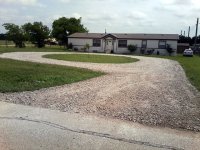
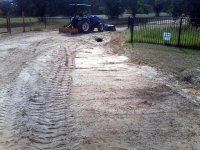
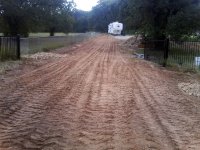
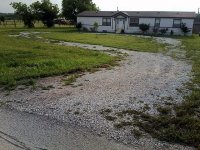
Here are a couple photos of a driveway I regraded so they could get a handle on the grass. Like most gravel driveways it's thin on the edges, so unless it's maintained, the grass will grow back in time. BTW - I didn't add any new material to the driveway.
Gravel Works Justin 01.jpgGravel Works Justin 02.jpg

Great thread, really enjoyed it. Looking forward to seeing more of your work!

Thank you! :thumbsup:
 
Last edited:
   / RDrancher's Photo Thread #32  
That is a dramatic difference in appearance in #31.

Would you mind going through the process a little, including what equipment used, for those of us that aren't experienced enough to know?

Once again, Excellent thread!

.
 
   / RDrancher's Photo Thread
  • Thread Starter
#33  
Every job is different, but when I'm using the box blade and scarifiers I only go down to a depth of 2" or so. I also use a ratchet rake on the bucket and am experimenting with a landplane. I don't mind getting into the soil a little bit to remove grass roots, but if I see any soil peeling up onto the scarifiers I raise them up a bit. I rip to the bottom of any potholes full-box blade width both ways and take the extra time to compact those areas back in. In the photos in #31 I hauled off two bucket loads of grass and roots.

STEPS FOR RESTORING YOUR GRAVEL DRIVEWAY or PARKING LOT

#1. During our visit to provide you with a Free Estimate, we'll measure the area and identify any existing problems (IE: potholes, poor drainage, washboard). We will also determine the depth of the existing gravel in several locations to insure that there is enough material and the right type of material to reclaim your driveway or parking lot.

If we determine that you will need additional gravel, we will inform you during our first visit…No Surprises!

#2. We'll scarify (score) your driveway or parking lot using our equipment-mounted scarifiers and a specially designed loader attachment. Getting to the bottom of these problem areas is the only method proven to repair and eliminate potholes, poor drainage and washboard surfaces. Adding rock to potholes and spreading more gravel over old problems looks fine for awhile... but it does nothing to correct the problem. Those same problem areas will return just as before.

#3. The gravel and fine particles are mixed back together and re-graded over your driveway or parking lot using the combination of our loader and road maintainer or box grader. We pay close attention to drainage, dress up the edges, and re-crown if required. We also separate and remove as much grass, soil and other materials as possible during the restoration process.

#4. Your reclaimed gravel driveway or parking lot is then compacted to add durability. Rainfall does the rest!
 
Last edited:
   / RDrancher's Photo Thread
  • Thread Starter
#34  
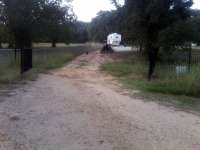
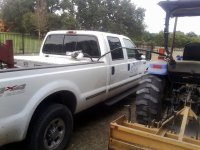
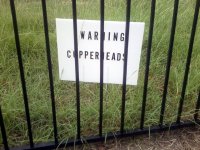
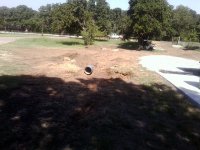
Started an RV access today. Its on a slope with some drainage issues.
Skyline01.jpgSkyline02.jpg

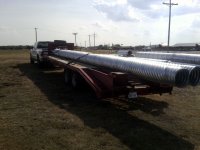
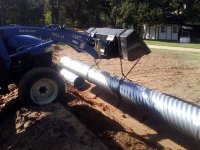
Hmmm, A culvert pipe no one knew existed. I'll be installing a new larger and longer one here anyway.
Skyline03.jpg

Picked up a couple new tinhorns for the project this afternoon.
Skyline04.jpg
 
   / RDrancher's Photo Thread #35  
when people speak of "drainage issues" does that mean water pooling around driveway because the drive is low, or water is not draining through the driveway well enough?
 
   / RDrancher's Photo Thread
  • Thread Starter
#36  
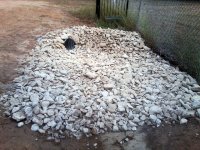
Well, it can mean a lot of things. In this case the RV access has a "J" turn at the top and water travels straight down the hill towards it. I'm putting in a rip rap collection area there to channel flow under the new gravel area. At the bottom of the hill at the gate water flows down the neighbor's drainage channel and would travel across the gravel there too.

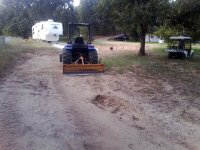
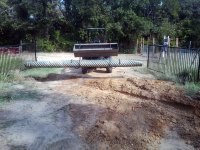
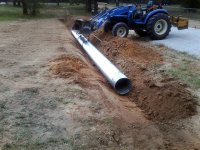
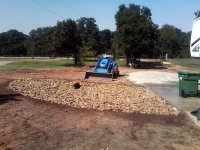
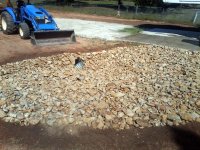
Here's some photos from today. Created a small drainage swale and catch area with geotextile and rip rap to collect flow off of the adjoining property. Put in a 30' culvert pipe and graded a shallow swale to an existing culvert pipe under the private road, then dug the ditch for the 30' culvert at the top. The customer decided this afternoon to widen the area so I'm adding another 16 footer. It started raining, so I wheel rolled the driveway and swale before leaving.
Skyline05.jpgSkyline06.jpgSkyline07.jpgSkyline08.jpg

Thirsty Tractor
Skyline09.jpg


May I buy a vowel?
Skyline10.jpg
 
   / RDrancher's Photo Thread #37  
It started raining, so I wheel rolled the driveway and swale before leaving.

Great thread and nice work.

What do you normally use for compaction, a walk behind or a towable roller?
 
   / RDrancher's Photo Thread
  • Thread Starter
#38  
Thank you!

Of course it depends on the project, but I use a vibratory ride-on roller and a plate compactor for small areas whenever its in the client's budget. I had been looking lately at purchasing a towable roller that I could keep on the trailer for everyday jobs, but I may be parking the tractor and going to a CTL so I've been putting that off. Sure wish the economy would get better so purchasing decisions would be easier.
 
   / RDrancher's Photo Thread
  • Thread Starter
#39  
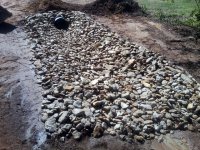
Didn't get out to the job until this afternoon, but managed to get the additional culvert picked up and set. Graded for the upper catch basin, keyed in for the geotextile and rip rap and then placed the rip rap. Hmmm, forgot to get pics of the grading.
Skyline11.jpgSkyline12.jpgSkyline13.jpgSkyline14.jpg

The downstream end of the pipe.
Skyline15.jpg
 
   / RDrancher's Photo Thread #40  
RD, that 4"-6" rip-rap is very nice and easy to work. I got one load of 8"-12" and 4 loads of 4"-6". I've used 2/3 of my 4"-6" and still have half a load of the larger rip-rap. I'm close to Chico, Paradise, & Bridgeport. Hauling is much cheaper here than in Denton. Even so, none of it is cheap.
 
 
Top