ctjstr
Silver Member
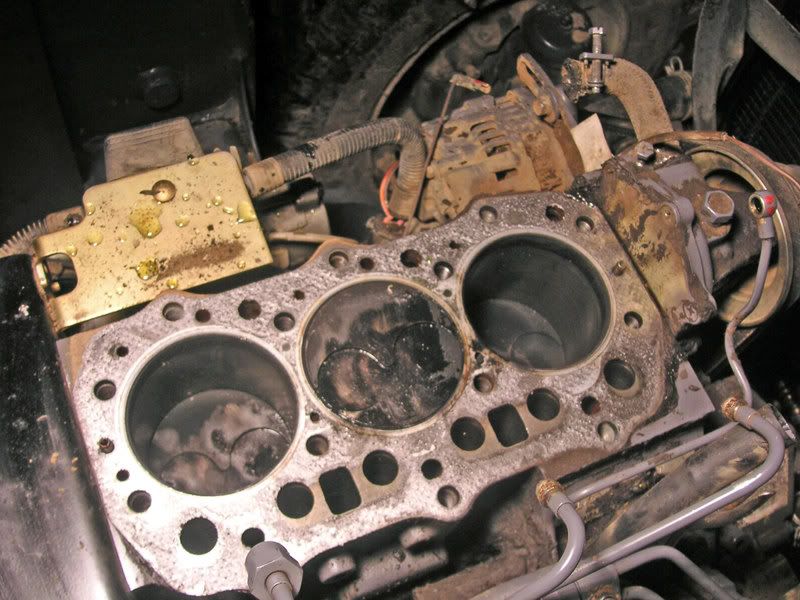
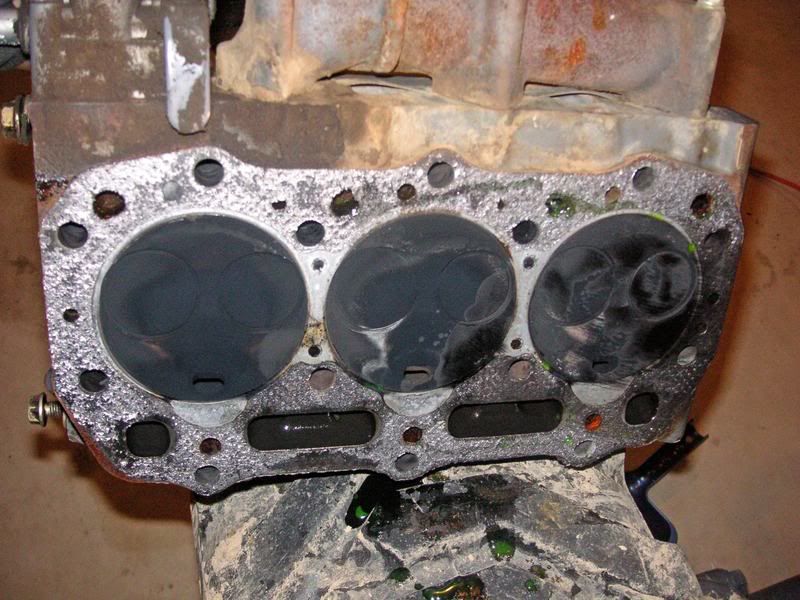
Well, unfortunately its that time. I severely, no, make that SEVERELY overheated my tractor last week and did some internal damage. I'm down on compression, hard starting, lots of blowby coming out the breather and puffing a bit of steam. I'm HOPING its just some crushed rings and a head gasket. I've decided to do the top end with the engine in the frame.
I'm going to try and post photos of the progress and we'll see how it goes. This is the first time I've been under the hood of a tractor for anything other then fluids so it should be fun.
Got the loader and backhoe off and stuffed the tractor in the garage. The new shop is not done yet, no concrete or electricity, so the garage is the only alternative. Its a total pain since I've got tools, parts and supplies crammed everywhere waiting for the shop.
I immediately made a horrific mistake. Started the tear down process and Had not bothered cleaning off the tractor. Total brain fart on my part and it will make the project way more time consuming. I'll have to clean as I go and before I take the engine apart, I'll blow it off with compressed air. Better then nothing but not what it should be.
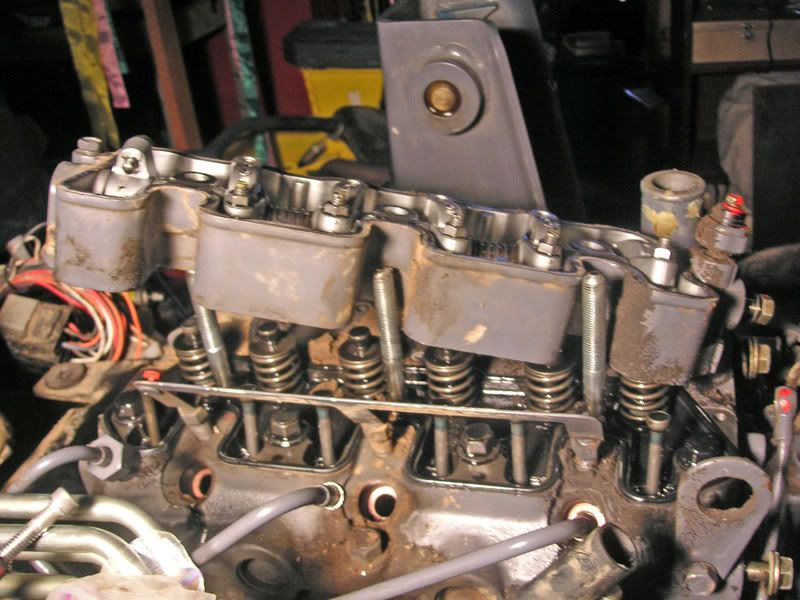
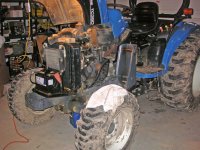
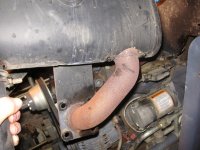
First few shots are attached. I decided to pull everything off the top first. That involved pulling the dash, the cowling, steering wheel, all the electric stuff, hood, power steering fluid container and the large panel behind the engine, to which seemingly everything is attached. I've already got pretty much a coffee can of nuts and bolts. I can sort all those out later.
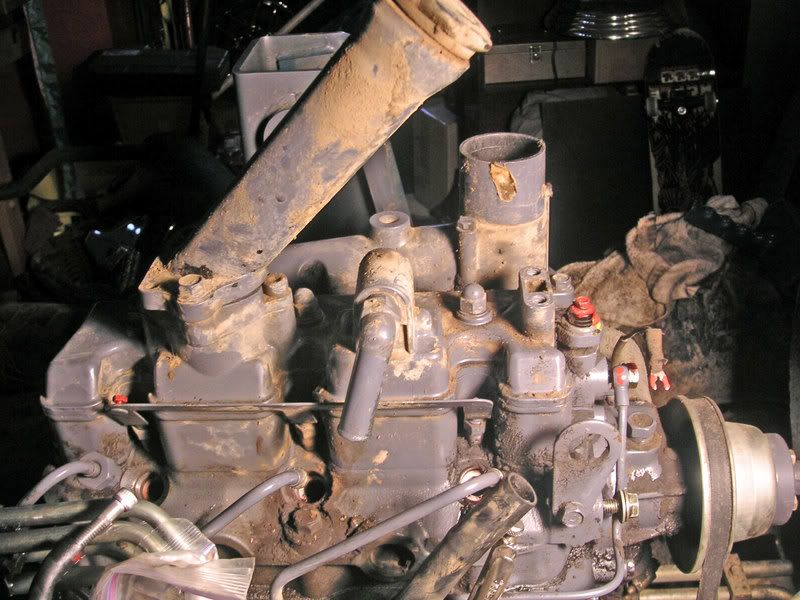
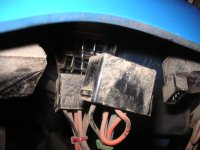
First picture is the tractor in the shop ready to start work. Next shot was pulling the exhaust so I could get a look at stuff to see what had to come off next. Third shows pulling some of the connectors off the dash and cowling so those parts could be removed.
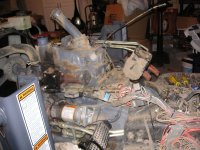
That let me get the cowling off and you can see the large metal plate with steel reinforcing bars that go up to the front of the engine and even brace the radiator.
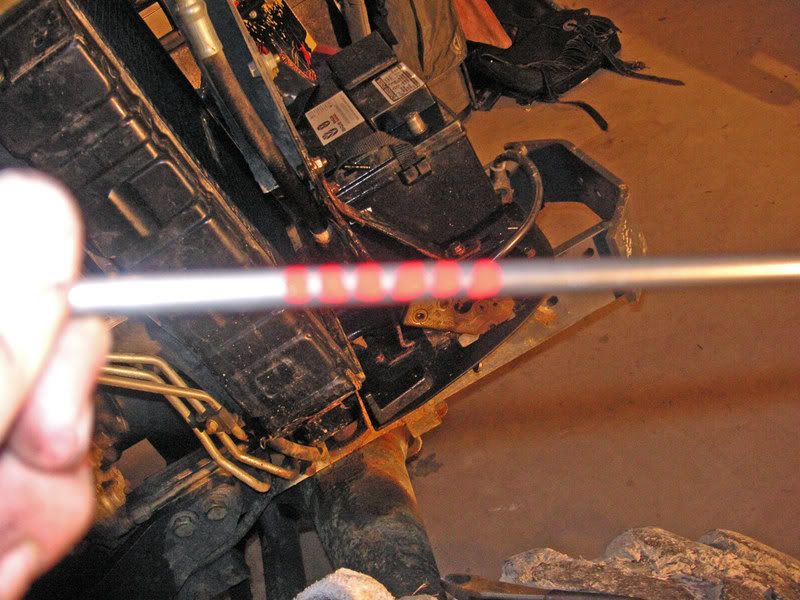
The large container for power steering fluid bolts on funny. You essentially have to move the tank to get to the bolts that hold it on. Huh? Now that's dumb. So I just drained the tank and left it on the steel framework.
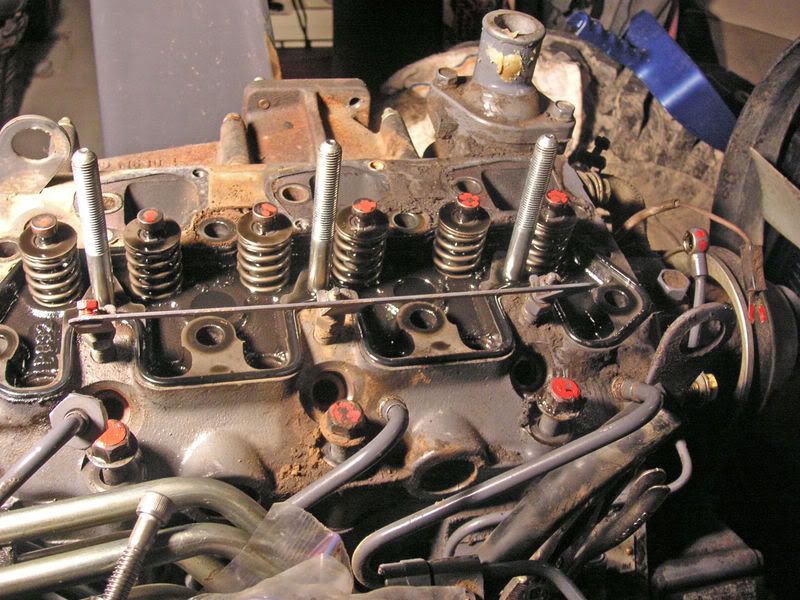
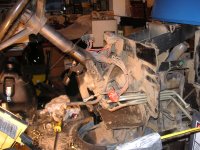
Finally the last shot shows everything off the top, with all the wiring laying in a heap on the bottom right of the photo. Steering wheel is off and now its time to clean.
More as I get time to do some work. Right now, its time for Christmas turkey. yum.
I'm going to try and post photos of the progress and we'll see how it goes. This is the first time I've been under the hood of a tractor for anything other then fluids so it should be fun.
Got the loader and backhoe off and stuffed the tractor in the garage. The new shop is not done yet, no concrete or electricity, so the garage is the only alternative. Its a total pain since I've got tools, parts and supplies crammed everywhere waiting for the shop.
I immediately made a horrific mistake. Started the tear down process and Had not bothered cleaning off the tractor. Total brain fart on my part and it will make the project way more time consuming. I'll have to clean as I go and before I take the engine apart, I'll blow it off with compressed air. Better then nothing but not what it should be.
First few shots are attached. I decided to pull everything off the top first. That involved pulling the dash, the cowling, steering wheel, all the electric stuff, hood, power steering fluid container and the large panel behind the engine, to which seemingly everything is attached. I've already got pretty much a coffee can of nuts and bolts. I can sort all those out later.
First picture is the tractor in the shop ready to start work. Next shot was pulling the exhaust so I could get a look at stuff to see what had to come off next. Third shows pulling some of the connectors off the dash and cowling so those parts could be removed.
That let me get the cowling off and you can see the large metal plate with steel reinforcing bars that go up to the front of the engine and even brace the radiator.
The large container for power steering fluid bolts on funny. You essentially have to move the tank to get to the bolts that hold it on. Huh? Now that's dumb. So I just drained the tank and left it on the steel framework.
Finally the last shot shows everything off the top, with all the wiring laying in a heap on the bottom right of the photo. Steering wheel is off and now its time to clean.
More as I get time to do some work. Right now, its time for Christmas turkey. yum.
")