linuxman51
Gold Member
- Joined
- Nov 26, 2012
- Messages
- 300
- Location
- Montgomery, AL
- Tractor
- craftsman lt1000/jd 717a/ mahindra max26 hst
probably going to shiv some sacred cows with this (per install process, not the lights themselves, although who knows on that). been getting home around 4:30pm lately, doesn't leave much time to hand the kid off, change, jump on the equipment and get anything done before it's dark too dark to see ") cool2. On a whim last week I looked at the LED lights on amazon, and ordered some up. Cheap (probably in more ways than one), so I went big. Got a light bar to go on the top (facing backwards) of the rops, and then a par of smaller 'spot lights' to go on the sides (also facing back. more on this in a minute). Oh, and some cheesy wiring harness kit that says "zombie lighting". It must be defective, I didn't see any zombies.
cool2. On a whim last week I looked at the LED lights on amazon, and ordered some up. Cheap (probably in more ways than one), so I went big. Got a light bar to go on the top (facing backwards) of the rops, and then a par of smaller 'spot lights' to go on the sides (also facing back. more on this in a minute). Oh, and some cheesy wiring harness kit that says "zombie lighting". It must be defective, I didn't see any zombies.
anyway, for those that haven't played with these inexpensive lights, they're pretty slick so far. plenty of light. hopefully they last for a while. Had to take the console apart to get the blanking plate off (it's screwed on from behind), that resulted in an amusing photo op for my facebook buddies... "Well ****, it looked like just a small bump..."
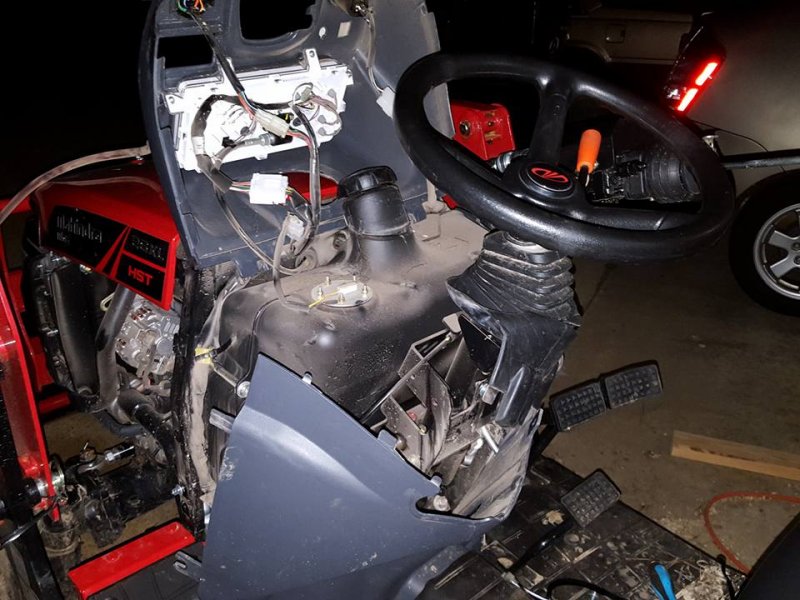
for anyone that hasn't tried to take that off yet, the grey metal trim piece that goes between the hood and the console plastic (for lack of a better word) is held on by 4 10mm bolts, two under the hood, and two behind rubber grommets down low. once it's off, you can access the bolts that hold the console together up front, and then by the steering wheel there's two phillips(?) screws and another 10mm bolt. Not sure why they used the phillips there, it's the same thread pitch used on the bolts (iirc m6x1.0 or maybe m7). a little bit of tugging, some profanity, and it all slides apart.
once the harness was wired up and the switch mounted and connected, we tested the light out
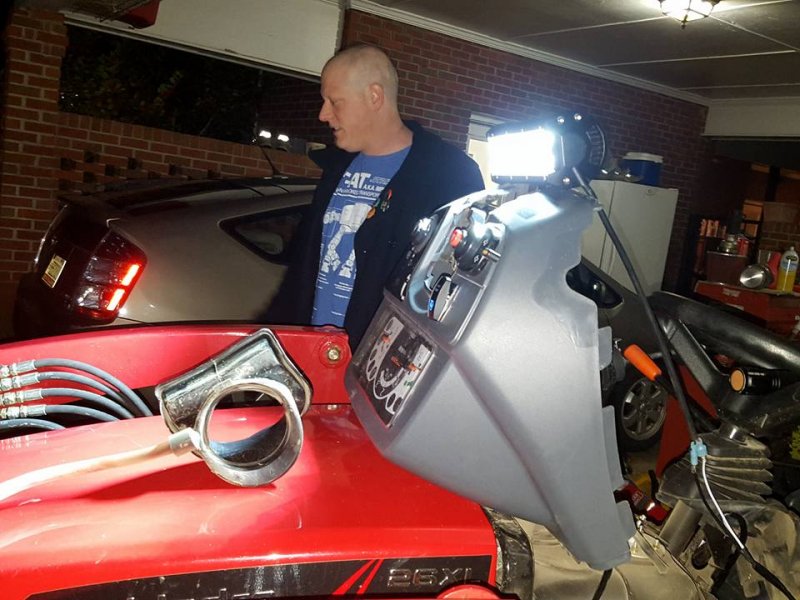
it's pretty bright, but leaves a bit to be desired off to the sides (As I feared it might, which is why I ordered the two side lights). If you can only get one, I'd get a light bar, but I'd maybe get a bigger one.
After testing, it was time to sodomize the roll bar a bit so I could mount the light (and run the wiring, but mainly mount the light). Didn't want it on top, it'd get wiped out the first time I forgot to drop the rops coming into the carport, and usually I can see where I'm going forward, so backhoe light it is. Used a 35mm hole saw to cut a hole in the bottom at the center (btw, the rops material is nothing to write home about, in case anyone was wondering), and two smaller holes facing backwards, one for the bracket, and the other for the wiring harness.
As far as routing the wiring to the back, I ran it under the rubber next to the case, then over to the operator's left up into the grey plastic control overlay (which got a hole drilled in it was well), out the back of that and up into the rops. there was already a small hole there, so I dropped a piece of small mild steel filler rod down, and used that as a fish. Knowing I was getting three lights and knowing approximately where I wanted them, I went ahead and ran all of my wiring up and over, with service loops and plenty of slack. Did most of this with the rops down, the light bar does hit the back hoe controls, and if you're trying to be slick with your wiring, you should pay attention to where the limit is with the rops up, lest you drill your hole for the wiring below the bracket. whoops.
finished product:

lighting up all the bs on my carport
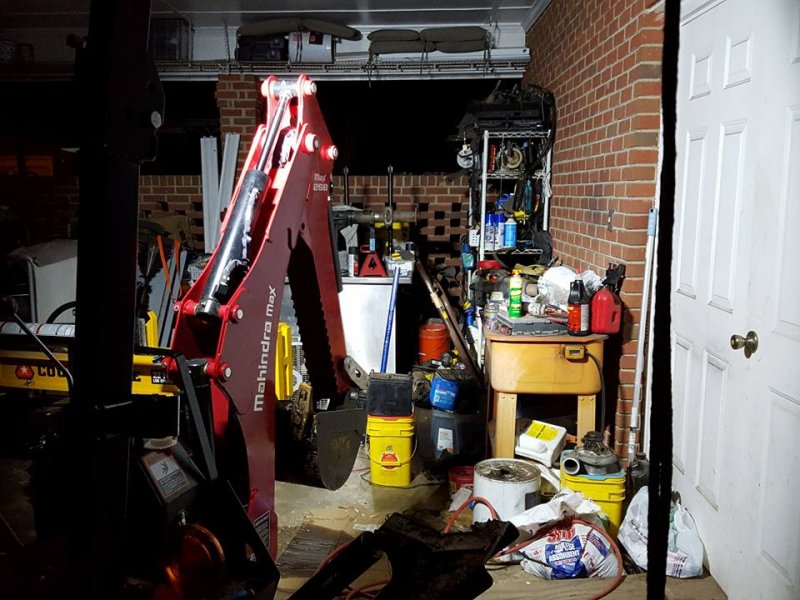
(that's just the light bar)
saturday afternoon I got the other two lights and installed them, nothing noteworthy there.
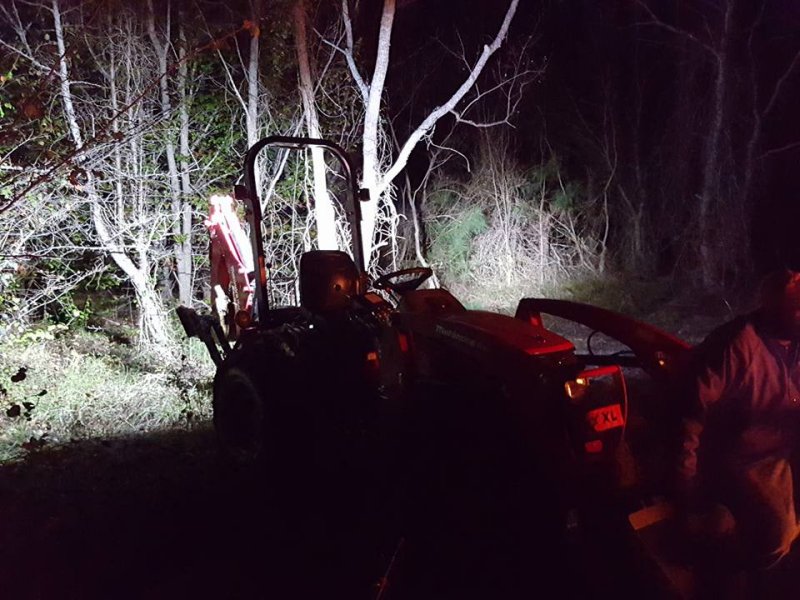
looking at the tractor lit up
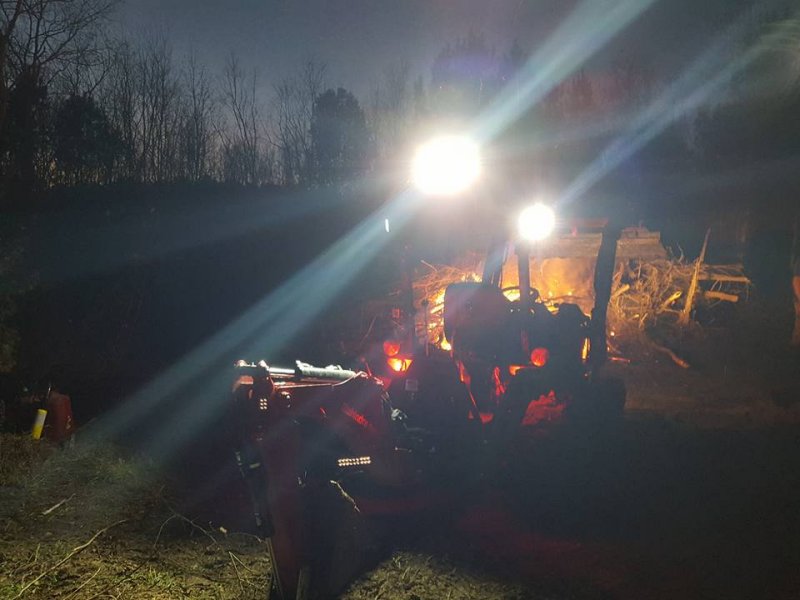
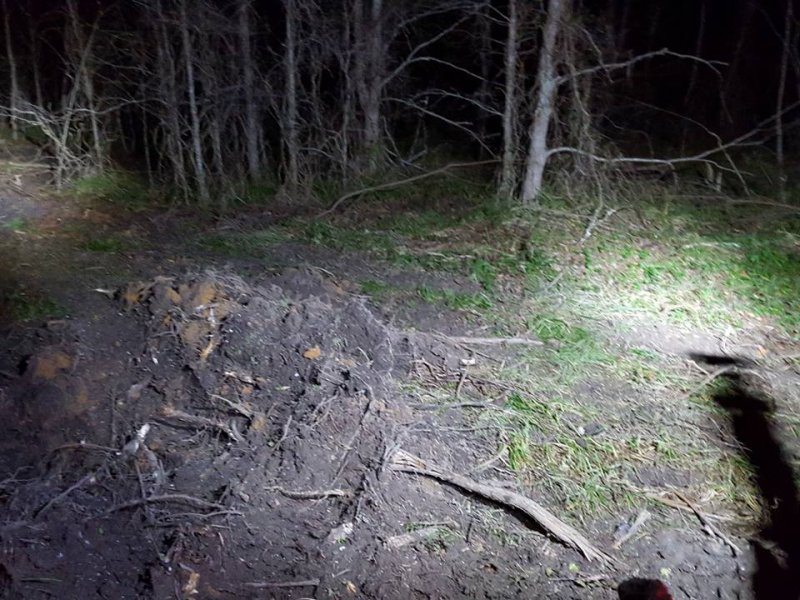
and the light it throws off into the weeds
Now that I've seen the power, I'll be adding another light bar facing forward, the loader always seems to get in the way of the headlights when traversing the woods. I've also noticed that after ~5 hours of use, the hardware holding the brackets to the rops has started to get a little loose. Since they appear to be m8x1.25 (of which I have copious amounts of spare stuff), I'll go back and tighten everything up and then double nut them to hopefully keep things nice and tight. I attribute it to the vibration of the engine as well as the general bouncing and bumping of tractor operation.
all in all, not bad for ~$60 in amazon lights (the side lights were $20 for the pair, the light bar was $29, and the harness was $11 or something), and $15 in misc stuff from the autozone (more red and black wire, harness wasn't quite long enough, insulated male/female spade connectors, grommets for the wiring where it runs through the holes drilled)
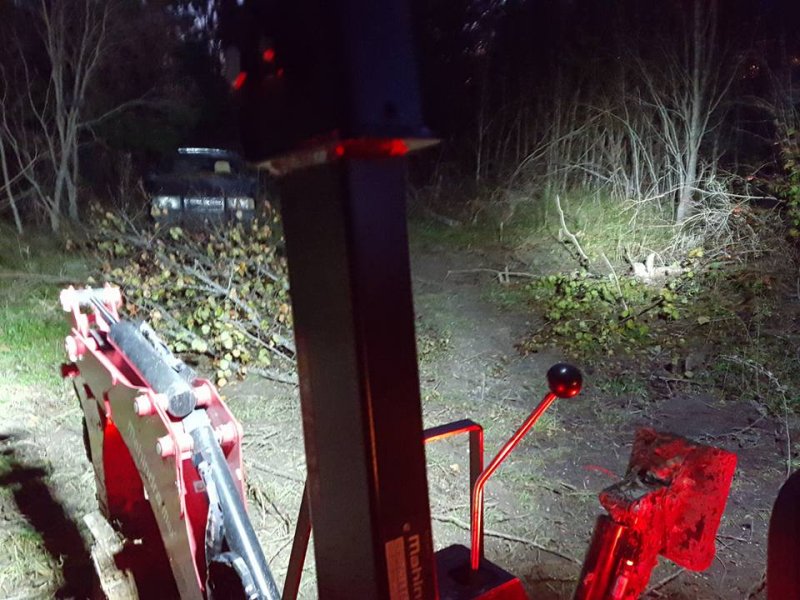
from the seat
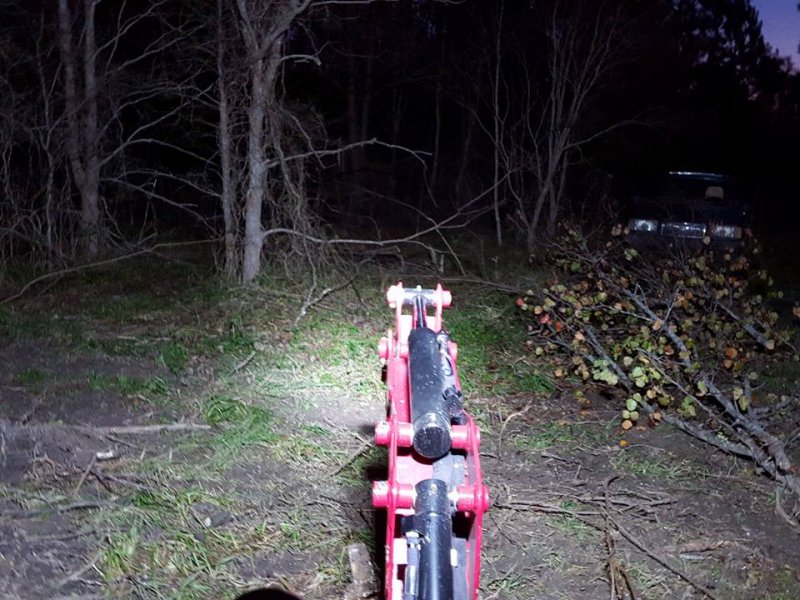
looking right (don't think I was actually on the tractor for this one)
standing next to it
ignore the woods-ornament in the background
cool2. On a whim last week I looked at the LED lights on amazon, and ordered some up. Cheap (probably in more ways than one), so I went big. Got a light bar to go on the top (facing backwards) of the rops, and then a par of smaller 'spot lights' to go on the sides (also facing back. more on this in a minute). Oh, and some cheesy wiring harness kit that says "zombie lighting". It must be defective, I didn't see any zombies. anyway, for those that haven't played with these inexpensive lights, they're pretty slick so far. plenty of light. hopefully they last for a while. Had to take the console apart to get the blanking plate off (it's screwed on from behind), that resulted in an amusing photo op for my facebook buddies... "Well ****, it looked like just a small bump..."
for anyone that hasn't tried to take that off yet, the grey metal trim piece that goes between the hood and the console plastic (for lack of a better word) is held on by 4 10mm bolts, two under the hood, and two behind rubber grommets down low. once it's off, you can access the bolts that hold the console together up front, and then by the steering wheel there's two phillips(?) screws and another 10mm bolt. Not sure why they used the phillips there, it's the same thread pitch used on the bolts (iirc m6x1.0 or maybe m7). a little bit of tugging, some profanity, and it all slides apart.
once the harness was wired up and the switch mounted and connected, we tested the light out
it's pretty bright, but leaves a bit to be desired off to the sides (As I feared it might, which is why I ordered the two side lights). If you can only get one, I'd get a light bar, but I'd maybe get a bigger one.
After testing, it was time to sodomize the roll bar a bit so I could mount the light (and run the wiring, but mainly mount the light). Didn't want it on top, it'd get wiped out the first time I forgot to drop the rops coming into the carport, and usually I can see where I'm going forward, so backhoe light it is. Used a 35mm hole saw to cut a hole in the bottom at the center (btw, the rops material is nothing to write home about, in case anyone was wondering), and two smaller holes facing backwards, one for the bracket, and the other for the wiring harness.
As far as routing the wiring to the back, I ran it under the rubber next to the case, then over to the operator's left up into the grey plastic control overlay (which got a hole drilled in it was well), out the back of that and up into the rops. there was already a small hole there, so I dropped a piece of small mild steel filler rod down, and used that as a fish. Knowing I was getting three lights and knowing approximately where I wanted them, I went ahead and ran all of my wiring up and over, with service loops and plenty of slack. Did most of this with the rops down, the light bar does hit the back hoe controls, and if you're trying to be slick with your wiring, you should pay attention to where the limit is with the rops up, lest you drill your hole for the wiring below the bracket. whoops.
finished product:
lighting up all the bs on my carport
(that's just the light bar)
saturday afternoon I got the other two lights and installed them, nothing noteworthy there.
looking at the tractor lit up
and the light it throws off into the weeds
Now that I've seen the power, I'll be adding another light bar facing forward, the loader always seems to get in the way of the headlights when traversing the woods. I've also noticed that after ~5 hours of use, the hardware holding the brackets to the rops has started to get a little loose. Since they appear to be m8x1.25 (of which I have copious amounts of spare stuff), I'll go back and tighten everything up and then double nut them to hopefully keep things nice and tight. I attribute it to the vibration of the engine as well as the general bouncing and bumping of tractor operation.
all in all, not bad for ~$60 in amazon lights (the side lights were $20 for the pair, the light bar was $29, and the harness was $11 or something), and $15 in misc stuff from the autozone (more red and black wire, harness wasn't quite long enough, insulated male/female spade connectors, grommets for the wiring where it runs through the holes drilled)
from the seat
looking right (don't think I was actually on the tractor for this one)
standing next to it
ignore the woods-ornament in the background
Last edited: