Tractor side SS quick attach build

   / Tractor side SS quick attach build
  • Thread Starter
#11  
Skid Steer style quick attach for easily releasing your bucket (implement) to attach another. Many manufactures have there own brew of quick attach but the Skid Steer style has become the standard.

I think it was Bobcat who originated this design.
 
   / Tractor side SS quick attach build #12  
Wasn't the brand name BobTach?

Outstanding work and thanks for the plans and documentation!
 
   / Tractor side SS quick attach build #13  
great job looking good
 
   / Tractor side SS quick attach build #14  
The spring-loaded pins remind me of the ones on my Ford 2120 qa setup, though they are 1" dia. round pins, and are NOT interconnected. 2 steps required to retract the pins; 1 each side. I really like the spring-loaded for hooking up though, just drive in, raise loader, and curl qa and pins drop in. You'll like that too.
Do you plan to make a cover for the levers and pins? Lube? Or open and dry? On mine it's all open and dry; lube attracts dirt. You do need bucket (or forks, etc.) hanging to relieve pressure to retract the pins, but it's never been a problem.
Nice thinking, and nice work.
Jim
 
   / Tractor side SS quick attach build
  • Thread Starter
#15  
Finally back to work on this project.

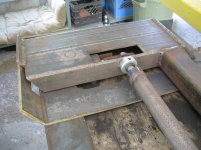
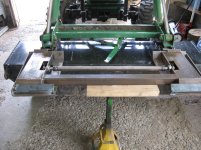
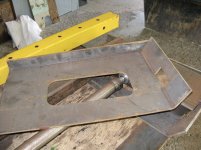
I had a buddy water cut some mounting plates (bucket side).
20 Imp plate.jpg
21 Imp plate engaged.jpg

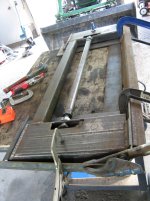
Used some rectangular tube to make sure everything is square.
22 straight edge.jpg

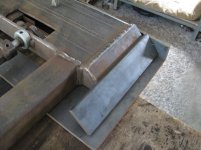
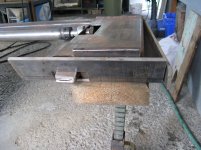
Top plate is 3/8, I stuffed a shim of cardboard (cereal box) between the QA and the 3/8 plate to leave a little clearance. Easier to build it up than it is to remove material.
23 Imp plate top.jpg
 
   / Tractor side SS quick attach build
  • Thread Starter
#16  
Tacked together. Note that the mounting plate is formed with a relief angle; if your bucket is not square to the tractor this allows you to engage the mounting plate easier. The top corner of the QA will have a button (1/4? on it to center itself better.
24 top plate tacked.jpg

Here both sides are tacked together and it is sitting on my bucket.
25 tack done.jpg

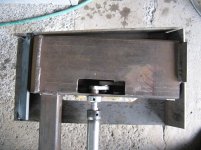
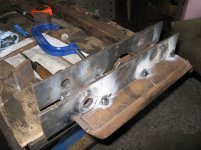
Bottom view of QA and mounting plate; you can see the clearance angle between the QA and plate.
26 Imp plate clearance angle.jpg
 
   / Tractor side SS quick attach build
  • Thread Starter
#17  
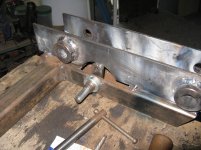
Now preparing for the pin plates (loader and cylinder attachment). You can see that the new QA will actually bring the bucket closer to the pins about 1.5? I don稚 know what I will do with all the extra lift power I will gain! 
27 compare old to new.jpg

here is the pin plate tacked. I will fit it on the loader and check everything first.
28 pin plate tack.jpg

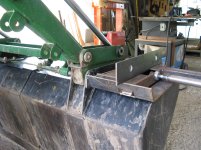
This is the only problem that I have to work around. The loader width on my tractor puts the pin plates right on top of the QA linkage (I knew this at design). A crescent cut out will give the needed clearance. On the inside of the cut out I will build a cover plate that will cover the hole and add some structure to the pin plates for side load.
29 pin plate cutout.jpg
On the QA for the L3400 I will not have a problem with clearance for the QA linkage because the loader arms are spaced further apart, putting the moving parts completely on the inside of the pin plates.

This weekend I should have it ready for paint. I still need to add a handle to the torsion tube (for driving the QA pins). Once this is done then I get the pleasure of cutting the bucket apart.:eek:
 
   / Tractor side SS quick attach build #18  
mwb,

On the water jet cutting, do you happen to know the pressure used and what abrasive was used.
 
   / Tractor side SS quick attach build
  • Thread Starter
#19  
I don't know the particulars of the jet used; my buddy owns a steel warehouse and fab shop and he is/was considering setting up a water jet. I did some research for him on what it would take to set up (and I was also interested in a homebrew option for myself). The pressure of these is typically between 40K - 80K psi. There are different abrasives you can use depending on what you are cutting but silica and aluminum oxide are very common.

Incredible cut quatlity on this; there is a slight chamfering especially on thicker materials - usually on holes. I was impressed with the accuracy of finished product.

What I did for the mounting plates was I gave my buddy drawings for blank shearing, then a DXF for the water cut (direct import to their CNC) - this was sub'd out to another shop, then a final forming drawing for the bends at the fab shop.
 
Last edited:
   / Tractor side SS quick attach build #20  
Thanks. I have the table for my plasma setup, and a Pro Cut-55 but don't have a place to set it up right now. Plasma also has a slight 3 to 5 degree chamfer.
 
 
Top