Wishbonez51
Bronze Member
- Joined
- Jun 14, 2018
- Messages
- 78
- Tractor
- LS XG3025H
After receiving the wrong kit which is literally for all the rest of the small compact series tractors, this kit is ONLY for the XG3025 tractor to include the hydrostat and 12 speed shuttle shift.
DISCLAIMER, Some steps in my install were not shown in the install manual and I figured them out on my own. IF you purchased this tractor with the backhoe installed from factory, there are some added steps that you must do and I have included these steps as I purchased my tractor with the backhoe from factory.
LETS GET STARTED....
First steps is to jack up the right rear of the tractor and place a jack under the axle. My pictures show the entire rear end of the tractor up on blocks. This was due to my rear main seal go bad on my left hand side final drive casing. I did a complete write up on that repair, you can check that out.
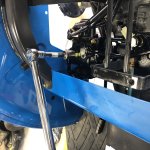
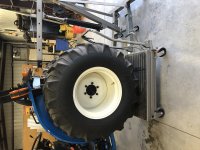
Next step is to take the tire off as it is in the way. To do this without possible injury is to have a platform jack rated for 1000lbs. This is what I used and you can see in this picture.
Once the tire is out of the way, it is now time to take the seat off. Tilt the seat forward and this will expose the four bolts. Make sure to disconnect the sensor underneath before pulling up. Some how I forgot to take pics of this, sorry.
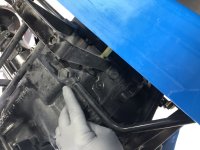
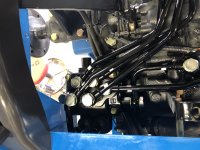
Now you will need an oil pan in a couple of spots as you will lose hydraulic fluid. I drained my system when I made the repair to the final drive assembly. And I still had fluid coming out of the hoses.
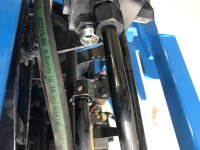
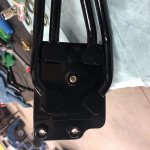
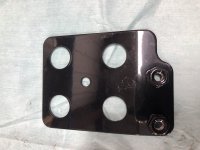
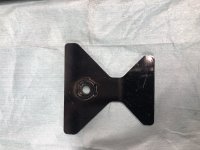
The exciting part is opening the box from LS. It will have all of your parts and you will want to grab your manual to double triple check you have everything that should come in the kit before disassembly of hoses. The very first thing you want to do is check over your parts and lay them out, it makes things easier for me.
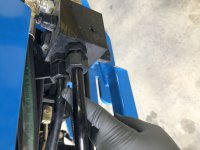
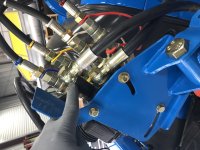
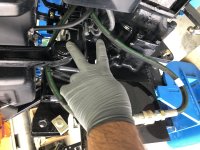
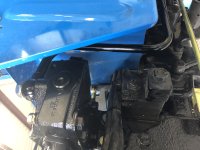
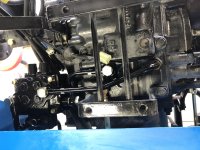
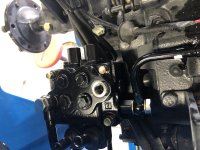
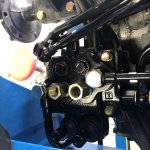
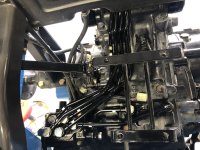
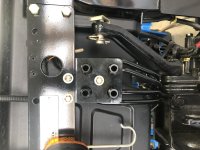
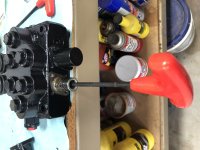
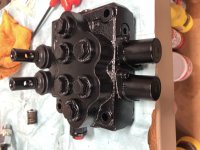
1st step is to take out the double rear remote manifold. Since I have the backhoe, I ordered the "detente" kit which is a MUST and I feel when you purchase the backhoe, this system should of come on the tractor from factory. You can install the detente on either valve, I chose the inner valve as it is closer to the seat. Good news is if you want to switch it to the other valve you can with not to much hassle down the road. The detente cannot be confused with the auto spring installed. Even after you install and possibly forget which one you installed it on, you can move the lever and you will find it real quick.
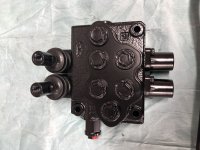
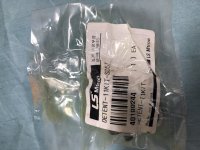
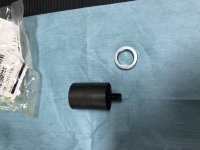
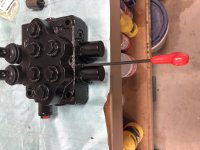
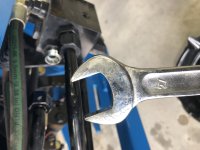
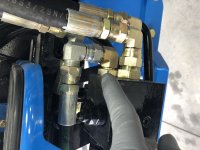
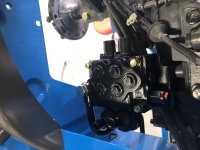
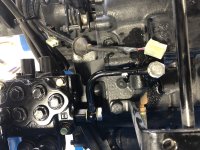
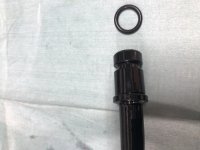
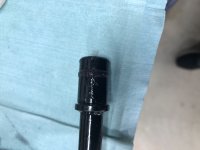
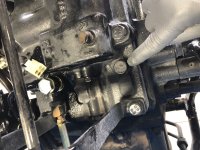
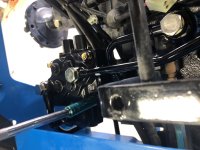
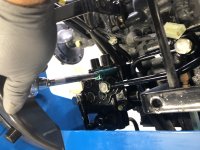
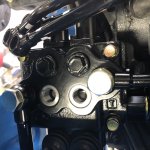
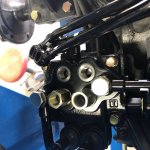
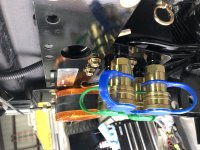
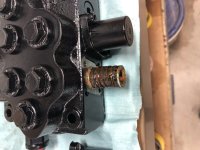
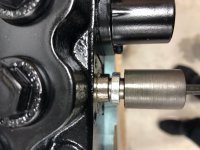
After taking out the two allen head bolts, to get the spring off you have to use a bigger allen head to take off. Than install the new Detente valve with the aluminum spacer like this.
DISCLAIMER, Some steps in my install were not shown in the install manual and I figured them out on my own. IF you purchased this tractor with the backhoe installed from factory, there are some added steps that you must do and I have included these steps as I purchased my tractor with the backhoe from factory.
LETS GET STARTED....
First steps is to jack up the right rear of the tractor and place a jack under the axle. My pictures show the entire rear end of the tractor up on blocks. This was due to my rear main seal go bad on my left hand side final drive casing. I did a complete write up on that repair, you can check that out.
Next step is to take the tire off as it is in the way. To do this without possible injury is to have a platform jack rated for 1000lbs. This is what I used and you can see in this picture.

Once the tire is out of the way, it is now time to take the seat off. Tilt the seat forward and this will expose the four bolts. Make sure to disconnect the sensor underneath before pulling up. Some how I forgot to take pics of this, sorry.
Now you will need an oil pan in a couple of spots as you will lose hydraulic fluid. I drained my system when I made the repair to the final drive assembly. And I still had fluid coming out of the hoses.
The exciting part is opening the box from LS. It will have all of your parts and you will want to grab your manual to double triple check you have everything that should come in the kit before disassembly of hoses. The very first thing you want to do is check over your parts and lay them out, it makes things easier for me.
1st step is to take out the double rear remote manifold. Since I have the backhoe, I ordered the "detente" kit which is a MUST and I feel when you purchase the backhoe, this system should of come on the tractor from factory. You can install the detente on either valve, I chose the inner valve as it is closer to the seat. Good news is if you want to switch it to the other valve you can with not to much hassle down the road. The detente cannot be confused with the auto spring installed. Even after you install and possibly forget which one you installed it on, you can move the lever and you will find it real quick.


After taking out the two allen head bolts, to get the spring off you have to use a bigger allen head to take off. Than install the new Detente valve with the aluminum spacer like this.


