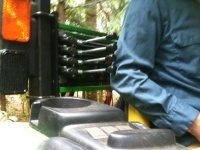
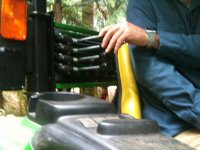
I debated as to putting this in Projects or Hydraulics and decided to put this here.
Part 1
I had a need to add additional SCV's to a JD 4720. I received some good ideas and recommendations and want to thank Kennyd specifically for the hydraulic thoughts and mjncad for the ideas on hard lines and brazing fittings.
I posted this on another forum but thought that I would document this here so that TBN members could get ideas and modify for their use.
I have a 96 inch heavy duty rear blade that has three-way adjustment with three-way hydraulics that is a bear to use properly without three independent SCV's. Thus my aux system design.
The next set of postings will attempt to logically document the process that I went through in my design and fabrication of what I came up with to meet my requirements. If too much information, I am sorry but I am trying to include detail for anyone that wants to learn from my mistakes.
The original requirement was for three additional SCV's (spool valves) for use. Effectively a 4th, 5th, and 6th SCV. I did not plan on using my JD 3rd SCV as it is reserved for front end 3rd function use. The standard JD 4th and 5th SCV uses a diverter valve to switch the FEL controls and valves to the rear end. More money than I wanted to give JD dealer and just did not seem to fill the requirement. For some folks it maybe the correct solution.
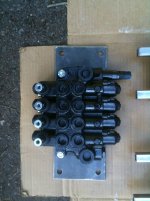
I decided to go with a 14gpm Wolverine WVS series 4 spool monoblock control valve so that I have a spare SCV for any future growth that might come up.
Item 9-7978 WVS41BBBB5C1
(Surplus Center - 4 SPOOL 14 GPM PRINCE WVS41BBBB5C1 DA VALVE)
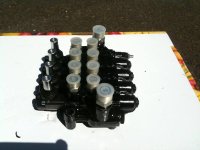
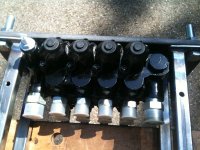
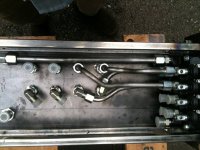
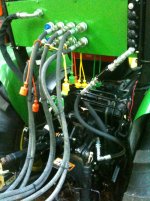
SCV with FF fittings installed
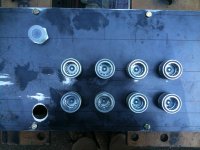
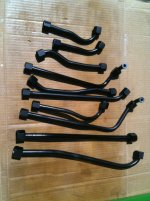
I decided that I had to satellite the QD's for the hydraulics and with the real-estate available I chose to use hard lines to avoid the rat nest that 10 hoses would cause. I really wanted to use the JD mounting plate for the 4/5 SCV but there was not enough room to have 8 QD there, only the four that the JD kit used. I also wanted a bit more room between QD so that with gloves on I did not fight it as much.
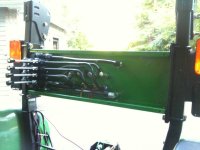
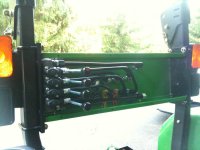
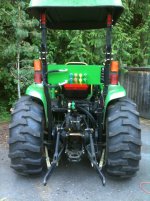
Problem was to locate the SCV, the QD's and the hydraulic lines so that there would be no interference with the three point at any point of travel or with any implement that I was using. I decide to mount the SCV on the side of the ROPS and put the QD's in the middle, high enough up that lines to the implements would not be caught by the three point itself.
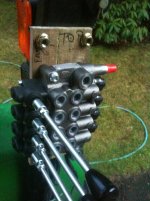
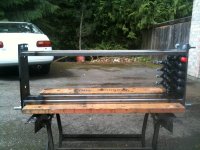
Mockup
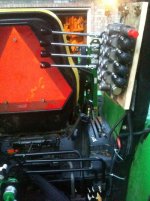
Mockup
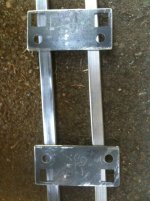
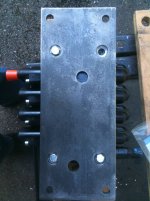
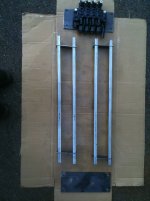
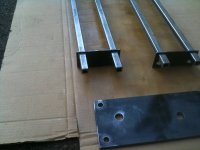
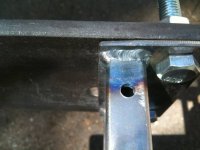
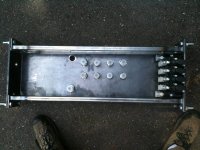
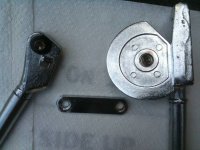
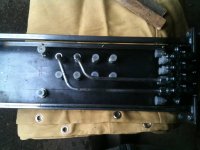
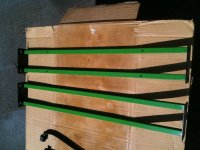
I decided to mount the SCV on a 0.375 in x 5 in x12.5 in steel plate U-bolted to the ROPS using the same type U-bolts that JD uses for the canopy. I decided against using 0.25 inch plate when I did the mockup. I mounted one plate on each side of the ROPS and then put 0.75 x 0.125 inch square tubing supported between them for the QD's mount. Originally I was going to weld the square tubing to the 0.375 in plate but decided to make the unit easier to assemble and if necessary disassemble by making it modular. As a result I attached the square tubing to 0.125 in plate which then was attached to the larger plate with the same U-bolts that mounted to the ROPS.
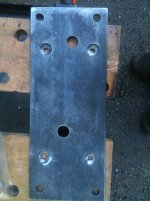
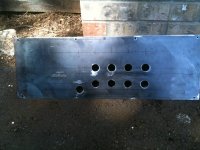
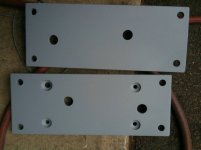
Mounting plate with 2 large holes to go over bolts on ROPS that mount the lights
Part 1
I had a need to add additional SCV's to a JD 4720. I received some good ideas and recommendations and want to thank Kennyd specifically for the hydraulic thoughts and mjncad for the ideas on hard lines and brazing fittings.
I posted this on another forum but thought that I would document this here so that TBN members could get ideas and modify for their use.
I have a 96 inch heavy duty rear blade that has three-way adjustment with three-way hydraulics that is a bear to use properly without three independent SCV's. Thus my aux system design.
The next set of postings will attempt to logically document the process that I went through in my design and fabrication of what I came up with to meet my requirements. If too much information, I am sorry but I am trying to include detail for anyone that wants to learn from my mistakes.
The original requirement was for three additional SCV's (spool valves) for use. Effectively a 4th, 5th, and 6th SCV. I did not plan on using my JD 3rd SCV as it is reserved for front end 3rd function use. The standard JD 4th and 5th SCV uses a diverter valve to switch the FEL controls and valves to the rear end. More money than I wanted to give JD dealer and just did not seem to fill the requirement. For some folks it maybe the correct solution.
I decided to go with a 14gpm Wolverine WVS series 4 spool monoblock control valve so that I have a spare SCV for any future growth that might come up.
Item 9-7978 WVS41BBBB5C1
(Surplus Center - 4 SPOOL 14 GPM PRINCE WVS41BBBB5C1 DA VALVE)

SCV with FF fittings installed
I decided that I had to satellite the QD's for the hydraulics and with the real-estate available I chose to use hard lines to avoid the rat nest that 10 hoses would cause. I really wanted to use the JD mounting plate for the 4/5 SCV but there was not enough room to have 8 QD there, only the four that the JD kit used. I also wanted a bit more room between QD so that with gloves on I did not fight it as much.
Problem was to locate the SCV, the QD's and the hydraulic lines so that there would be no interference with the three point at any point of travel or with any implement that I was using. I decide to mount the SCV on the side of the ROPS and put the QD's in the middle, high enough up that lines to the implements would not be caught by the three point itself.

Mockup

Mockup
I decided to mount the SCV on a 0.375 in x 5 in x12.5 in steel plate U-bolted to the ROPS using the same type U-bolts that JD uses for the canopy. I decided against using 0.25 inch plate when I did the mockup. I mounted one plate on each side of the ROPS and then put 0.75 x 0.125 inch square tubing supported between them for the QD's mount. Originally I was going to weld the square tubing to the 0.375 in plate but decided to make the unit easier to assemble and if necessary disassemble by making it modular. As a result I attached the square tubing to 0.125 in plate which then was attached to the larger plate with the same U-bolts that mounted to the ROPS.

Mounting plate with 2 large holes to go over bolts on ROPS that mount the lights
Last edited:

