Jmlcolorado
Bronze Member
- Joined
- Apr 4, 2020
- Messages
- 69
- Tractor
- Yanmar ym240
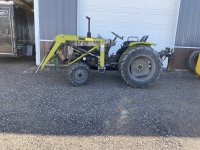
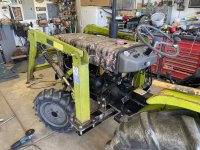
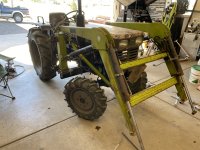
I picked up a loader that originally came on this machine. It was kind of a convoluted mess with all the parties involved.
The original owner still had the powder at his property. He had sold the tractor to a young boy next door.
The boys dad, however, owns an excavation company and the kid was quickly approaching driving age and had his heart set on a cummins truck. He began liquidating everything he had to save to the truck. That’s how I came about the tractor.
The previous owner did an extent job cleaning up this machine and making it nearly new again.
My only stipulation in buying the tractor was that he get the loader. The loader was 62.725% of the reason for buying a tractor to begin with.
Please don’t ask what the remaining 37.275% was because it’s complicated
About a month after I picked up he machine (covid mess didn’t help) I finally pushed the kid hard enough to get the loader.
This was purchased sight unseen and for $700. For the price, I couldn’t really let it slip away.
So I got the loader home, but it doesn’t have the subframe. Kind of a key component.
I tried to ask the boy, and his dad to reach back out to the neighbor to get the missing parts no no avail. I had already driven 2 hours 1 way, twice. Once to pick up the tractor. The next the loader.
I decided to cut my losses and just build one.
After lots of research looking at photos of how other loafers are mounted, I went to town.
This is a working thread. I started a couple weeks ago, and am back at it today. So this isn’t an all inclusive thread in one swoop. It will be updated as I make progress.
Last year, I bought 3 international school busses and made a dump truck out of one of them with a 1955 ford f600. That’s a whole other story in its own
I needed a gantry crane to lift the cab on and off the chassis while I fabricated mounts.
I bought a harbor freight crane for this as it was cost effective. The width, however wasn’t sufficient to fit the 8’ with chassis in between the rails so I promptly removed the original I beam, sourced a longer beam with a taller web to use.
So the original I beam got tossed into the scrap pile.
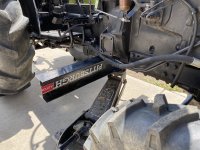
Turns out this smallish beam is a good size for the main support for the loader.
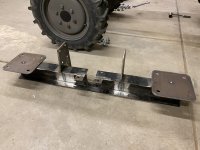
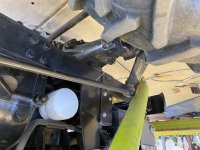
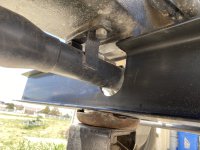
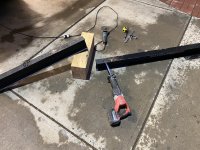
I cut the beam to length, then notched the center to clear the driveshaft.
I’ve seen mounts that go completely under the shaft, but I wanted to keep the clearance under the machine.
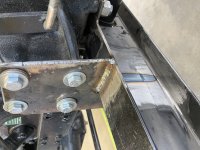
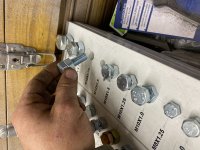
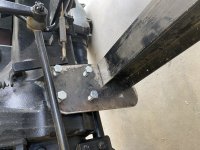
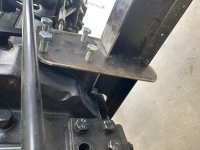
I am utilizing 4 mounting holes under the machine, as well as 4 on each side of the machine for a total of 12 bolts holding this beam to the machine.
I anticipate this to be more than adequate considering I haven’t seen any others that use all of the available mounting points.
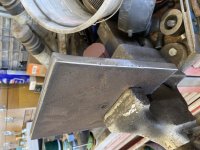
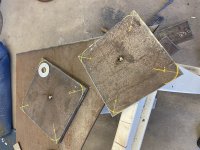
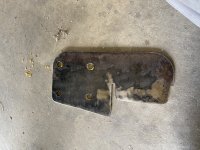
Last weekend I made templates and cut two plates to use the side holes. Today I plan to weld those to the beam, competing this section.
Next I will work on the front mounting section.
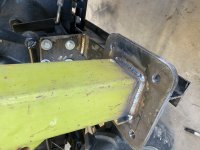
I do have the diagonal tube that goes from the main tower, down towards the front but nothing else.
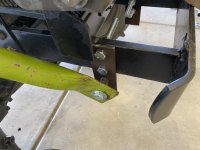
I’ve seen a couple variations of this design. One utilizes a tub that is either welded or bolted to the main tower, and goes horizontally forward to some kind of bumper mounting situation.
Others just use the diagonal to the frame.
I think I will use this horizontal brace as it adds another triangle and structure to the machine, and more is better, right?!
Here’s some photos. I’ll will update later as I make progress.


