DennisFolsom
Gold Member
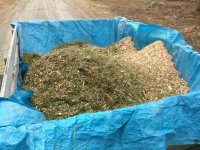
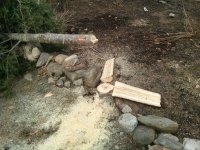
Here are photos of a tree and some limbs that I cut today, to test the new chipper when it arrives. These are fir, hemlock and pine. The fir tree was 9" x 10" at the lower cut. I cut the tree down, about 2 ft high, where the trunk was about 7.5". I then ripped down through the rest of the trunk and cut it off the stump. My wife has long wanted this tree cut. (Shades the flowers that she planted in the shade.) Up to now, I have defended the poor thing from her by refusing to cut it. Wife is away on a trip. I thought I would surprise her by cutting the tree while she was away.
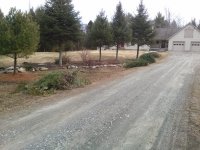
This afternoon's session about takes care of the east side of the driveway. I have a lot more to cut and trim on the west side. That's where the power line is. I'll be putting come-alongs on some of the larger trees there, to make doubly sure they drop away from the power line.
On the rest of our wooded 19 acres, I have a lot more trimming to do!
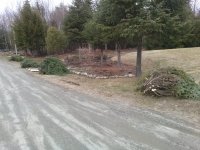
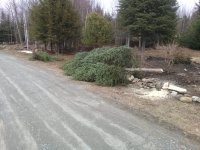
Attachments

Last edited:

")