valley
Platinum Member
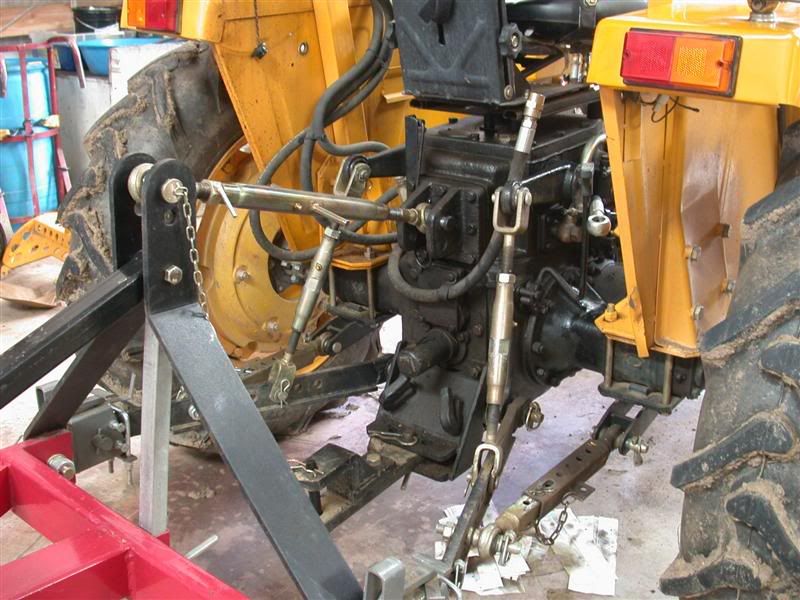
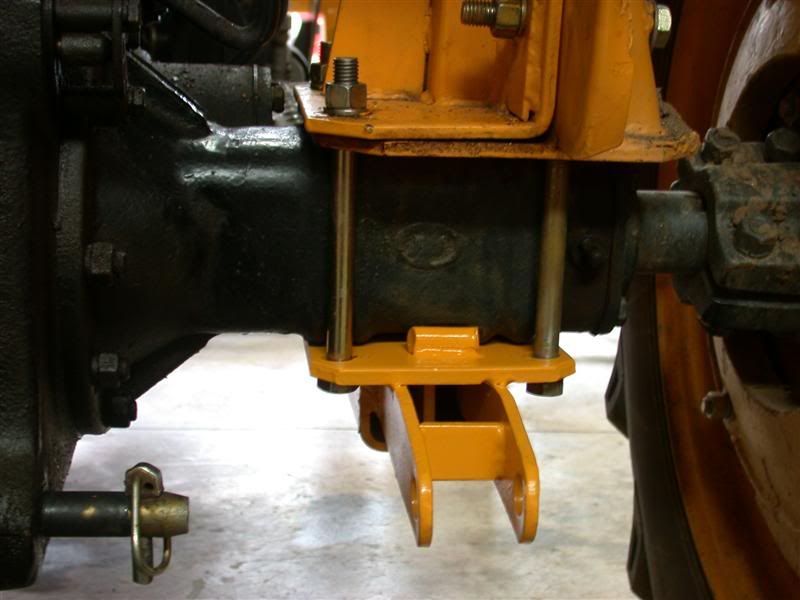
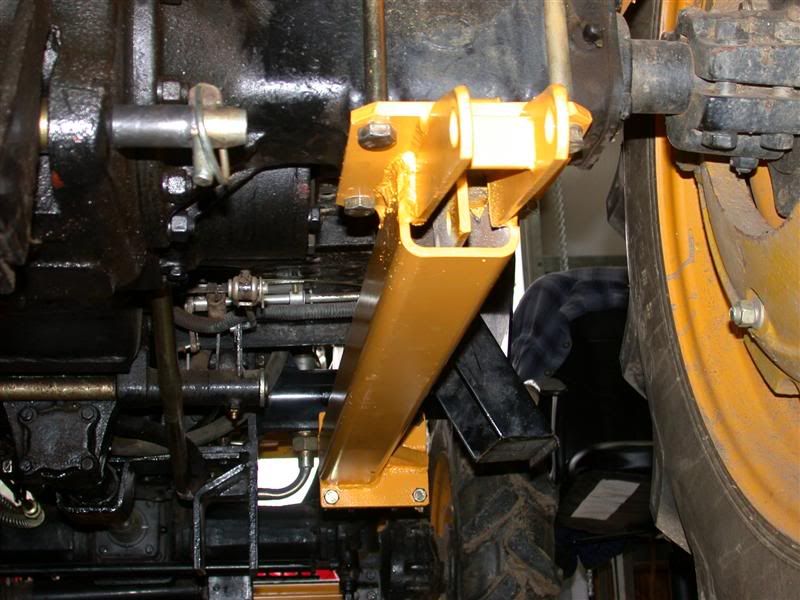
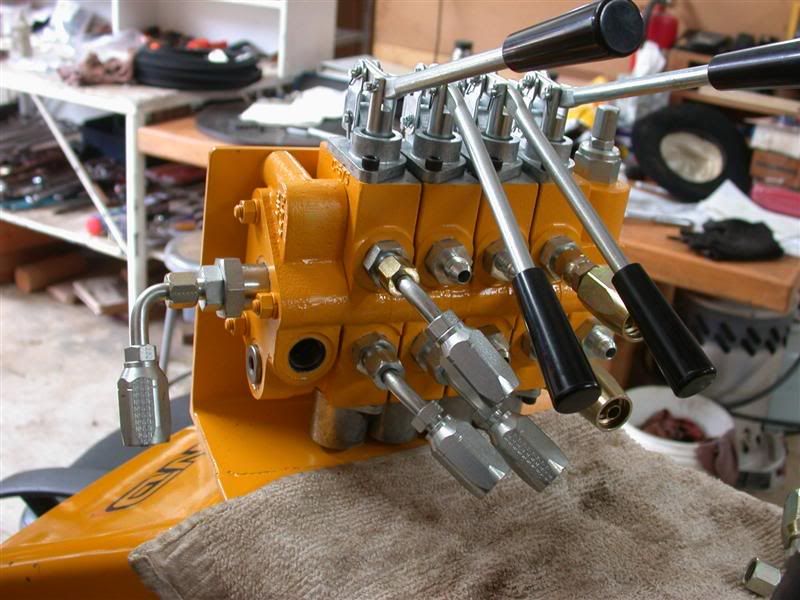
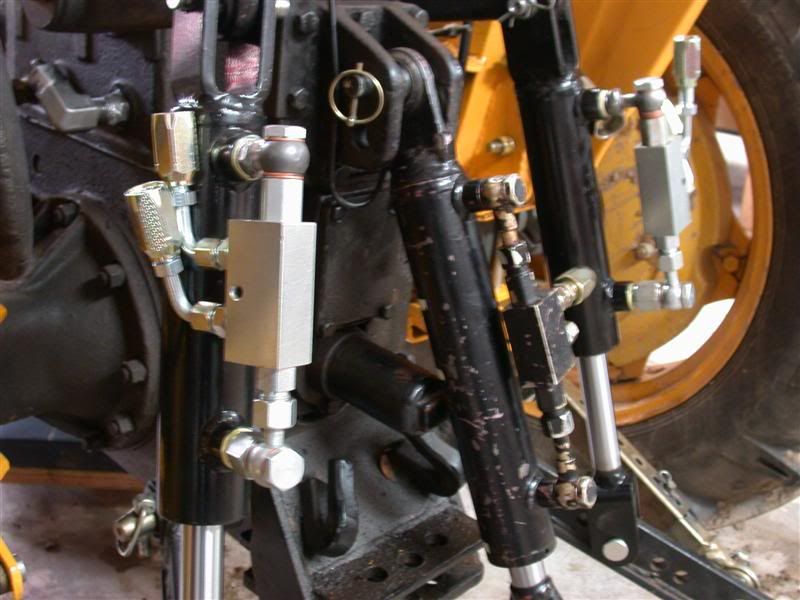
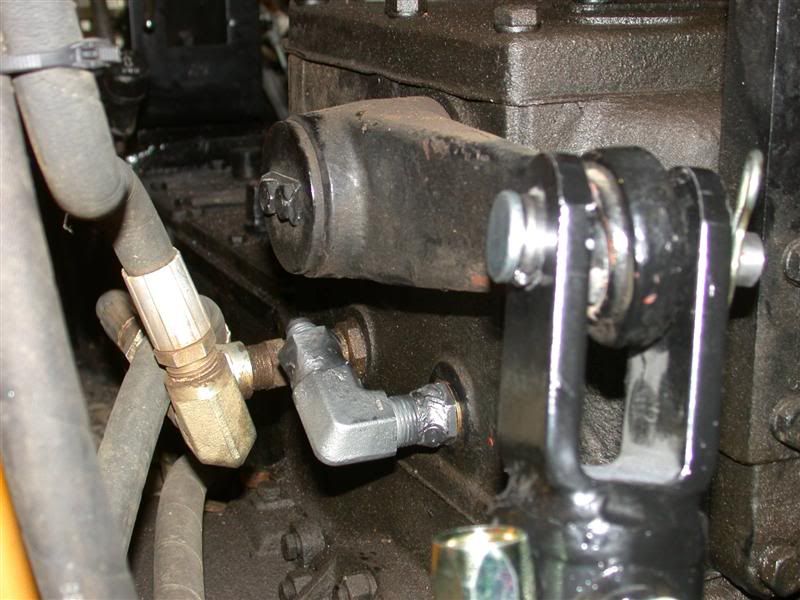
Rob, What a good step by step. Your Kama came with a brace you said. I saw you added the two buckles to the rear. Is that to add laderal stability or were they on the tractor before the brace? The check valve is a good idea. You're full of good ideas. Richard