Mysfyt
Platinum Member
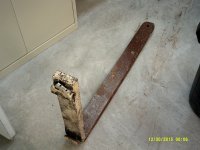
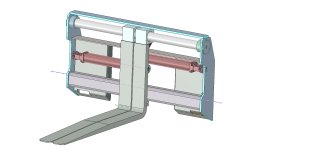
For one of my winter projects, I decided to build a fork attachment for my tractor. Saved a set of forks off an old forklift that was junked and this will be the perfect use for them. I drew up the design on a 3D cad program, which will be my first time building something this way. I want to make the forks adjust using the 3rd function valve for my grapple. I thought this might be a fun project to watch as it comes together because it will require welding and machining, plus I'm sure I'll be asking for some opinions along the way.
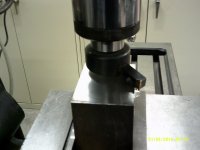
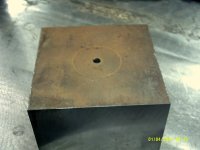
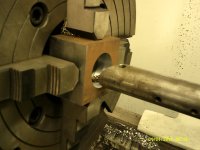
I'm starting with the forks, cutting off the top supports to make way for the blocks that will slide on the top support bar. More pictures as I progress.
I'm starting with the forks, cutting off the top supports to make way for the blocks that will slide on the top support bar. More pictures as I progress.