OP
lennyzx11
Veteran Member
- Joined
- Dec 20, 2015
- Messages
- 1,257
- Location
- Bennington Vermont
- Tractor
- Kubota L3301 HST/LA525 & 1964 Ford 2000 gas
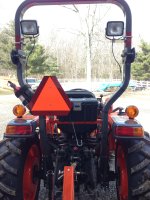
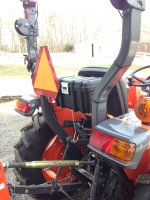
It's a Rubbermaid box. I'll measure it. I did cut a "floor" of OSB and put it inside the rear box to stiffen it up without modding the tractor. Couple of larger flat washers top inside the box band it's a solid mount.


Looks great! Leave that right hand hold laying around where I can get it. And those work lights.
Both are on my list. Darling saw credit card bill for this month and I'm grounded from you guys for a month.
Where did you get your tooth bar from? I have an L3901 and been thinking about adding teeth to my bucket.UPS man showed up late last night and came bearing gifts!
View attachment 458652
Wife is out of town so had choice between watching Tv or hanging out in shop installing it and drinking beer. You know what happened.
Thing is heavy at 51 lbs shipping weight. And the edges are Sharp! I hung it on the bucket after cleaning some of the Oklahoma red dirt back. Then my toes requested that I put a couple of bar clamps on for safety.(instructions said all that also)
View attachment 458654
I was kinda dreading that 3/4" hole to drill on each side but not bad after remembering some old tricks. I don't use oil.
First, an old timer taught me a long time ago to use a cordless on low. The speed would actually allow the bit to cut rather than skate and build up heat. This is my best method I've found. And for some reason, both of my dewalt corded drills try to spin and break my arm when they hang up. View attachment 458656
I drilled a pilot hole (about 1/8") from inside centering between slot up and down and about 1/8" from the rear of the slot. Per instructions this will account for the bucket lip wearing through time. Pretty smart!
View attachment 458655 the rest of the drilling went on from outside. One step at a time. This keeps the bit cooler also as you keep changing them out. I used a uni bit for the last 1/8" as my bits ran out at 5/8".
Bx builds them with a little clearance in order to not have to fight them in or out. This makes it necessary to start the bolts and nuts, remove the clamps(let's be safe!) and c clamp one end in order to remove nut and stack on the remaining lock washer. X2 for other side.View attachment 458658
Torqued them both down and we are ready for a test run tomorrow. It's a little late to be digging at 10 pm. I live in the country but my neighbors would surely wonder WTH!