Thanks guys! Glad its of use to someone.
I'd like to add some thoughts:
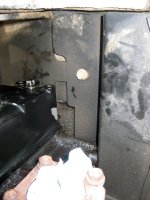
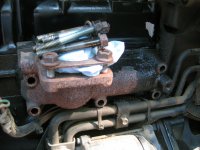
*) When you're turning the flywheel, its possible to have the "1" mark in the inspection hole and the rockers for cylinder 1 really tight. That means you need to rotate the flywheel 360 degrees until you find the "1" mark again. DO NOT loosen a 0.000" clearance.
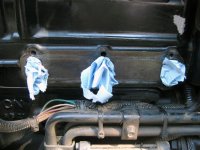
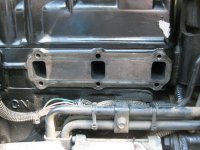
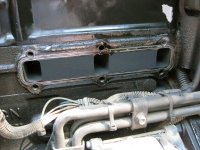
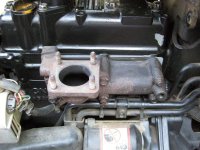
*) The tech manual has zero torque specs for this procedure (more wonderful precision). The valve cover bolts were on pretty tight. Tighten them from the middle out. Then do it again. And again. Until they stop moving. Its because they are well lubed by the oil. But don't bust out the breaker bar or the two handed grab. I'd guess they need 35 ft-lbs.
*) The rocker nuts are also pretty tight. You need to get them very tight but there is a point at which you can strip them. You don't want to do that. Its a feel thing if you're a brute like I am.
*) Blue Loctite is useless here. The temperature of the engine will make it release anyway.
*) Read the Deere manual section I attached in post 1. I didn't necessarily cover all of that.
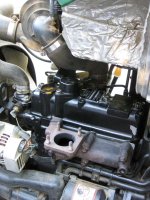
I didn't know there was an oil filler cap on the valve cover
I saw it there a long time ago and it never really clicked with me there were two until you just said it. I had to go out today and find the other one. Which is also the one I've always poured the oil into. Funny.
How many hours does your tractor have on it?
1081. All the o-rings and gaskets were shot. I think if you're not paying the dealer, I would invest in the $40 in parts. You don't HAVE to, but it seems like a good expenditure to me.
About how long did it take you to do valve adjustment?
The valve adjustment itself took fifteen minutes. The whole process took three hours and that includes an hour of looking for the inspection hole. I have to do this regularly on my '83 533i and can hear when it needs it. Actually, I can hear the difference on the 4200 now too so I'm just going to repeat this procedure by ear.
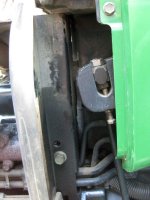
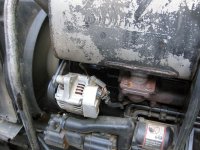
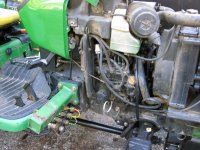
That sucks that the right loader mount has to come off. I have my canopy's front posts mounted to them.
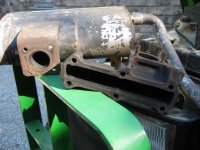
Can't speak for your canopy, but I'm very glad I had to take the loader mount off. The bolts were super loose. 50 ft-lbs vs 166 ft-lbs (or 255 ft-lbs even according to the online manual). I wound up removing all eight and Blue Loctiting and torquing them. It was worth the work to know they're in there properly now.
")
