PatrickS2222
Gold Member
- Joined
- Feb 6, 2016
- Messages
- 486
- Location
- Brisbane, Australia
- Tractor
- MF35, MF135, MF203 with loader.
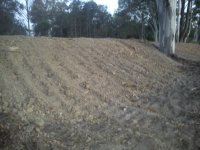
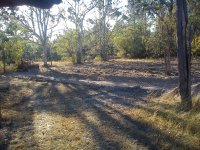
Thought I would share what I've been busy with the last few weeks, as far as spare time goes. We do like to grow some vegetables, we also have a couple dozen fruit trees as well as the gardens and grass around the house always look nicer when they're green. There is a distinct "dry" season from about April to October when everything needs regular water, as well as veges etc needing some additional water through the summer, even though there is frequent rain and some heavy storms as well. That said, we have pumped our dam dry a couple of times, and through the generosity of neighbours our gardens were lucky enough to survive a couple of hot summers. In return, we share what we can spare, help each other and it all works out well.
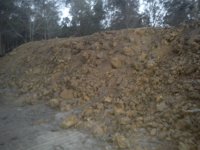
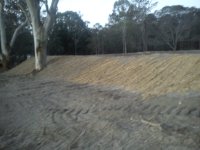
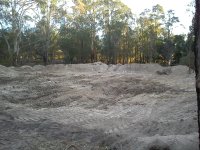
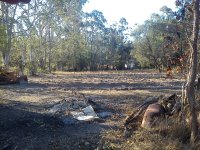
I decided it would help the situation if we had a second dam, so I've begun to dig one ..... more accurately, I'm not far off finishing it. Just a bit more digging, cleaning up and tidying, then some grass seed and it should be pretty good. I haven't done this before - I'm relying on my memory of how I'd watch contractors and see how they used to build dams for my father when I was young.
The Komatsu drott (tracked loader) belongs to a good friend. Its an early 80's model, grey import from Japan. I rebuilt the engine in it - until then it used more oil than diesel I think! Renewed rings and head gasket, another friend reconditioned the head, renewed a couple of inoperative glow plugs and now it works like a trooper! The loader and tractor are both mine - late 60's models.
I'll attach some more pics as things progress, apologies in advance for the lack of quality.
Edit: Just noticed the pics went up in reverse order - last pic to first is correct order.
Attachments
-
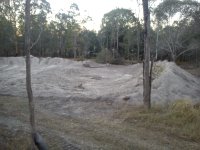
 Seeing some clay now.jpg1.2 MB · Views: 964
 -
 Just started.jpg1.5 MB · Views: 1,157
 -
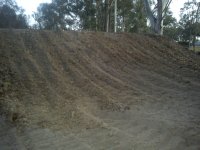
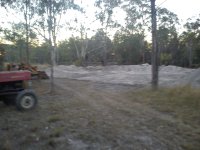
 Removing topsoil.jpg1.6 MB · Views: 841
 -
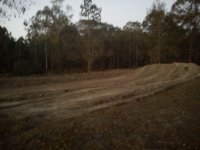 Worked till dark.jpg480.1 KB · Views: 796
 -
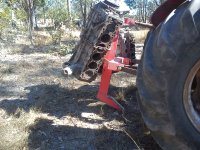 Added weight for ripper.jpg1.4 MB · Views: 1,395
 -
 Enginuity.jpg1.3 MB · Views: 1,195
 -
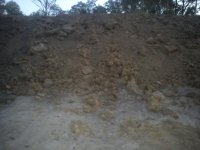
 Pushing subsoil off.jpg665.3 KB · Views: 834
 -
 Lots of subsoil.jpg625.8 KB · Views: 656
 -
 Plenty more.jpg745.7 KB · Views: 729
 -
 Even more for dam wall.jpg725.8 KB · Views: 777
Last edited: