I thought I would revive this thread as i had some small parts to do this past week and took a couple photos.
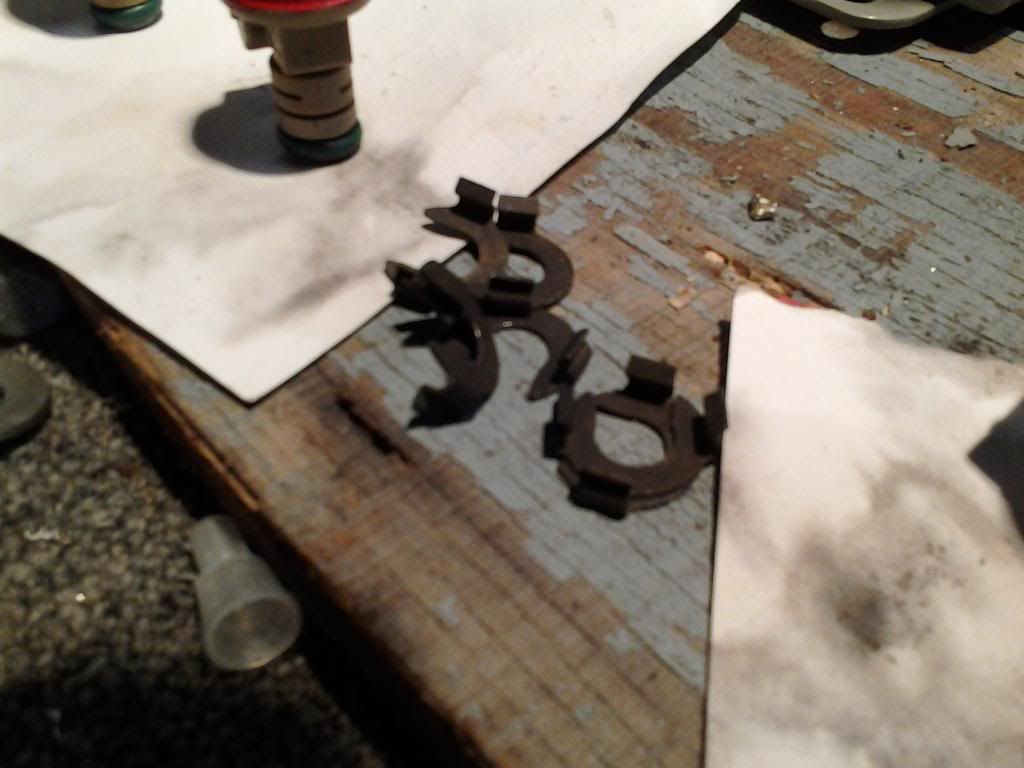
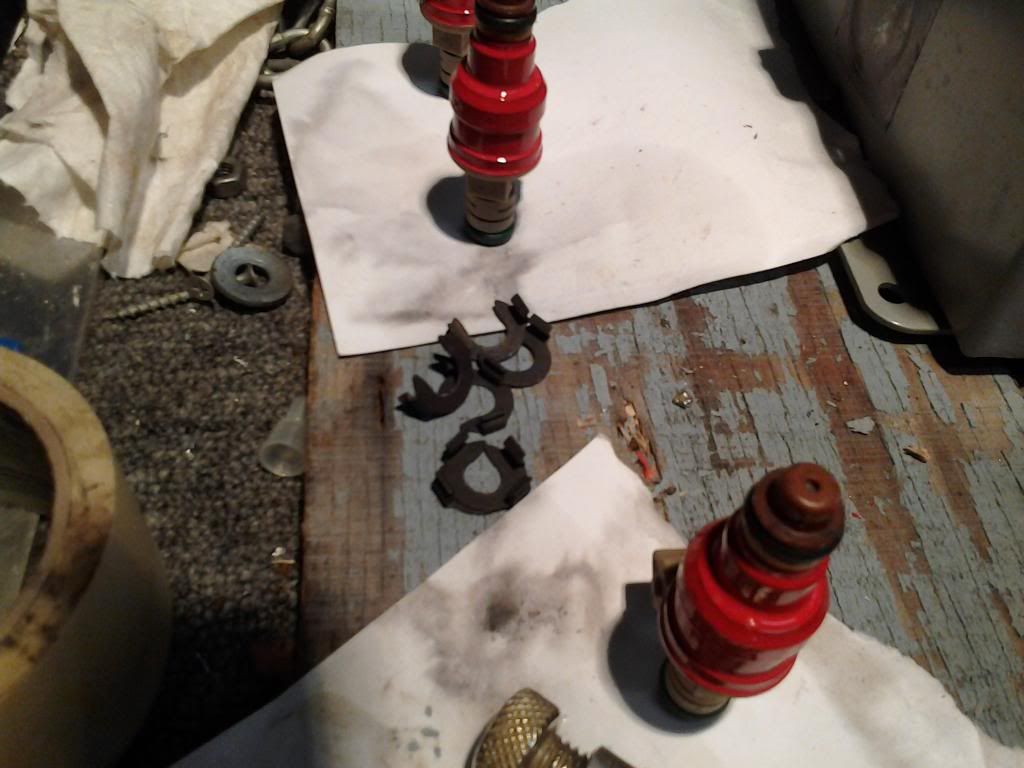
again used the Arm & Hammer Washing Soda, Water and my Battery Charger with some welding wire out of the MIG gun that I pulled out the same week. The parts are "Fuel Injector Spring Clip/Retainers" for the Engine I'm rebuilding. I took a few photos of the process and the can afterwards.
The clips were small and only 6 needed to be done. They are spring steel and very much impossible to do much for cleaning the rust off.
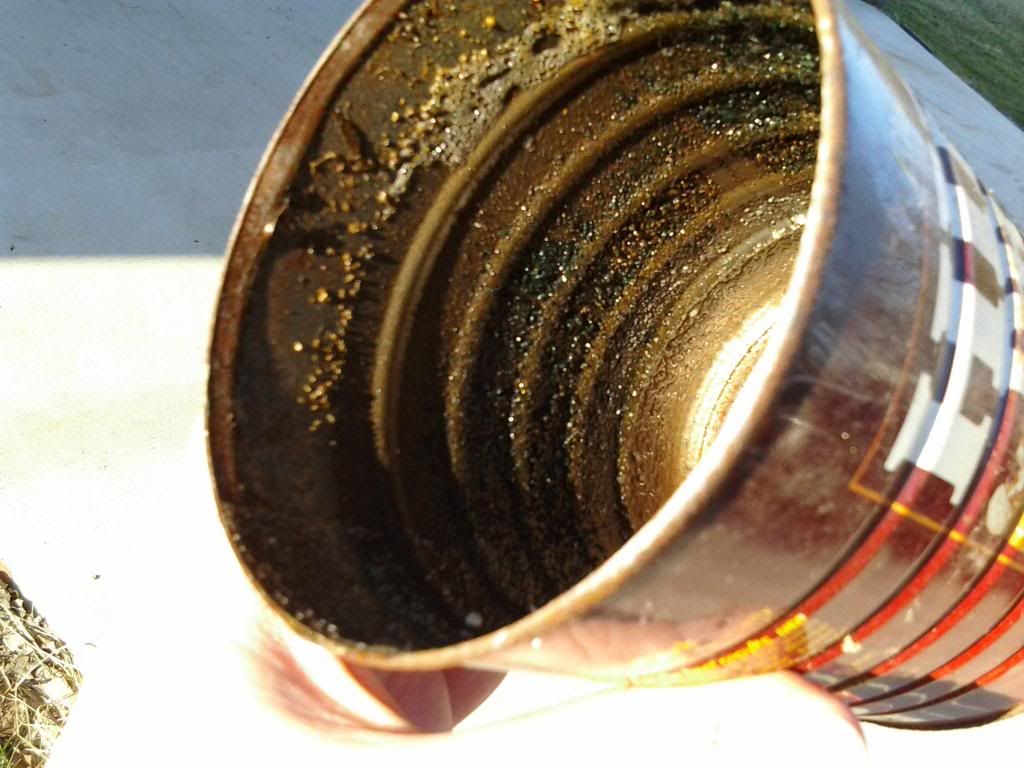
The CAN I used was an old coffee can (small one) and I turned it into the Sacrificial Anode (Charger +) as it was quick & easy.
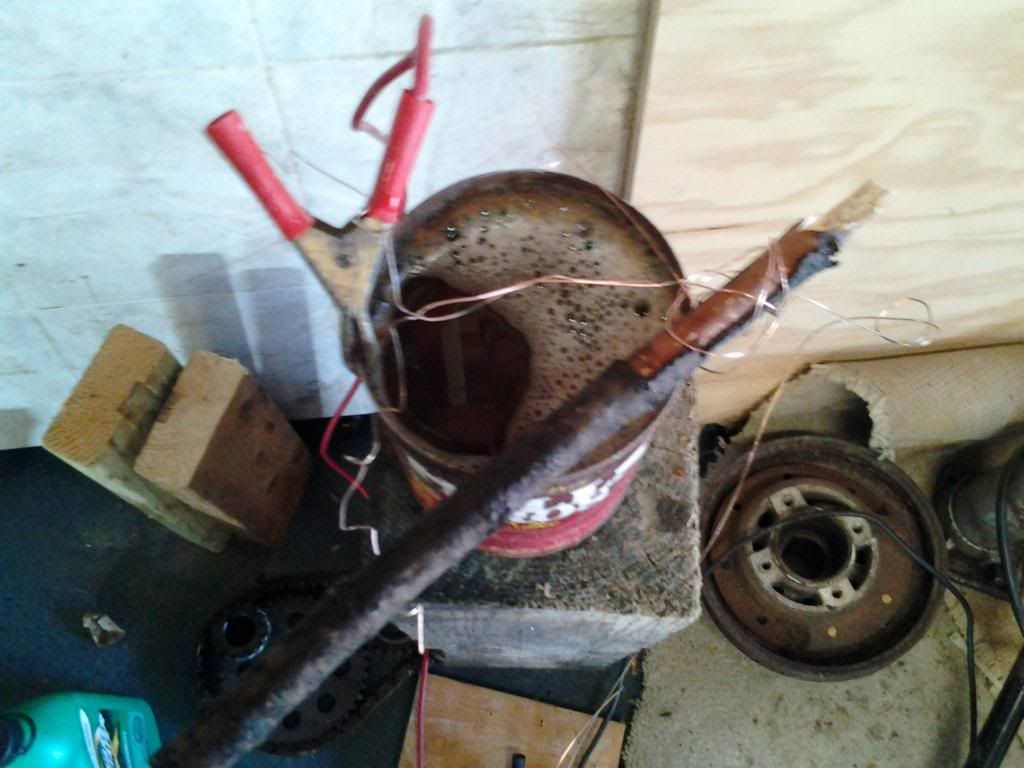
The Parts were wrapped with 0.023 copper covered welding wire out of my small mig and were held in center of can by way of a stick out of the yard. the Battery Charger (-) was hooked to the wire hanging over the side away from the can by way of the stick.
How the Can looked afterwards
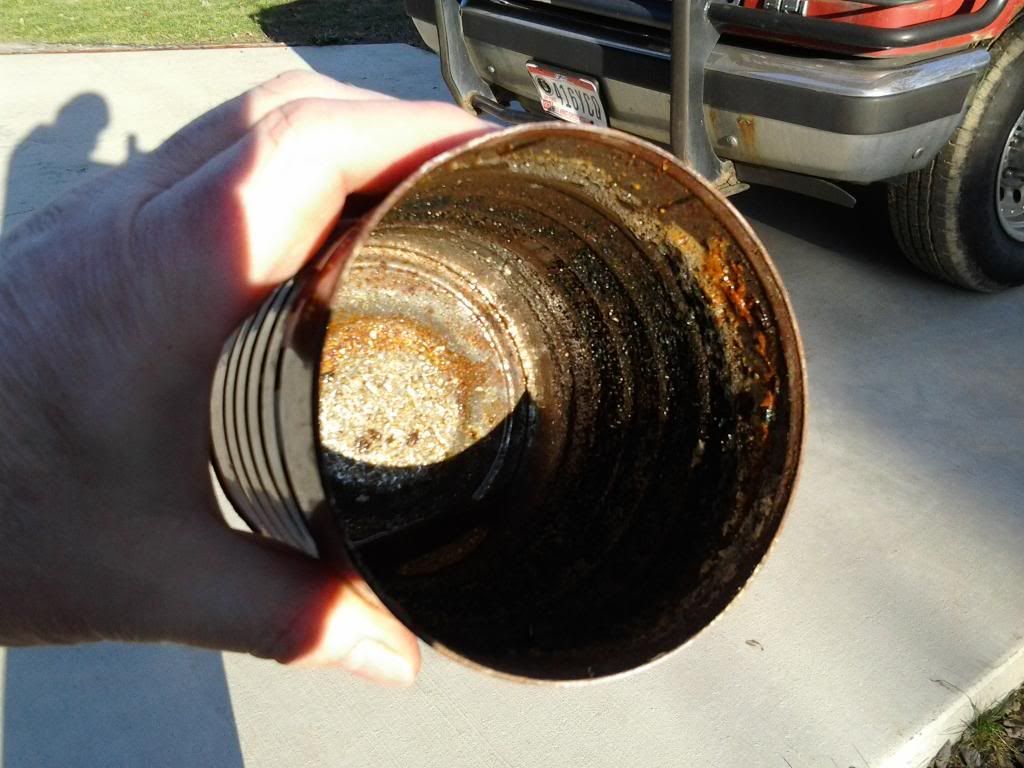
2nd pic
Clips after they came out the black oxide on them
and them in the can boiling away, note they cooked on the 2 amp setting & were in there for maybe 45 min at the most. I didnt get a pic of them painted up yet but they are red to match the repaint of the injector bodies I repainted after cleaning them.
here is a pic of the clips with the injectors painted already then I had to scrub the clips to clean them which in this pic they just came out of the bath & had a rag dry/clean. They went into the house under how water and scrub brush to knock off the scale. then a quick dry and a dip into the rust convertor/primer/phosphoric acid as a pre-paint final .
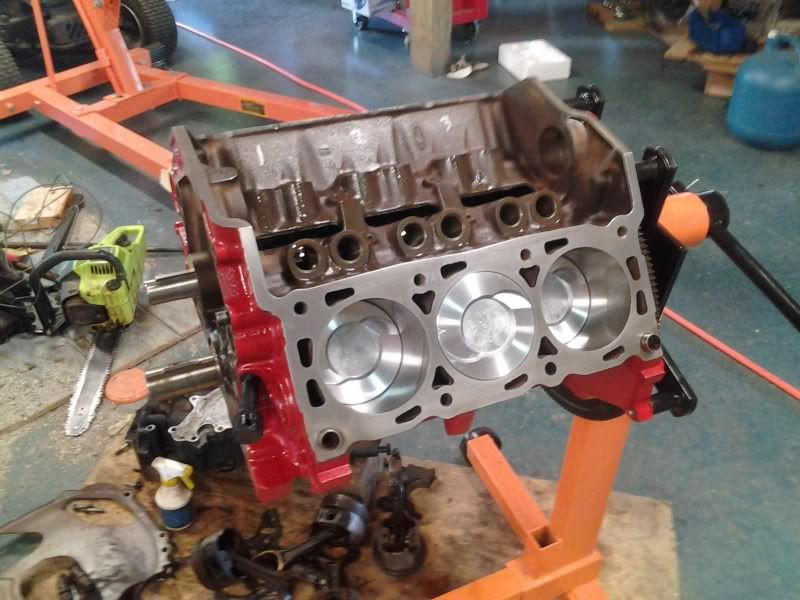
FYI the block lower end (it is all assembled now on the engine stand to the lower intake & rockers.)
Mark
")
![IMG_0020[1].jpg](/forums/data/attachments/257/257221-9ede80ae4f70d3bff09b89b1e8575ff2.jpg)