F250 rust repairs

   / F250 rust repairs #71  
When I was a kid we usually could see the ground under our feet as the road went by. Driver's side, that's where the battery was mounted. The acid and salt really went through those floors. Presumably D Crawler is going to show us his finished product.
 
   / F250 rust repairs
  • Thread Starter
#72  
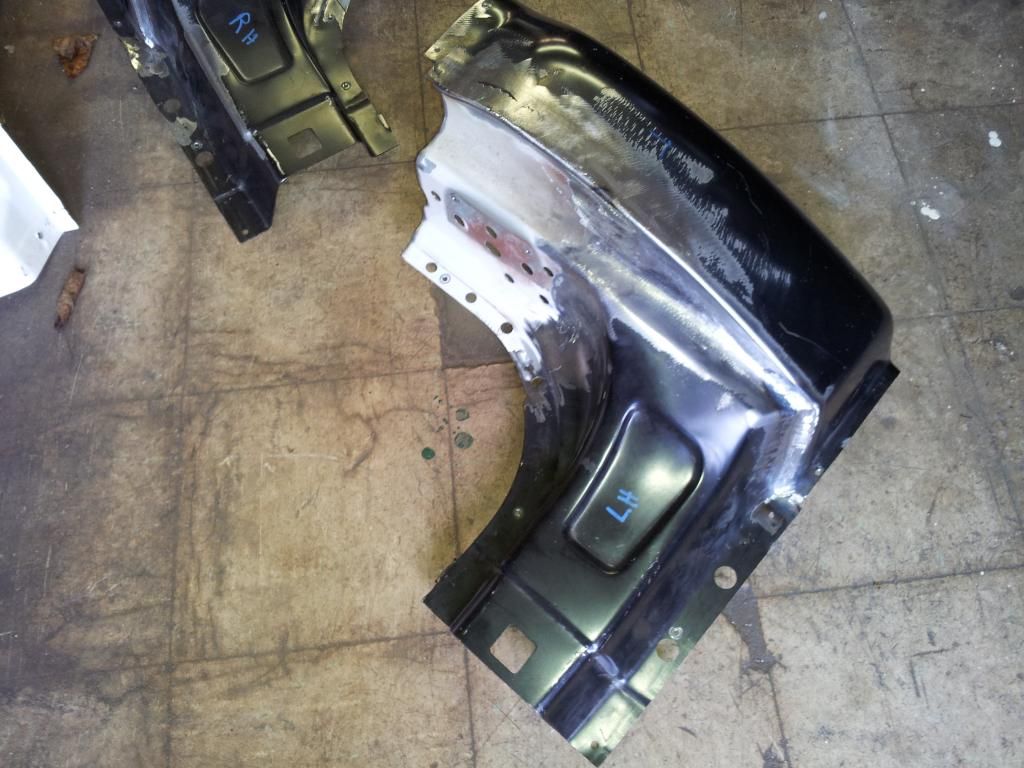
Today was basicly a repete of Friday only on the driver side cab corner. Went together in much the same manner, only slightly easier the second time around.


Thanks to all for the compliments... keeps me motivated to keep y'all updated. Yes, I will follow this thru to the finish, and post regularly as much as I can.
 
   / F250 rust repairs #73  
well done greg. i think i would have found a new cab and swapped dashes and called it good, but power to you and your boss. i take it you fixed the flatbed you were working on
 
   / F250 rust repairs #75  
i know i just found the thread, right after this one
 
   / F250 rust repairs
  • Thread Starter
#76  
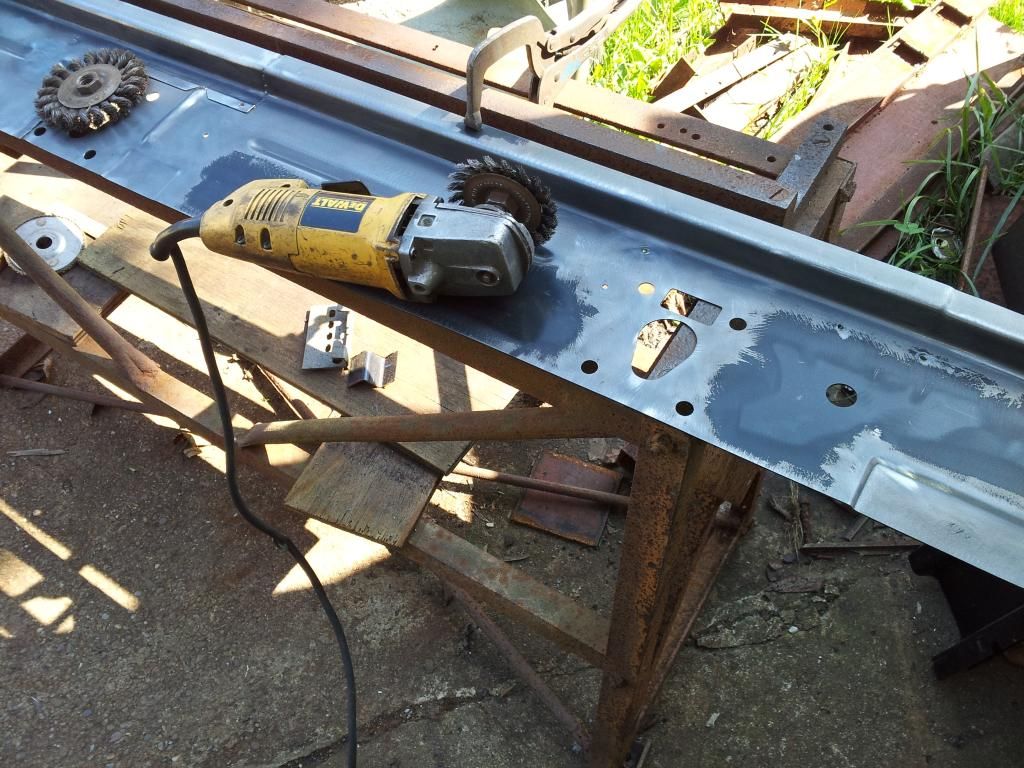
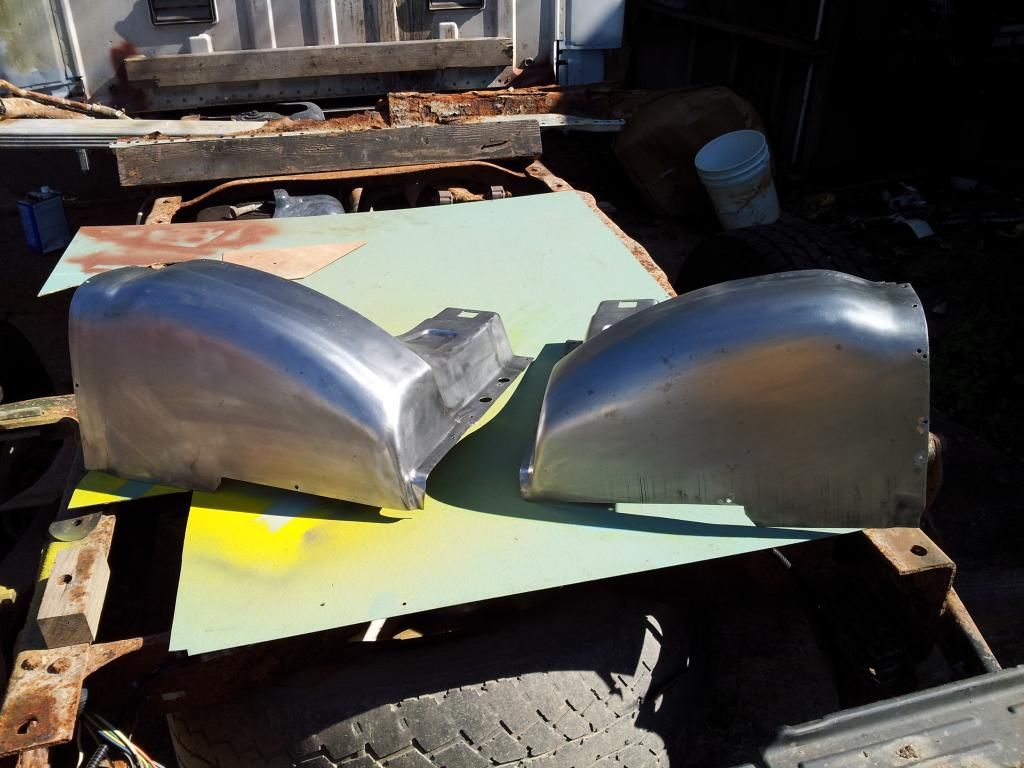
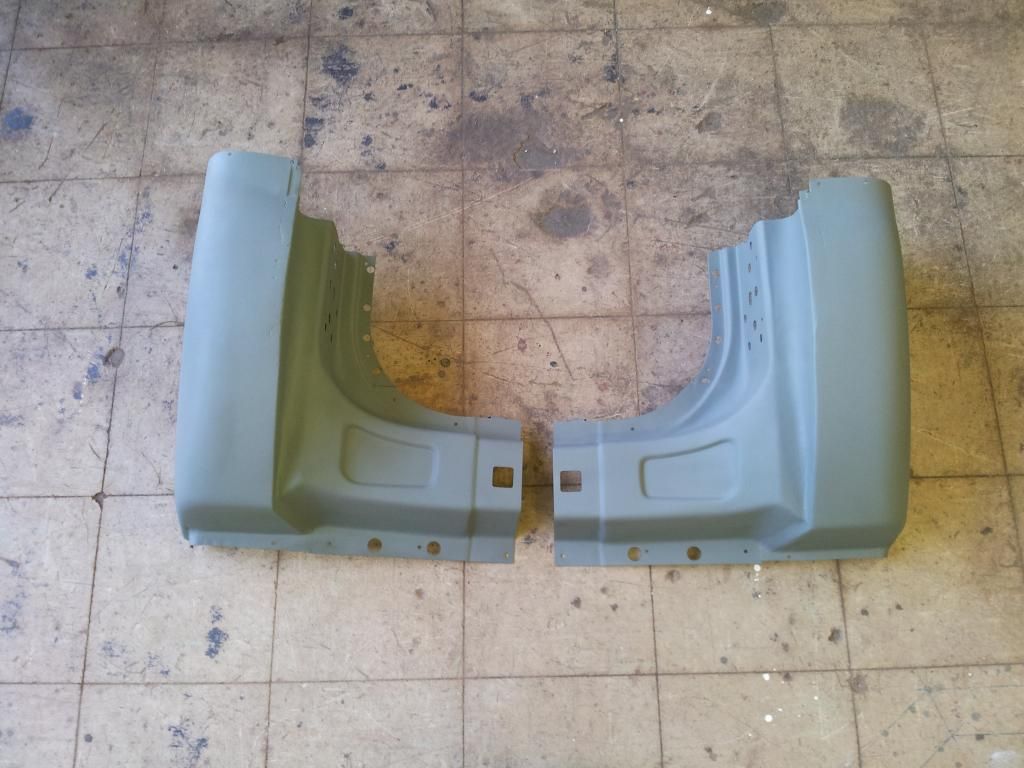
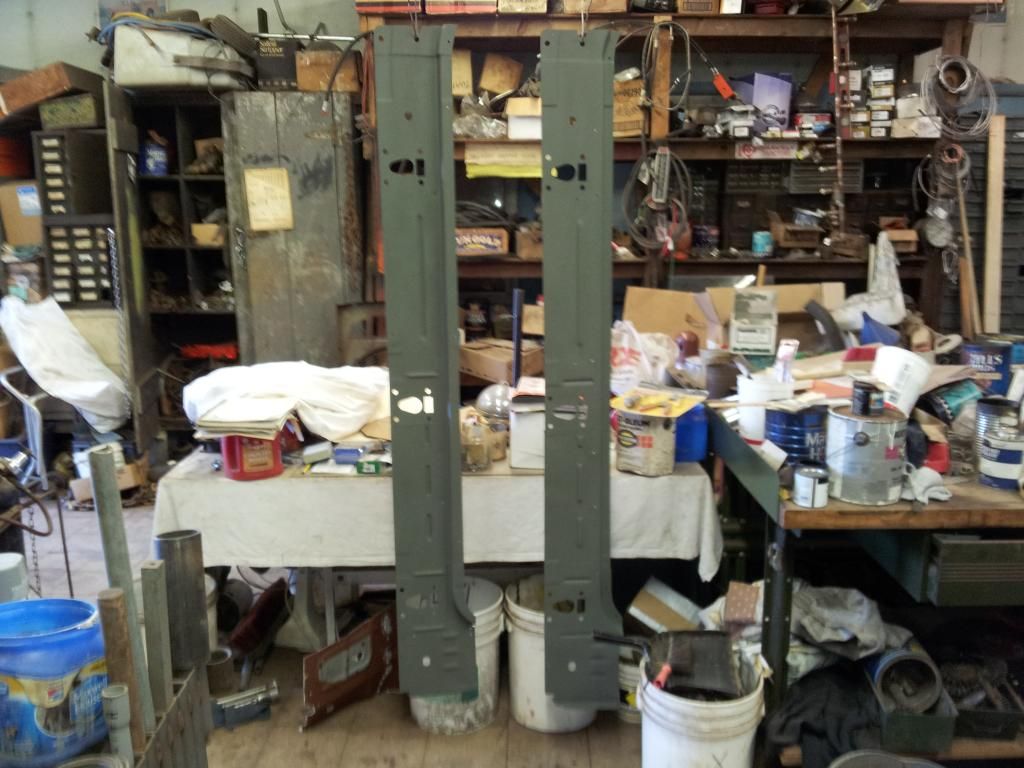
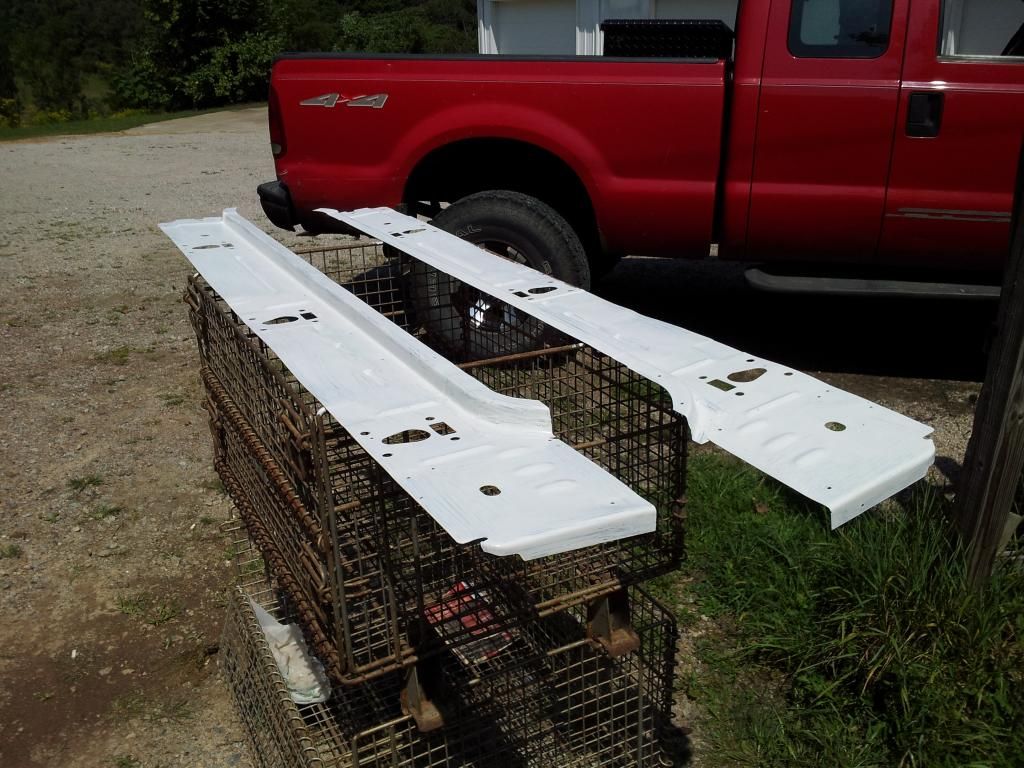
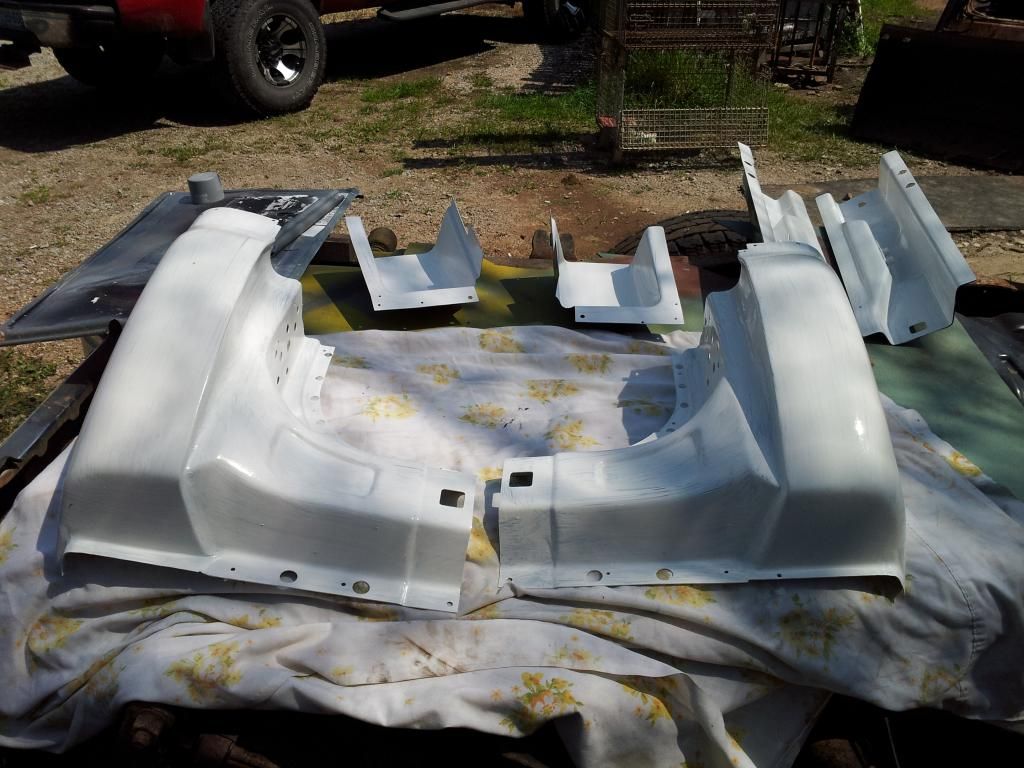
Spent all day cleaning and sanding sheetmetal parts. Inner rocker panels and cab corners stripped of all paint/primer. Did a little hand sanding on the inner cab corners, and peeled the lables off the rest of the parts... wire wheel seemed to strip the paint easily enough on what I cleaned up, then hand sand with a scotchbrite pad, clean with lacquer thinner, then prime.


All cleaned up...


Primed with self-etching primer


Remember the 'Where's Waldo?' books? That's the 'Where's the inner rocker panels?' picture... shop is a jungle!
 
   / F250 rust repairs #77  
Spent all day cleaning and sanding sheetmetal parts. Inner rocker panels and cab corners stripped of all paint/primer. Did a little hand sanding on the inner cab corners, and peeled the lables off the rest of the parts... wire wheel seemed to strip the paint easily enough on what I cleaned up, then hand sand with a scotchbrite pad, clean with lacquer thinner, then prime. http://s699.photobucket.com/user/wv...oads/2014-08-26 10.48.26_zpsg9sedigf.jpg.html All cleaned up... http://s699.photobucket.com/user/wv...oads/2014-08-26 16.20.03_zpsbedmnqne.jpg.html Primed with self-etching primer http://s699.photobucket.com/user/wv...oads/2014-08-26 16.40.37_zpshtdlwhfy.jpg.html http://s699.photobucket.com/user/wv...oads/2014-08-26 16.40.58_zpsoqmanicz.jpg.html Remember the 'Where's Waldo?' books? That's the 'Where's the inner rocker panels?' picture... shop is a jungle!

Just wondering if a weld thru primer would be a better option? You could prime then weld into place and retouch after! Just a thought.

Nice work!

Sent from my iPhone 5s 64Gb using TractorByNet
 
   / F250 rust repairs #78  
Absolutely amazing fab skills!

Thanks for sharing.

Mike
 
   / F250 rust repairs
  • Thread Starter
#79  
I plan to prime, top coat, fit in place, mark weld spots, sand thoes spots, then use weld-thru at the weld locations. Then follow up by touching up heat damaged areas. I have been using weld-thru primer as needed thru-out the project, but sparingly.

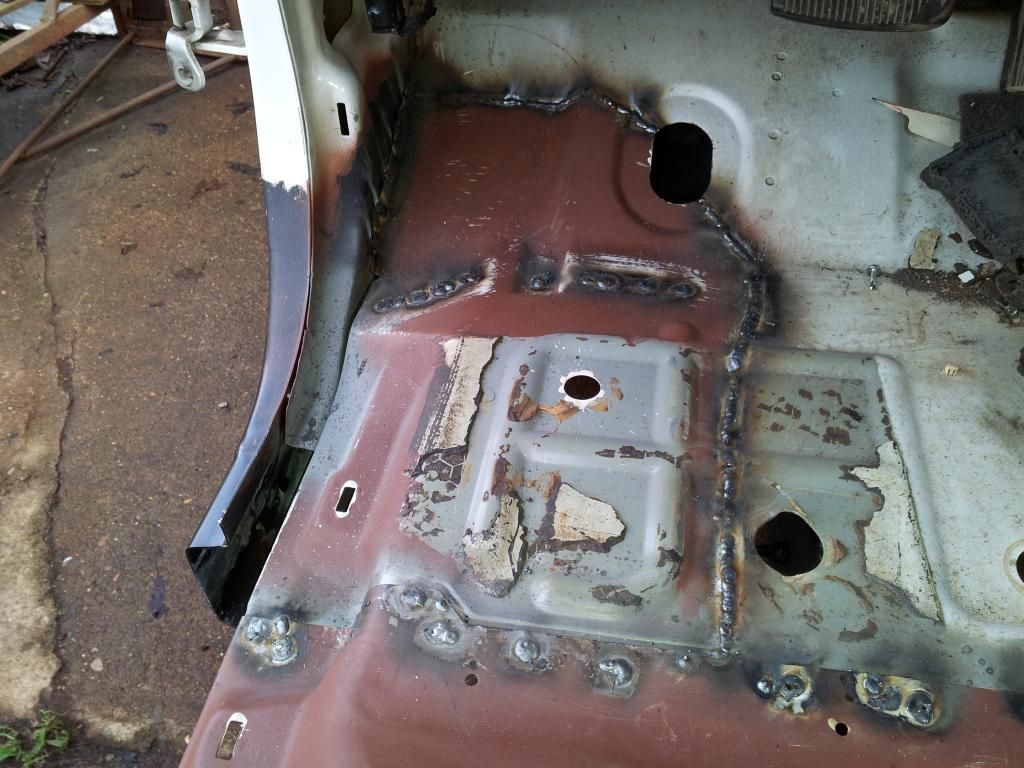
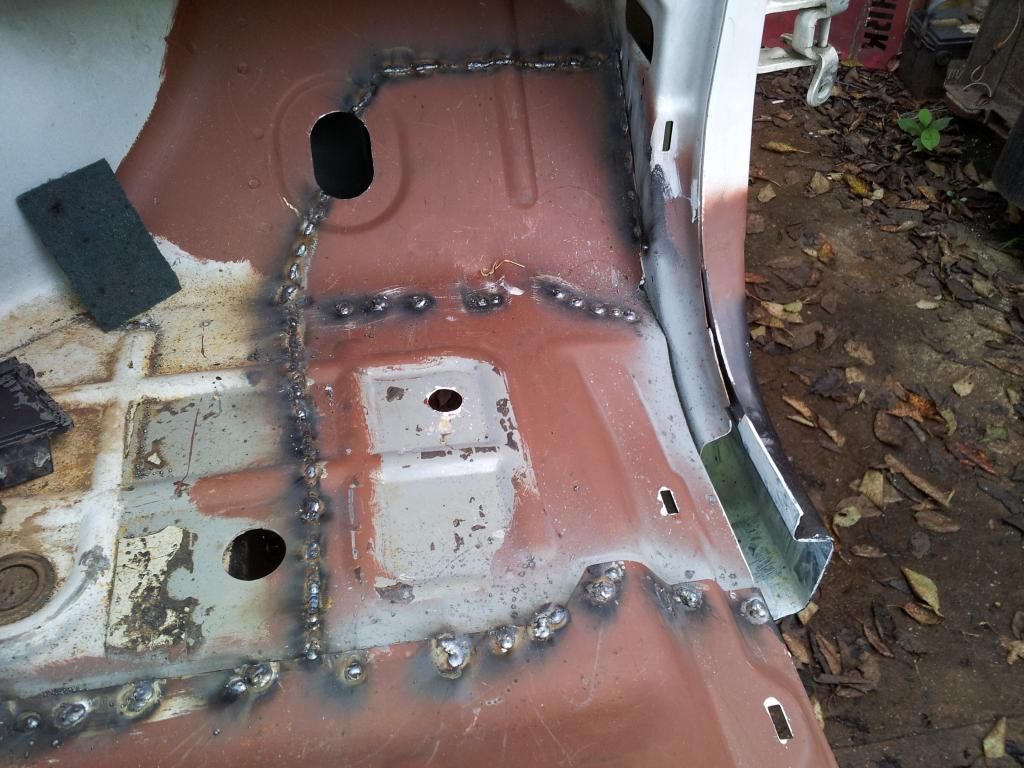
Today I sanded more panels, and primed, then top coated what I could. After lunch I got the floor pan sections over the front cab mounts ready to weld back in, then welded them and all the spot welds across the back of the cab and trans tunnel.


Last edited:
   / F250 rust repairs
  • Thread Starter
#80  
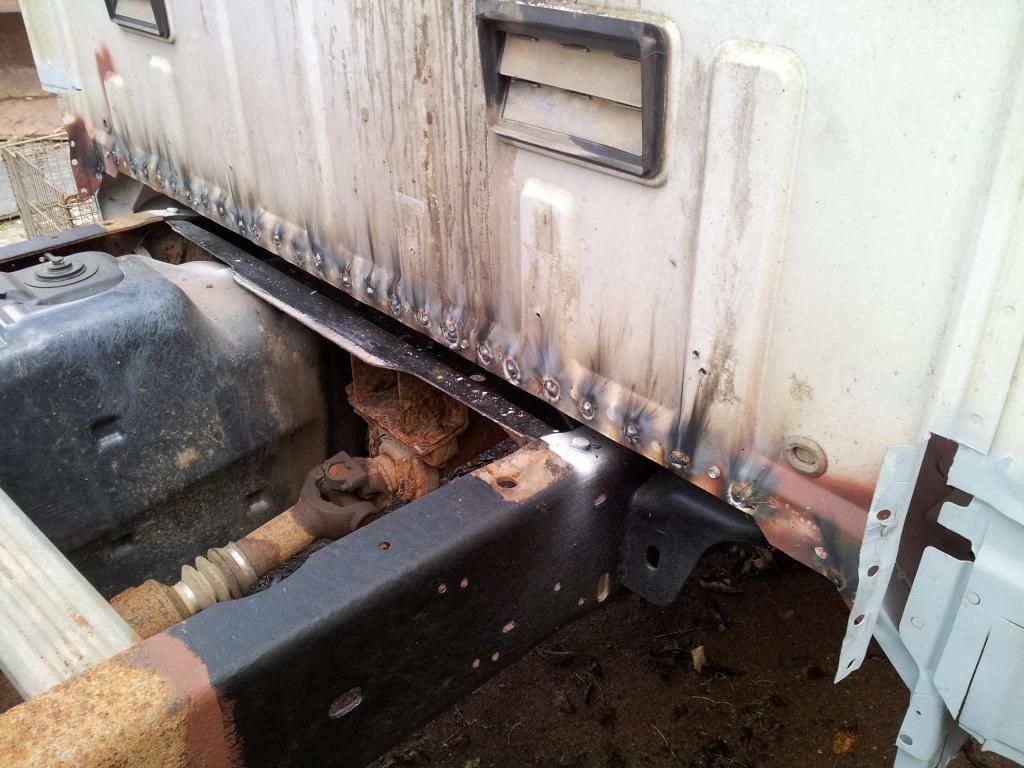
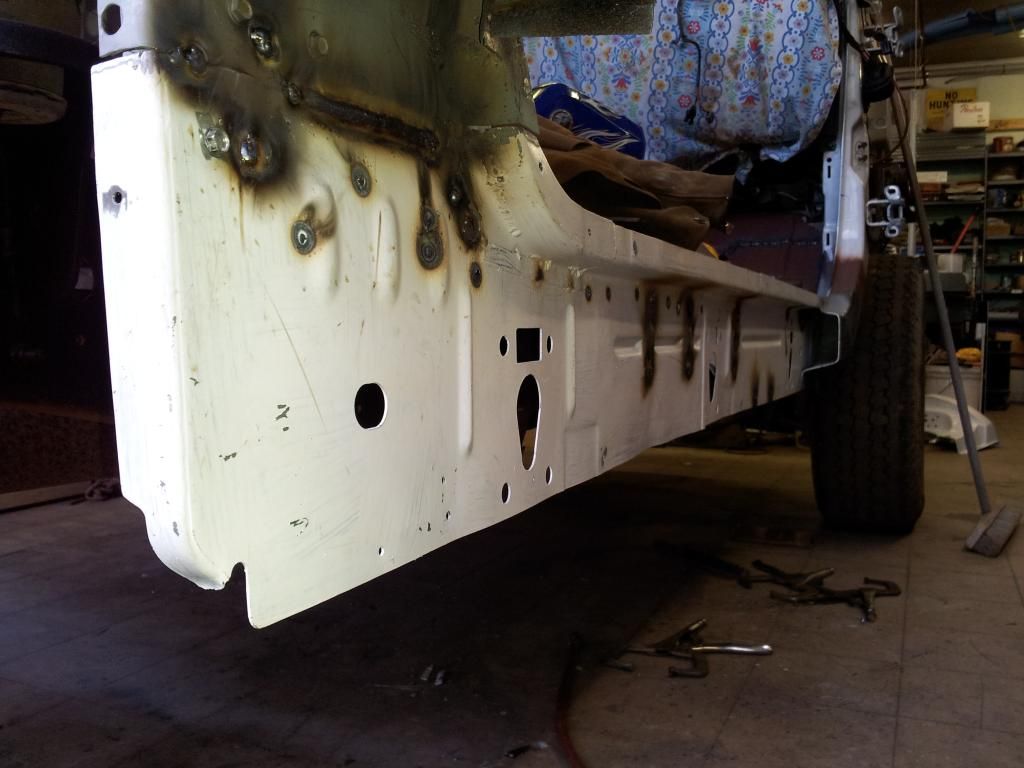
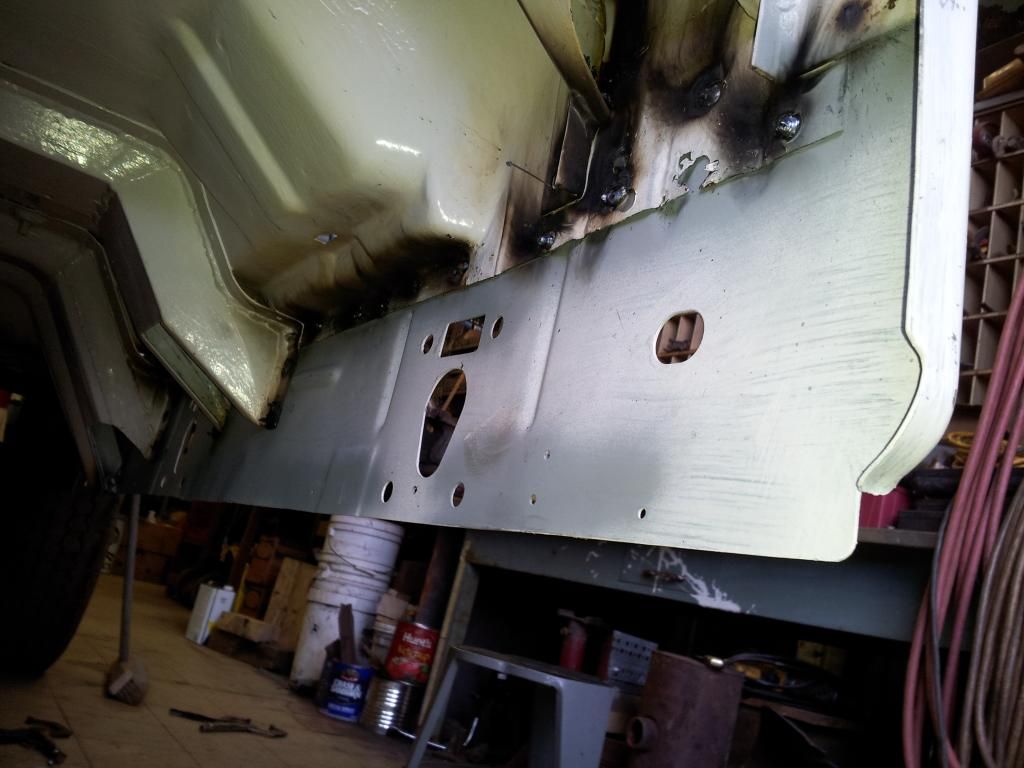
Finally feel like I'm making progress. Got the pass side inner rocker panel welded in... almost. Was nearly done when I ran outta MIG wire. So I spent some time prepping the driver side for when I get wire (tomorrow AM) and went home an hour early.


Tractor & Equipment Auctions

2000 Wabash National 53ft T/A Dry Van Trailer (A51692)
2000 Wabash...
2013 COACHMEN CATALINA TRAVEL TRAILER (A52472)
2013 COACHMEN...
2025 CFG Industrial QK16R (A50123)
2025 CFG...
2015 Freightliner Bucket Truck - Terex TM 100 Boom - Cummins Diesel - Allison Transmission (A53473)
2015 Freightliner...
Killbros 260 Seed Conveyor (A53473)
Killbros 260 Seed...
2015 Ford Explorer SUV (A51694)
2015 Ford Explorer...
 
Top