The metal install went pretty smoothly despite the fact that we were short on screw guns. We started off at 6:30 AM with a crew of 6 which grew to 7, and dwindled to 4 by the end of the day. It was hot, humid, & still, and I got cussed more than once for waiting until summer to put the roof on. We took a lot of water breaks and still managed to get all 2500 square feet covered in a day.
The way we handled the long sheets worked out fine. We had one man on a ladder at the eave, and one on the roof. Me and two other guys made up the ground crew. We passed the end of the sheet to the guy on the roof who walked it up the purlins to the peak while I stood near the eave and "walked" the panel over my head with my hands. It worked out pretty slick, but I have to say I'm glad I wasn't the one walking it up!
I had left the fly rafter and fascia off of the back end of the barn so that we had some room to trim things up square if we needed to. We knew we would have to rip the last roof panel, and this let us decide exactly where. Tommy normally uses a metal cutting blade in his circular saw for this task, but I had recently picked up cheap
pneumatic shear at Harbor Freight, so we used that instead. It worked really well... quiet, no burn marks, and the edges were perfectly smooth. We were all impressed considering the thing only cost $15 on sale.
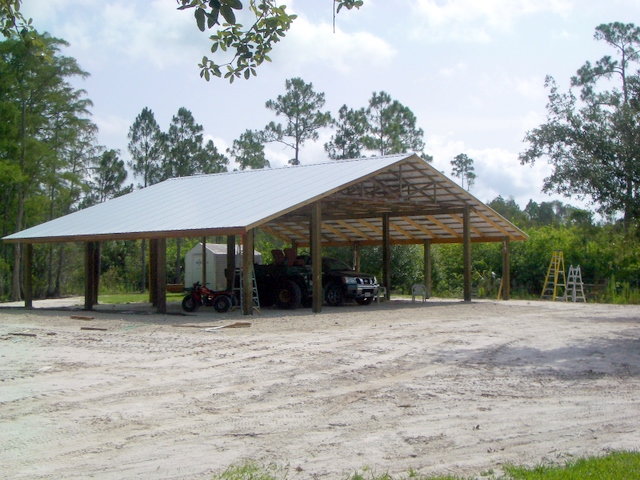
So this is basically where I am now. It's great to be "dried in" and I'm really pleased with how it's turned out so far.
I'm looking forward to getting the floor poured, but that's going to cost almost $5K. The pond and fill work put me over budget, so I need to save up for another month or two. In the meantime, I have one rule - nothing stored in the barn that doesn't have wheels!