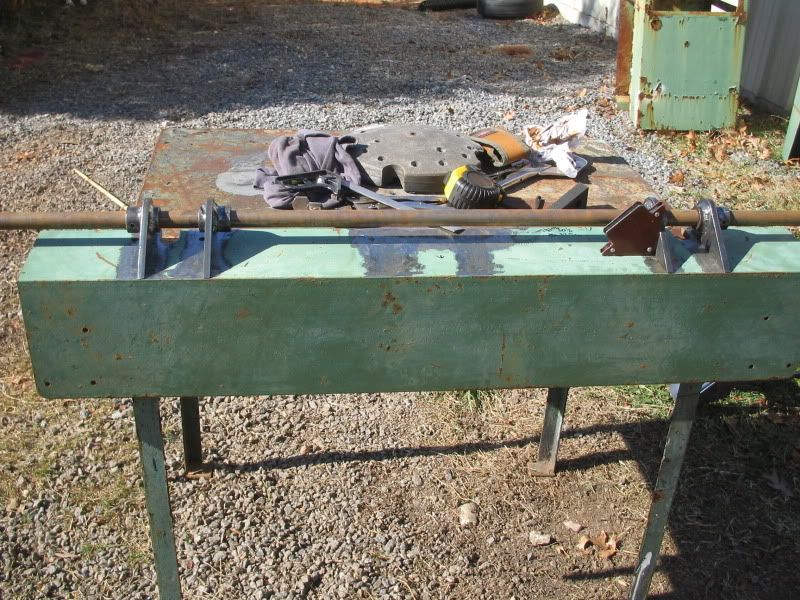
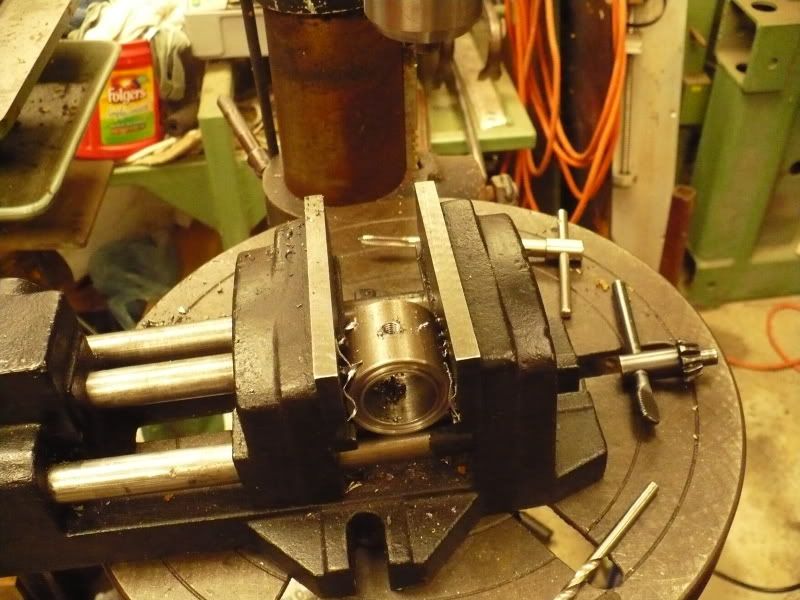
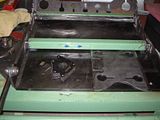
My regular bench isn't big enough so I put the main structure on the plate I use for a router table to square it up.
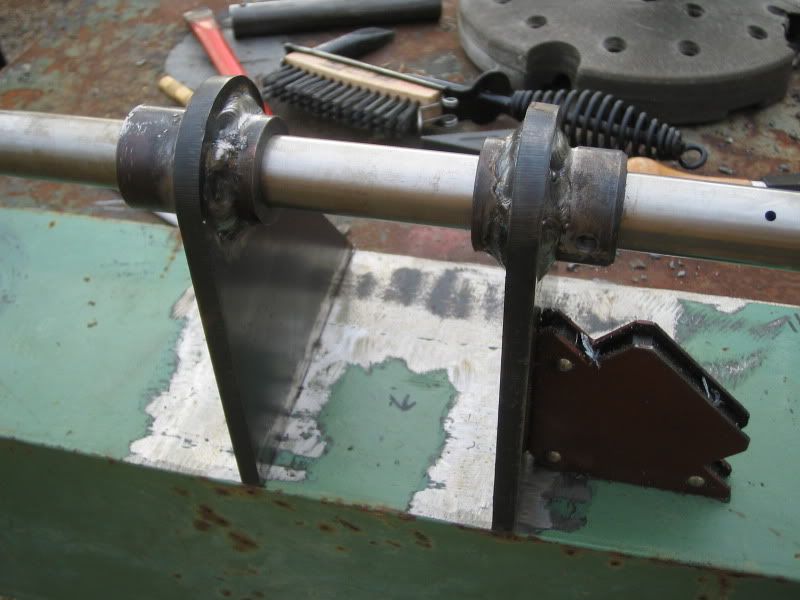
I used step blocks again and some smaller spacers to get the cross tubes square and at the right height.
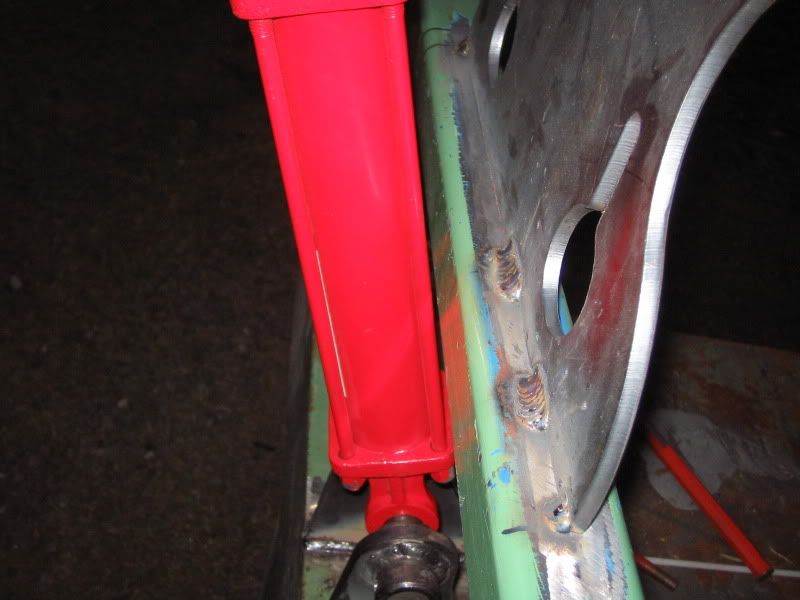
I made a mistake in not clamping everything tight when I tacked them. I welded the left ends and by the time I welded the right ends they had each pulled 1/4" closer to me. I cut those welds back off, tweaked the tubes back square, and made short welds on 3 sides of each tube end. Then I carried it outside and stick welded the rest and tacked the front plate in place.
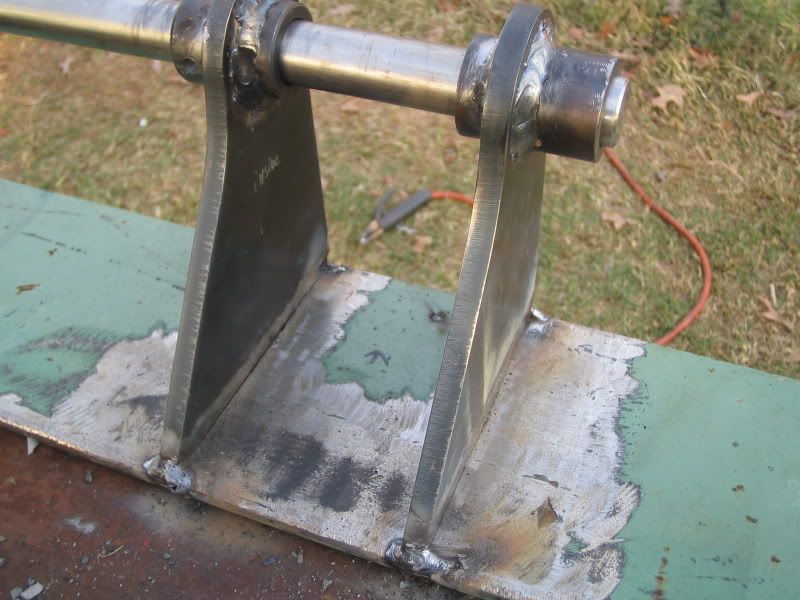
As I welded the cross tubes I tried to go back and forth to make symmetrical welds on opposite ends of each tube. It still lays flat on the table so I guess that worked. The pivot ends pulled in a little towards each other. I'll bend them back straight next.
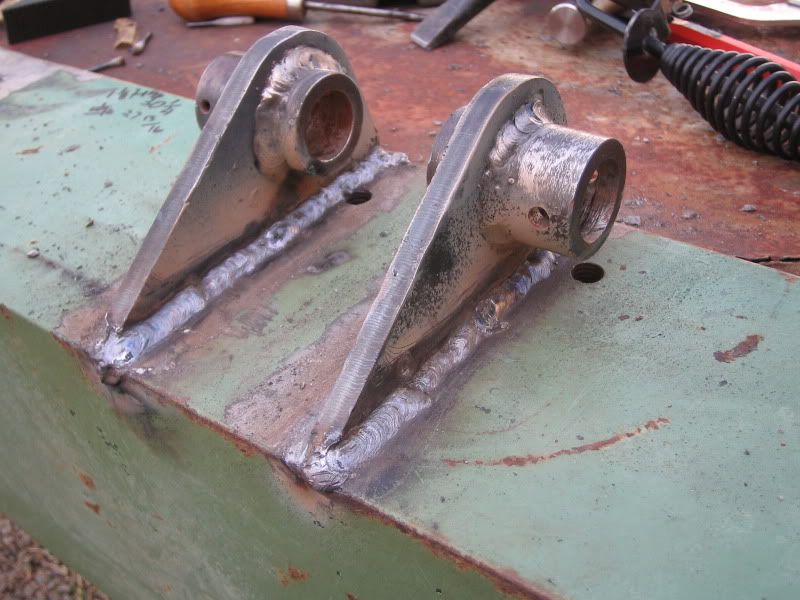
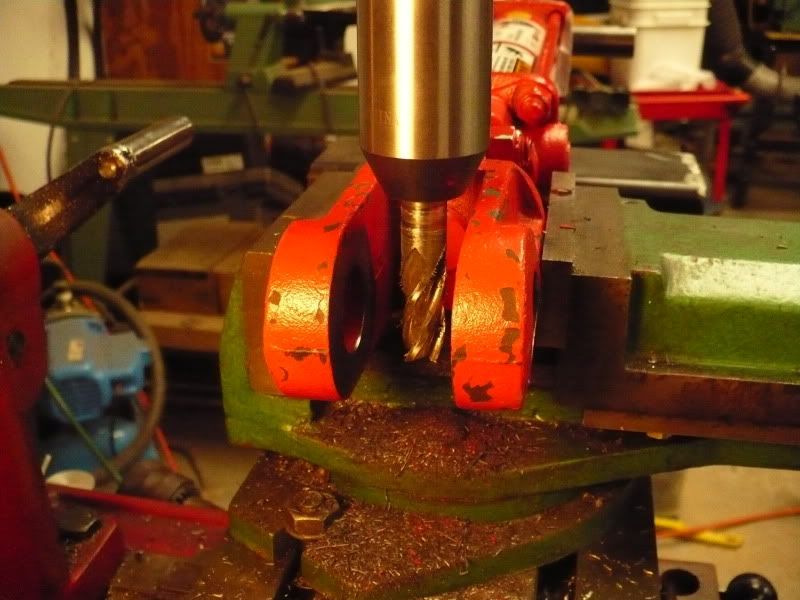
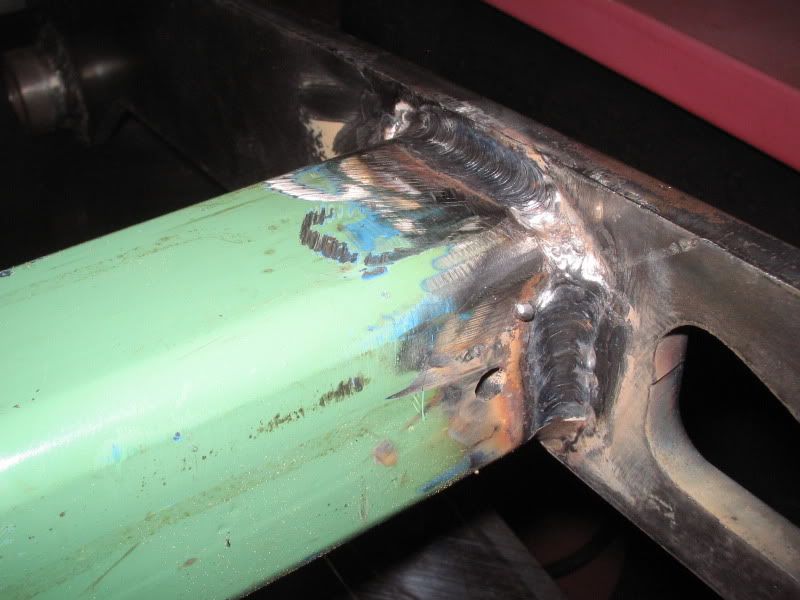
I cherry picked a little for this weld close-up. It's a single pass stringer bead using 1/8" 7018 rod. Still some slag at the very bottom..
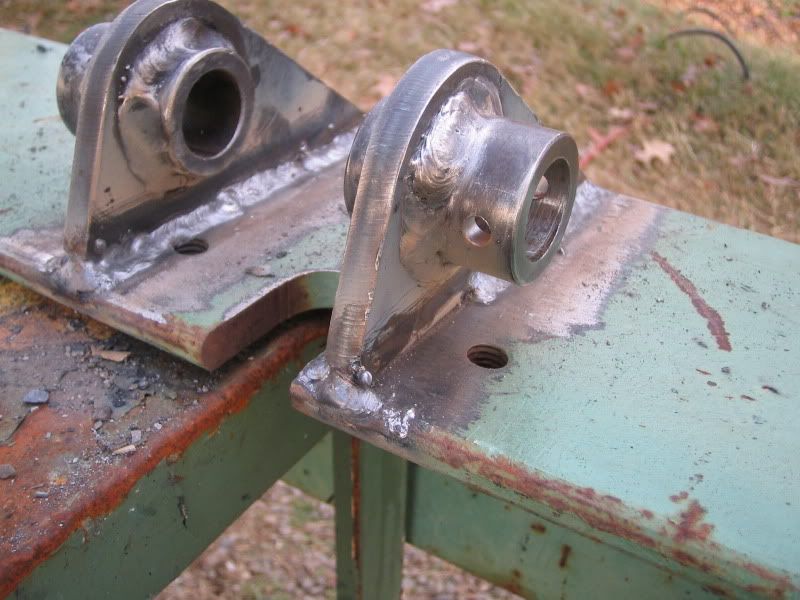
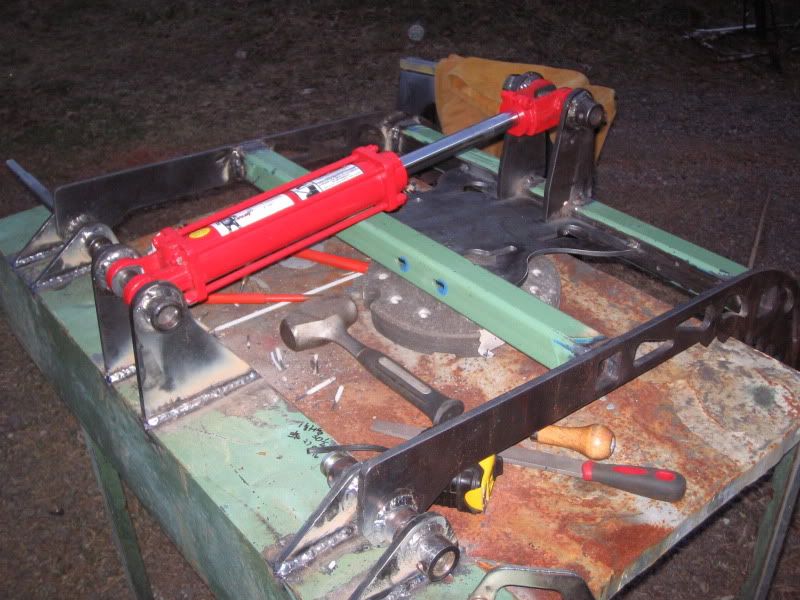
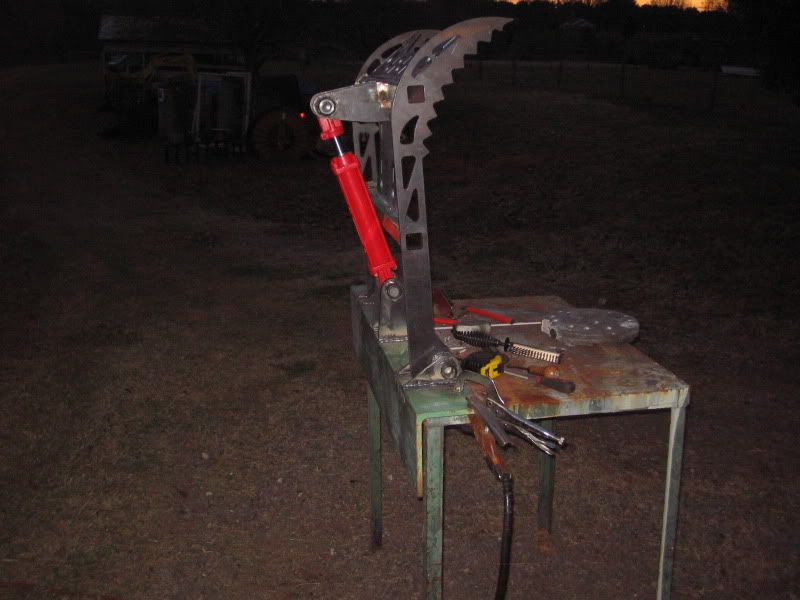
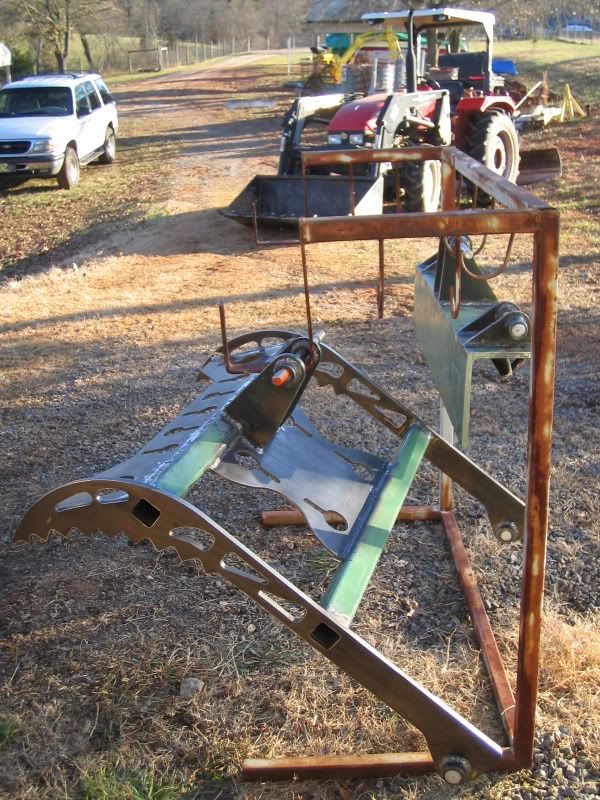
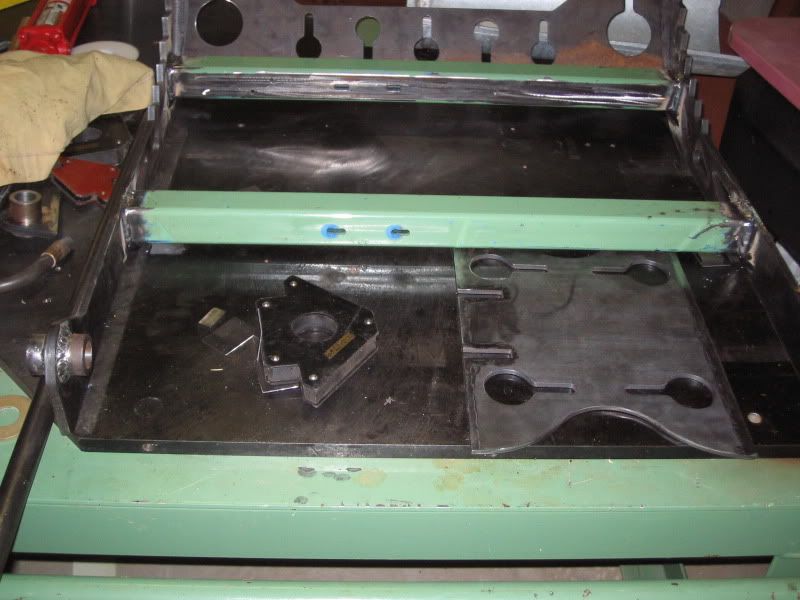
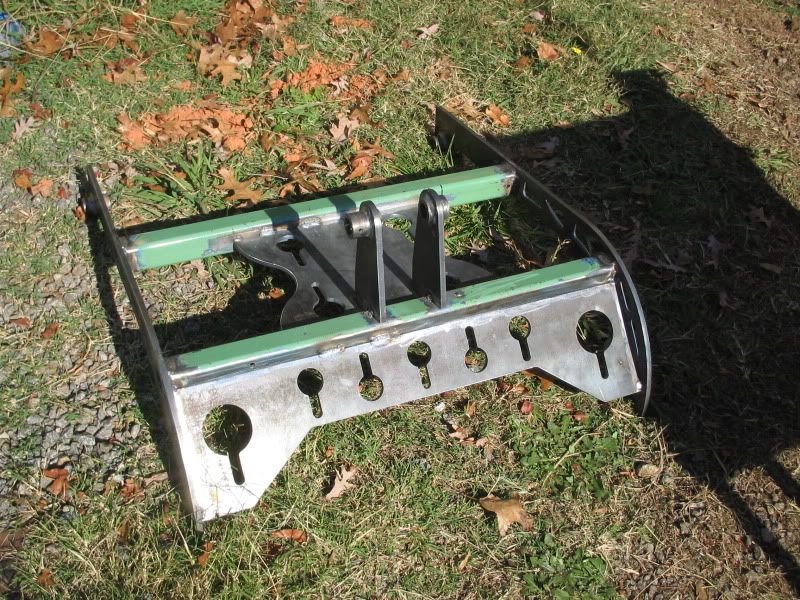
I got the rest of the parts attached and aligned to the grapple. I still need to fill in the welds.
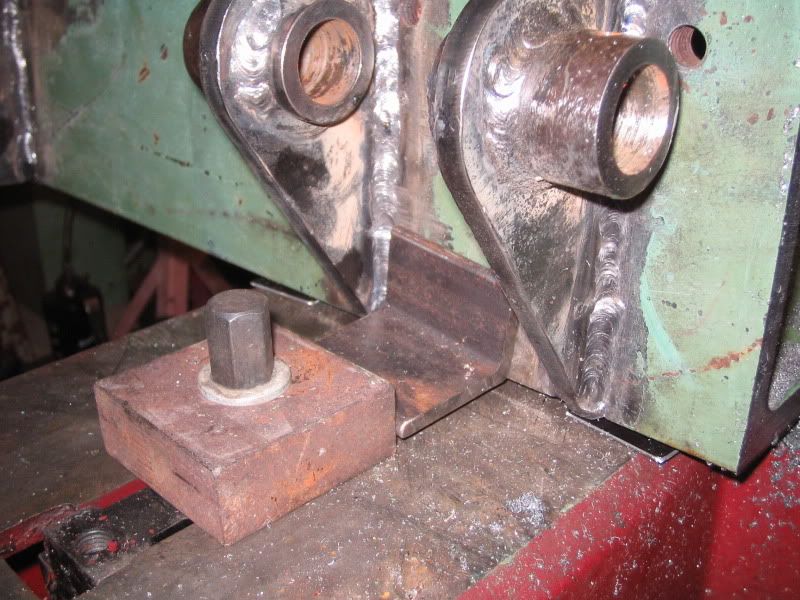
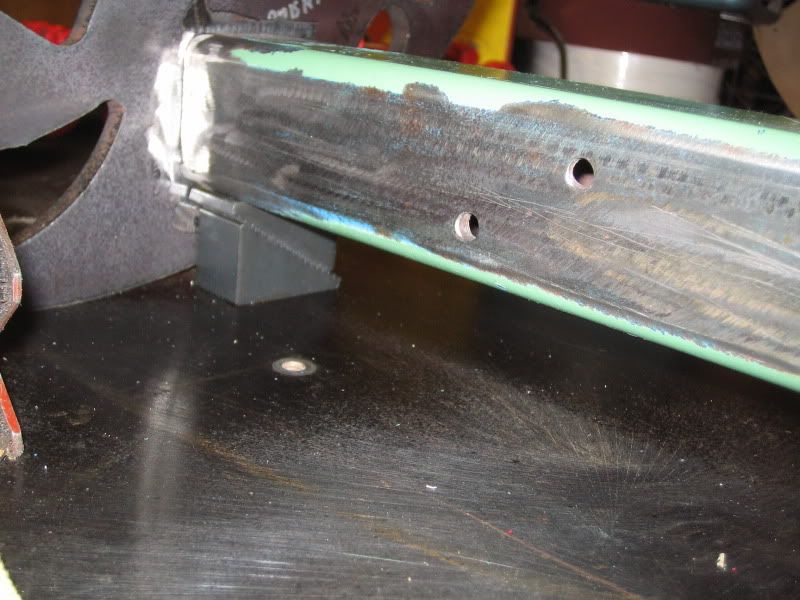
Then it was time to work on the base. I had to grind some old weld off the 6x8x1/2" angle iron. It's a little extra wide. At the time I decided to leave it the original length. Now I realize I'll have to trim the ends off for it to fit the bucket. :
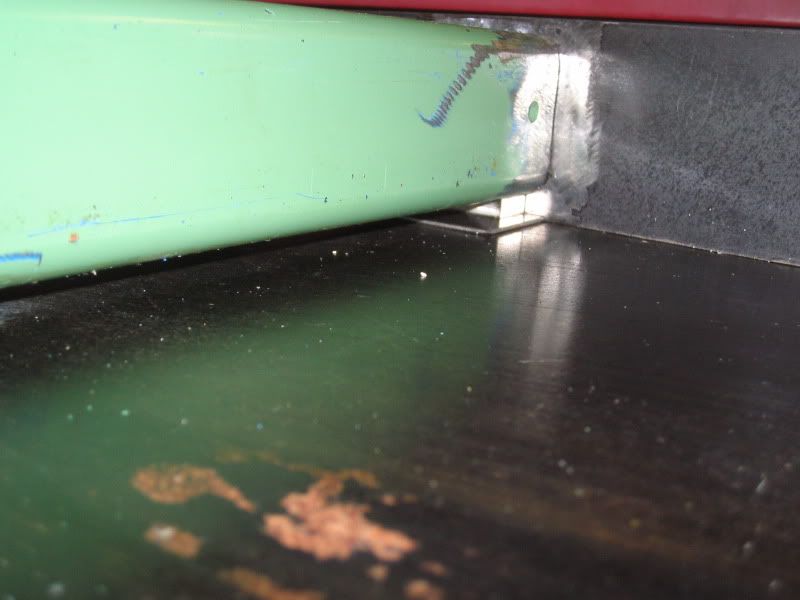
I welded the tips of each bracket, then alternated welding about 1/4 of each side fillet at a time. Luckily I had some 1" round stock long enough to do the initial alignment. Even better I was able to remove it after welding. ;D The wide notches in the angle iron between the short brackets are artifacts of it's former life.
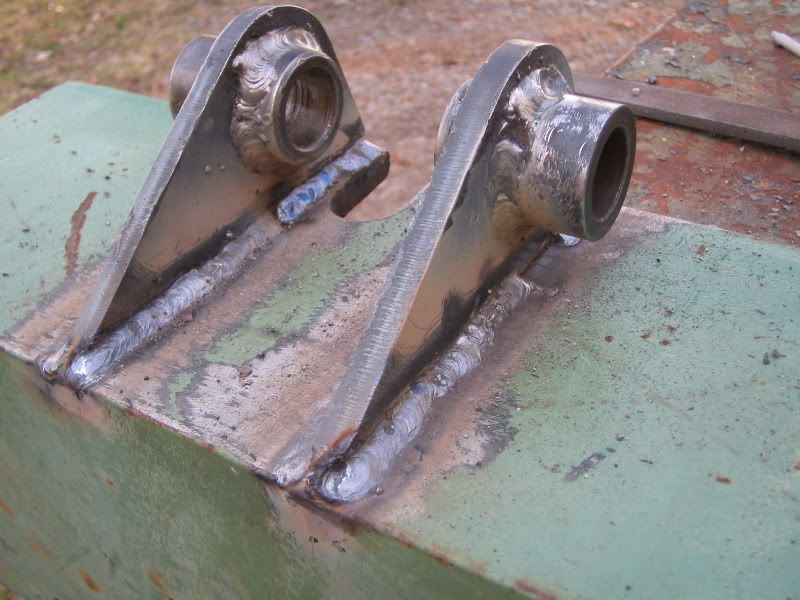
I had a back spasm as I was welding and had to take a break. :'(
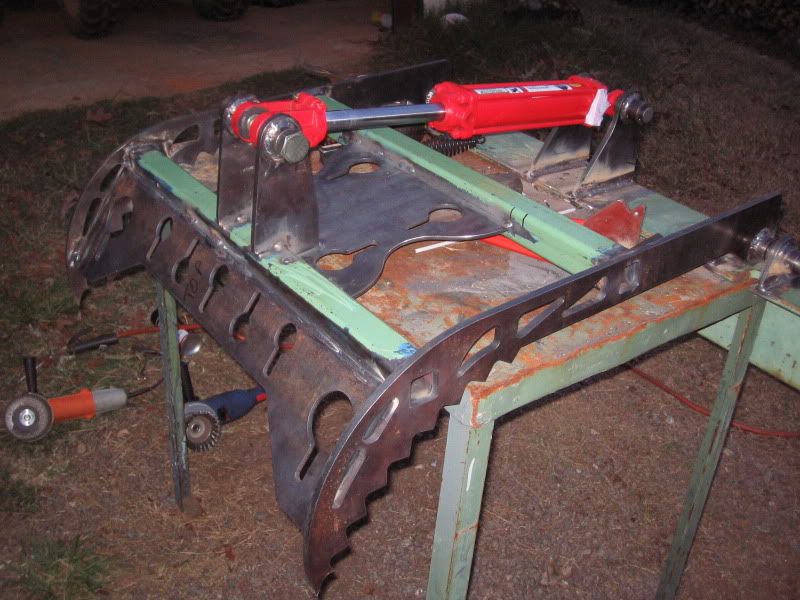
When I got back to it there wasn't much left to weld. You can see the unwelded portion of the near bracket. That little nub on the left is where I stuck the rod when by back gave out. There's also a little inclusion on the left end of the second bracket that I will fill in.
I decided to take some video. Sorry about the crappy videography of the second one where I am holding the camera in my left hand and chipping with my right.
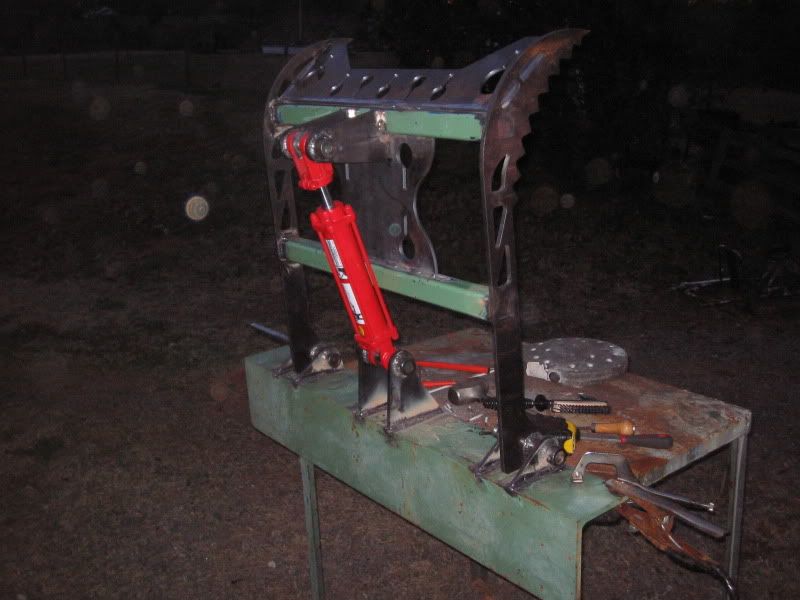
I managed to temporarily pin everything together to check the fit. Looks pretty good. The cylinder retracted length was a little past the range of motion built into the grapple stops. Based on a quick measurement it looks like that length is closer to 20.0" even than the specified 20.25". I should be able to adjust the threaded end connection by that much.
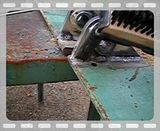
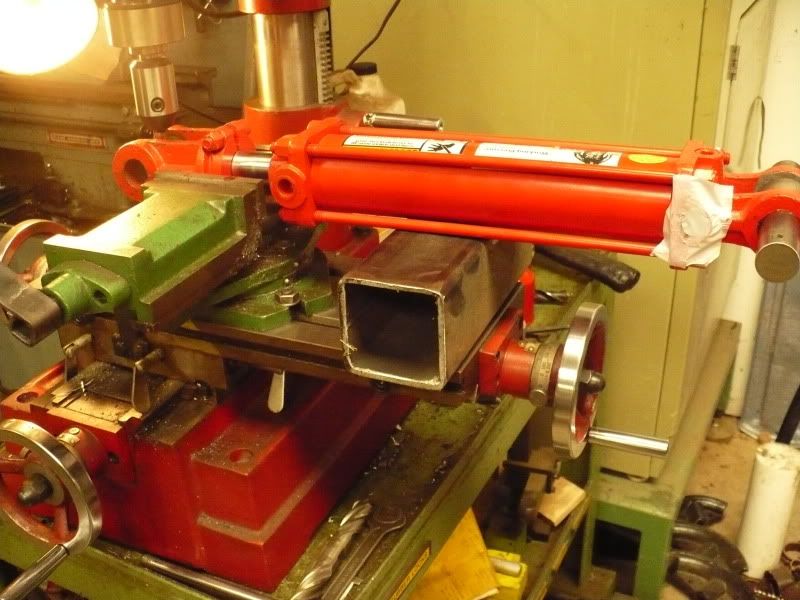
Remember that close tolerance Larry pointed out between the cylinder body and square tube? Check out the 6th pic.
I have so much junk..
(How much junk is it?)
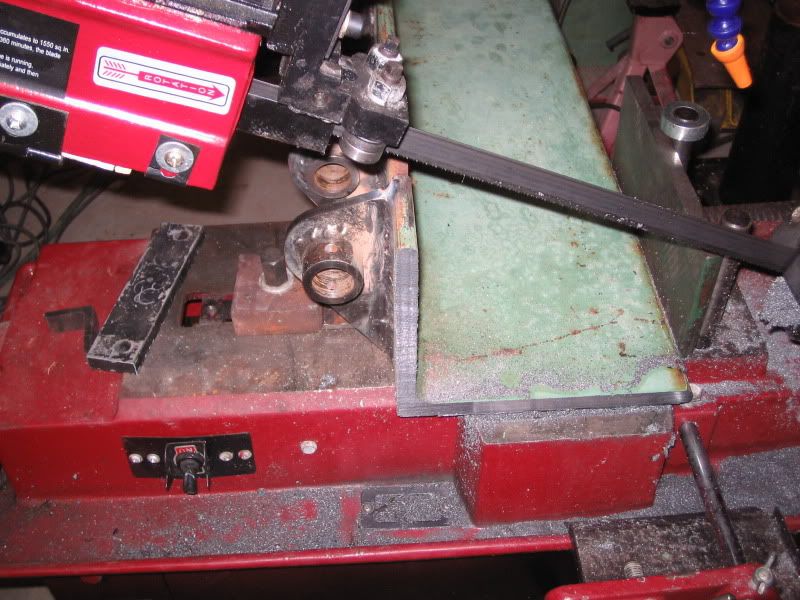
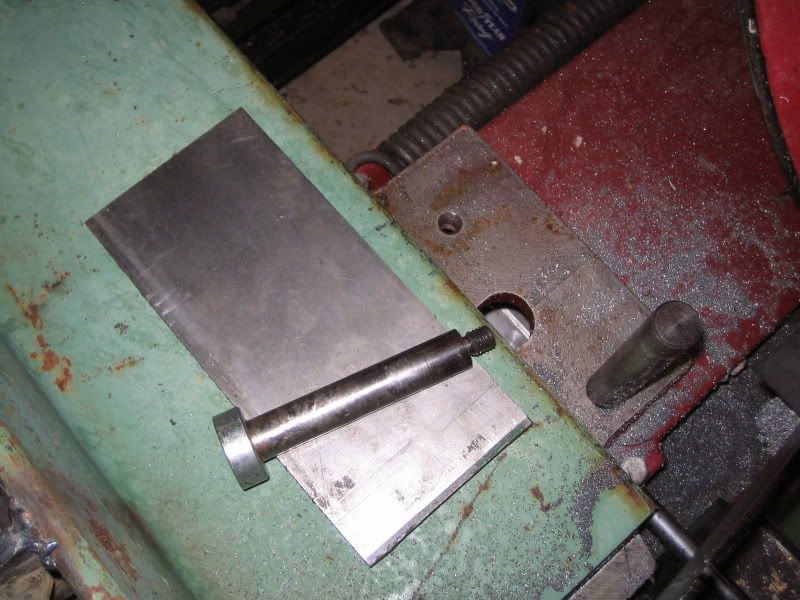
I just happened to have a couple of Nextrom extruder clamp support rods with threaded ends that perfectly fit the vise jaw mount holes on my Chinese bandsaw WITHOUT MODIFICATION.
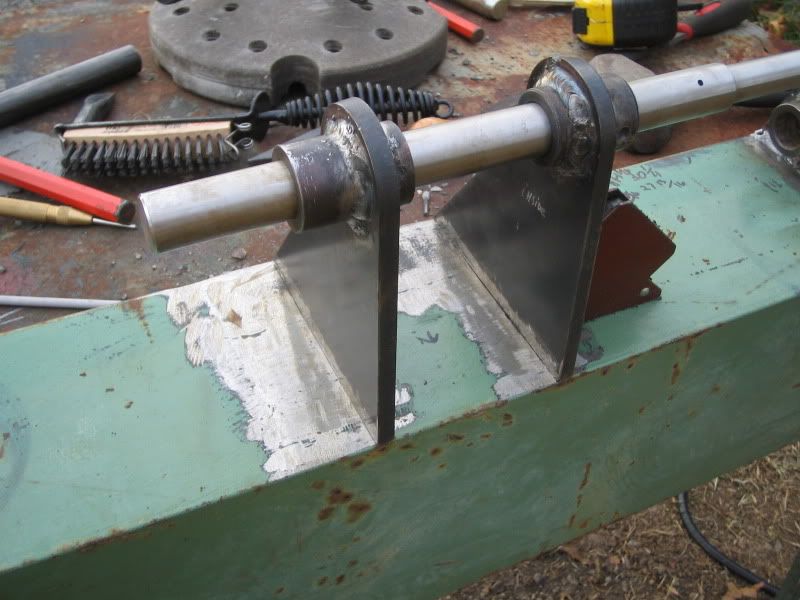
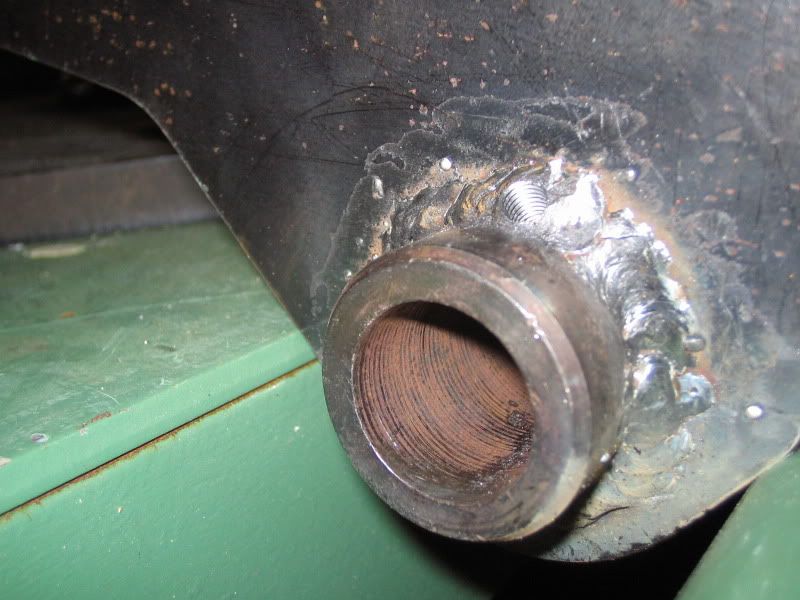
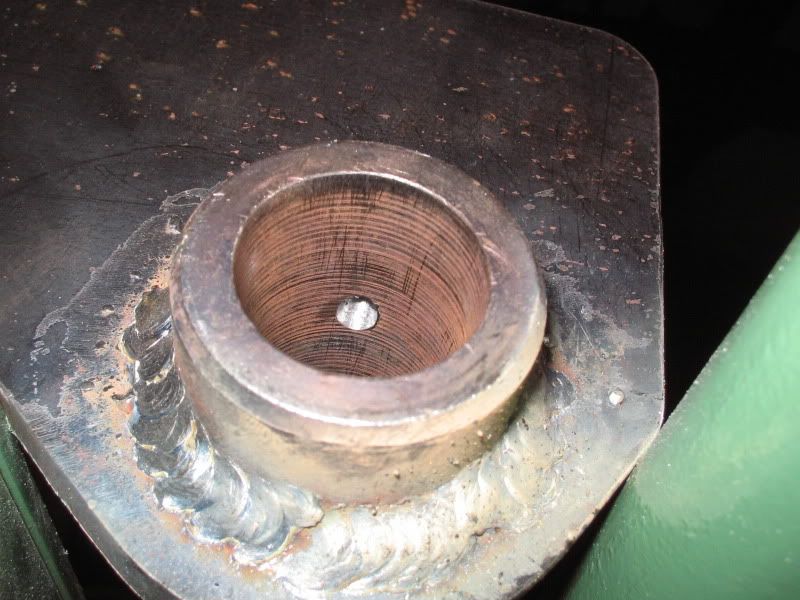
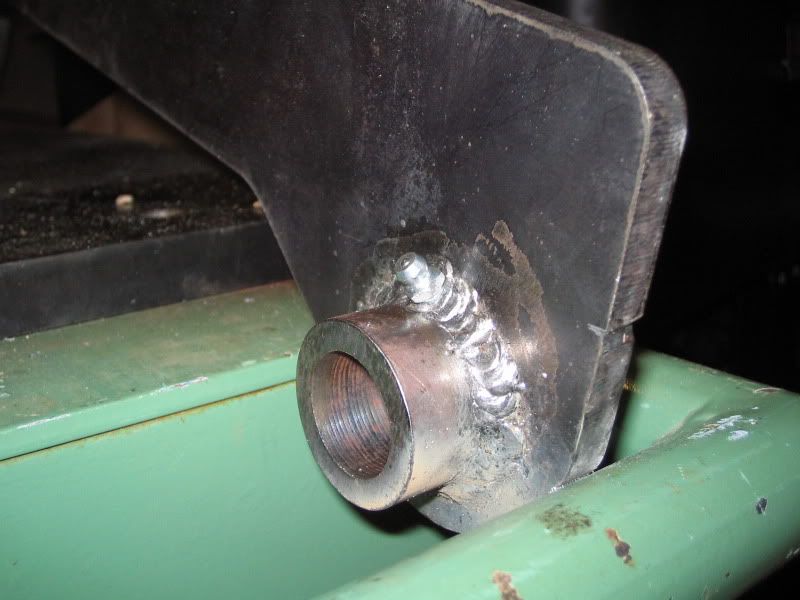
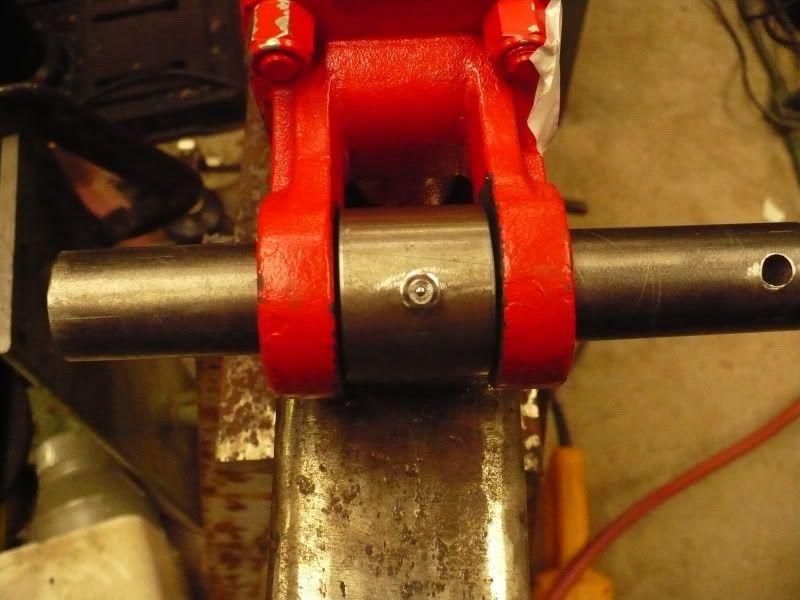
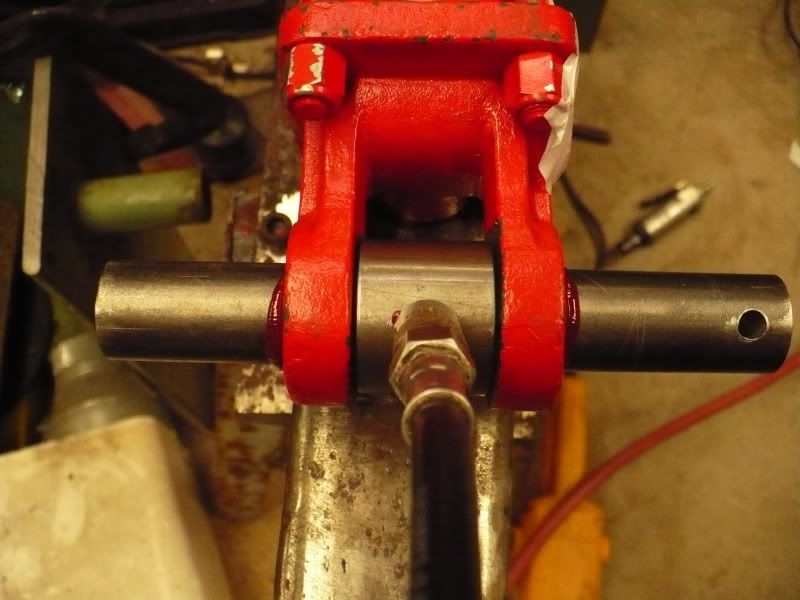
I mounted my zerks for the grapple pivots similar to Larry's except that I drilled right through the welds at about a 45 degree angle. I just filed a little flat spot, center punched them and drilled them with a hand-held drill. That makes the zerks fairly well protected and easy to access.
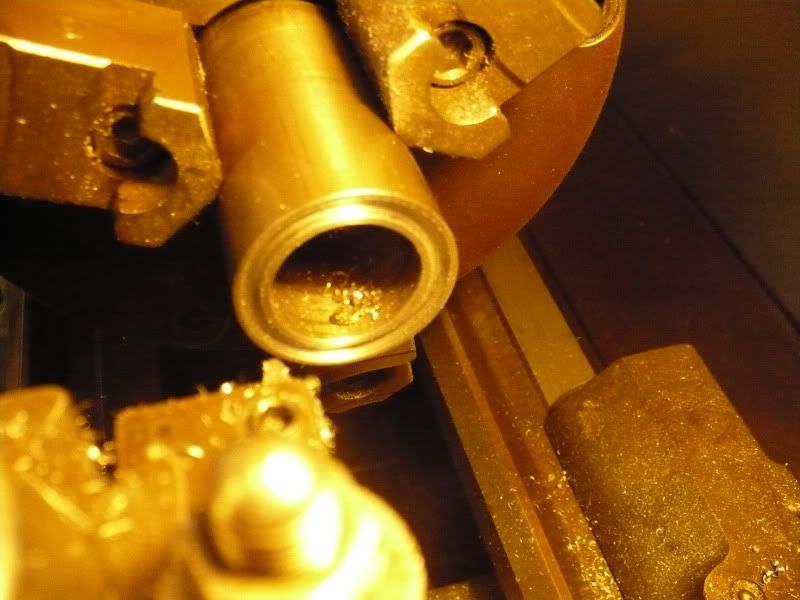
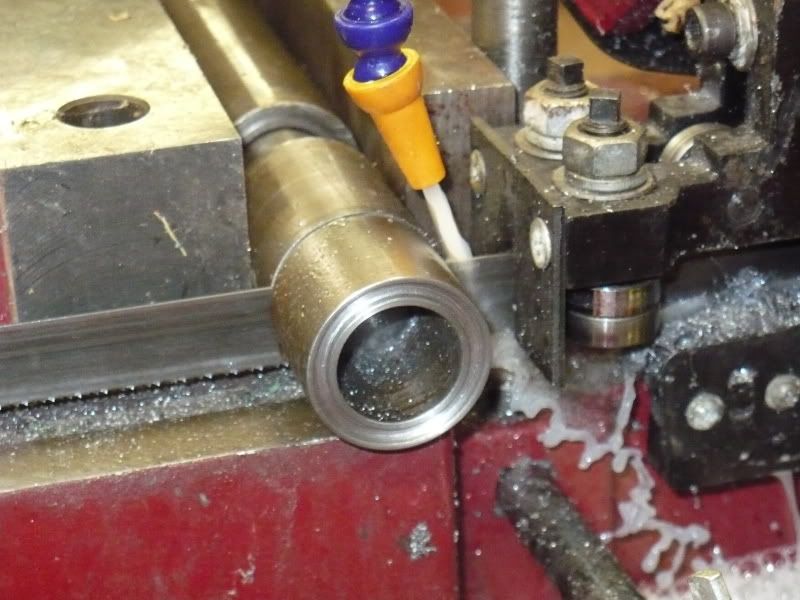
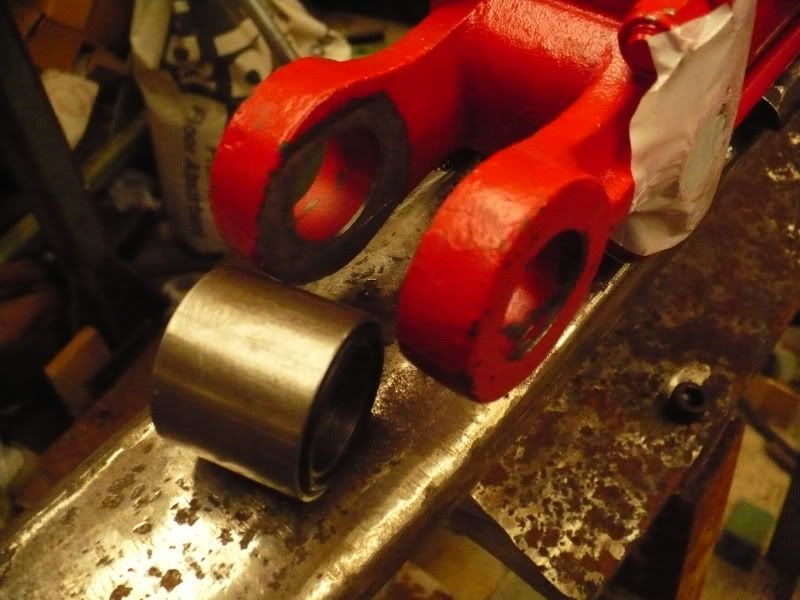
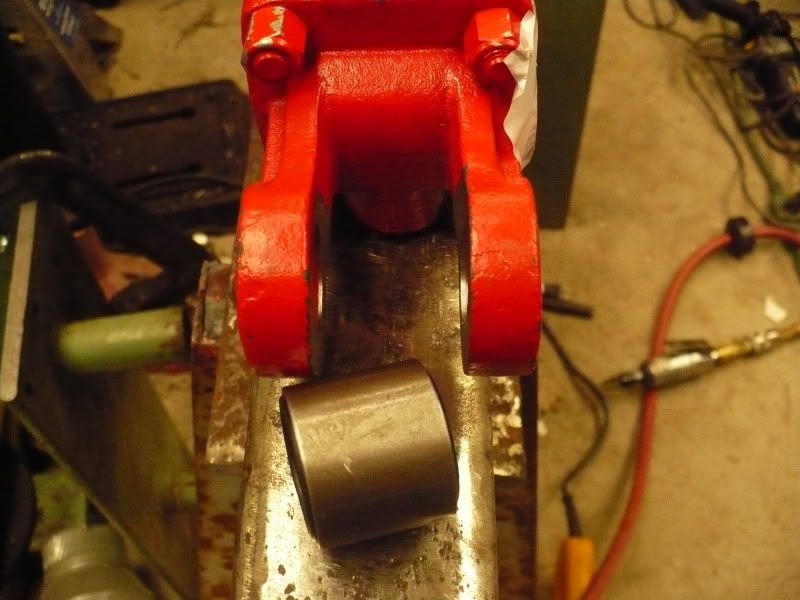
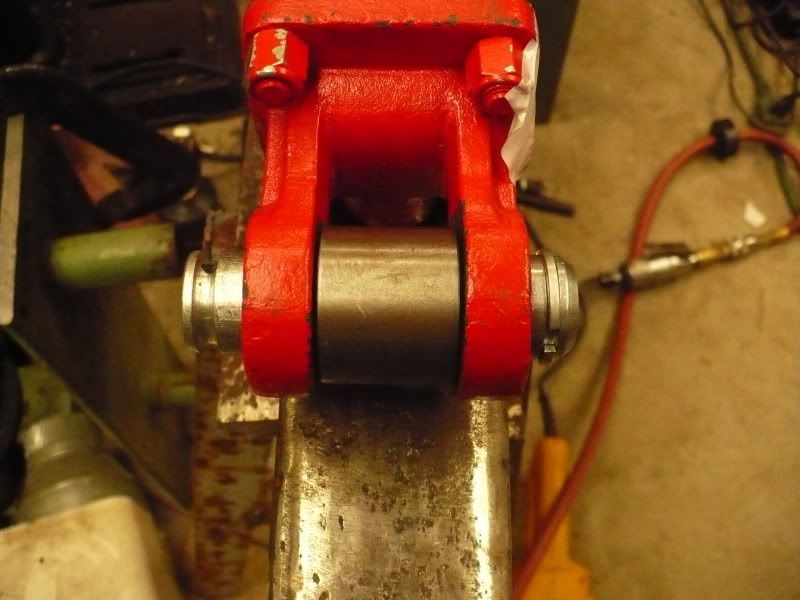
I had an idea to grease those pesky clevis ends on the low-cost hydraulic cylinder...
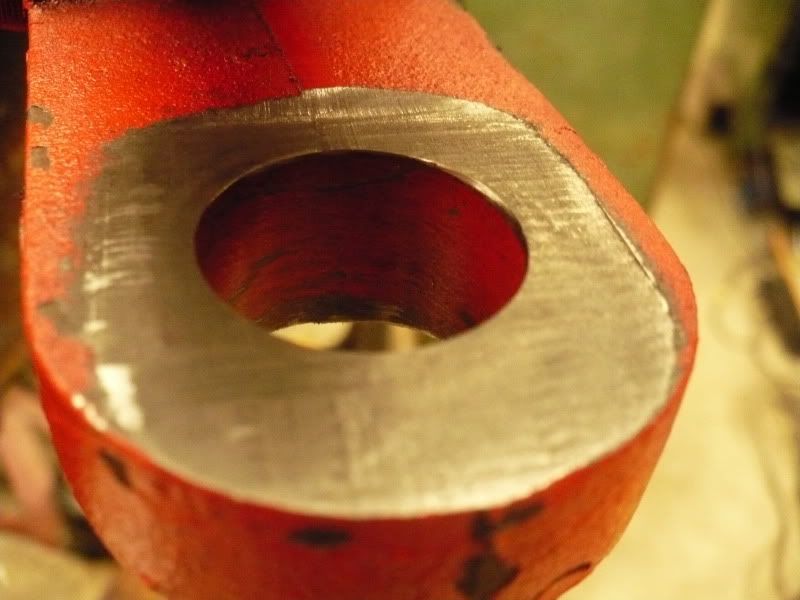
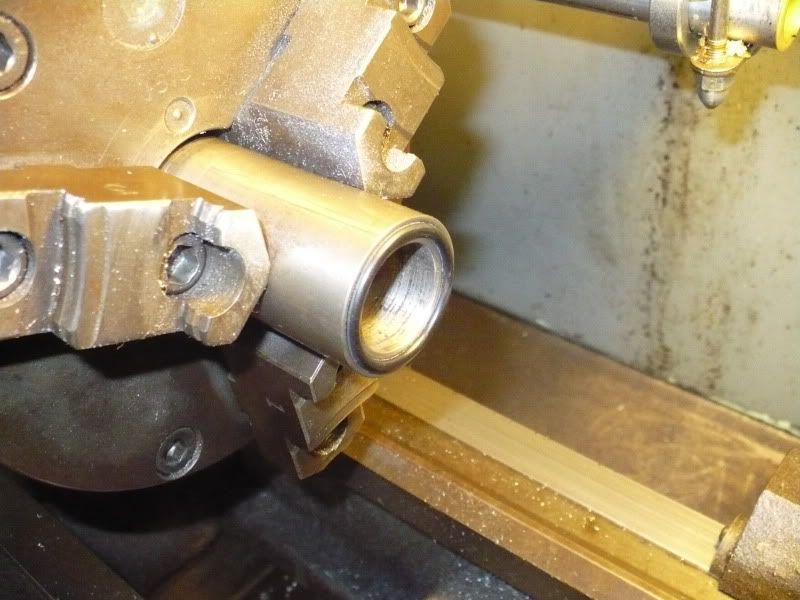
First I milled the inside surfaces of the clevis ends flat.
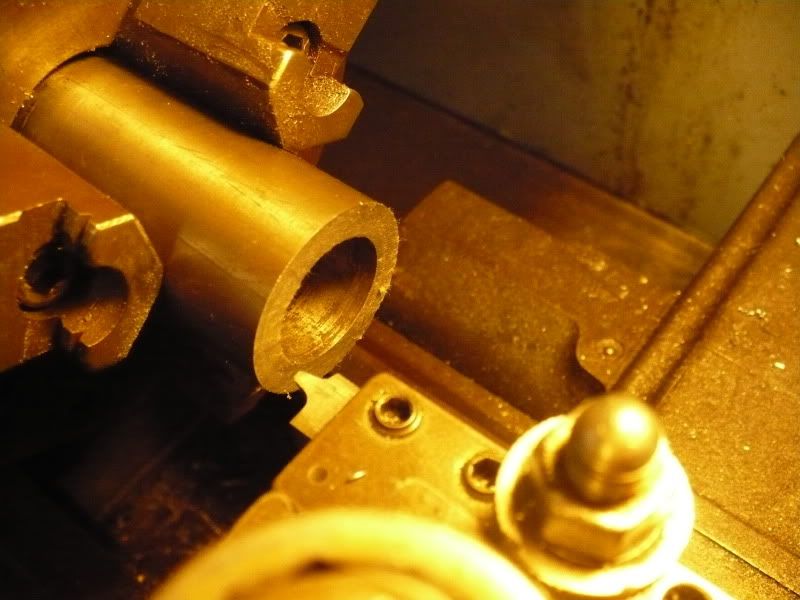
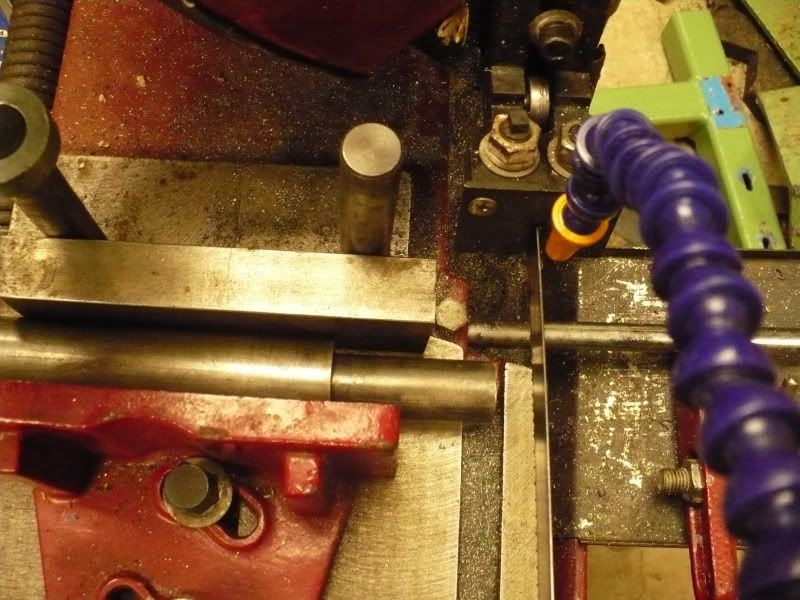
Then I took some bushing material and cut a groove in the end for an o-ring.
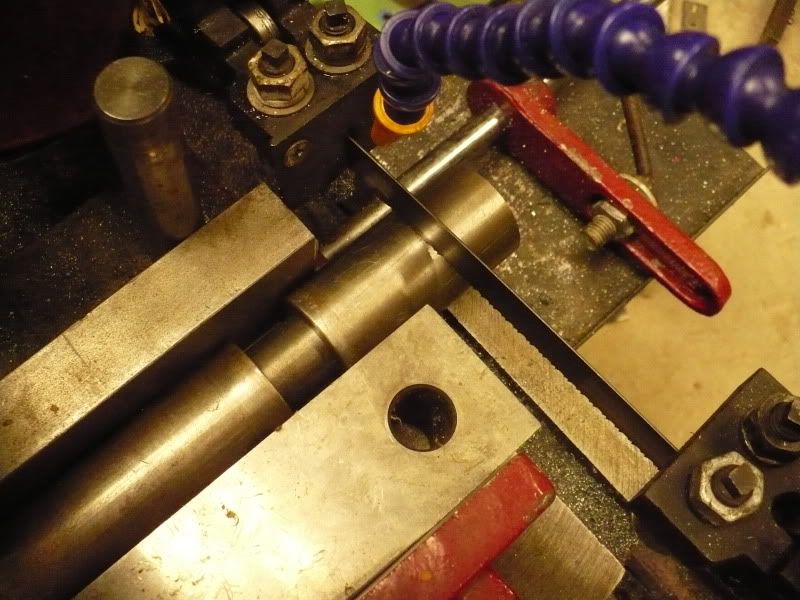
Cut to length. My material was getting short so I used a pin to help support it. (For some reason my lathe parting tool doesn't like the bushing material)
With the other end grooved. It's a little tricky getting the bushing into place with the o-rings but after a little trial and error trimming the bushing and groove to length I got a nice fit. (I know those fits can be looked up and dimensioned but that's no fun)
Finally I drilled and tapped the 1/4-28 hole for the zerk. Then I followed Rob's lead and did a test squirt. It looks pretty good. In practice if I want I can spin the bushing to grease the other side.
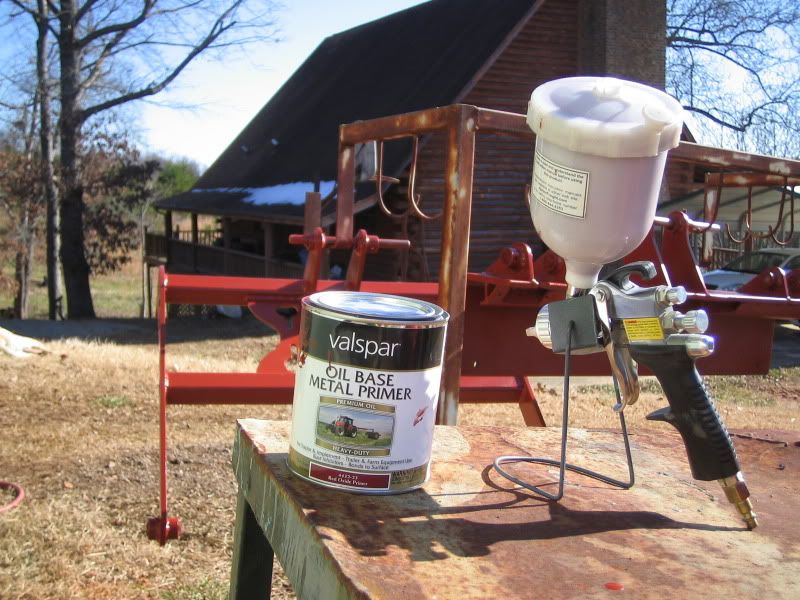
I painted it over the holidays. The weather has really been too cold for the paint to harden properly - I'll definitely have to touch it up in the spring.
Here's the primer going on.
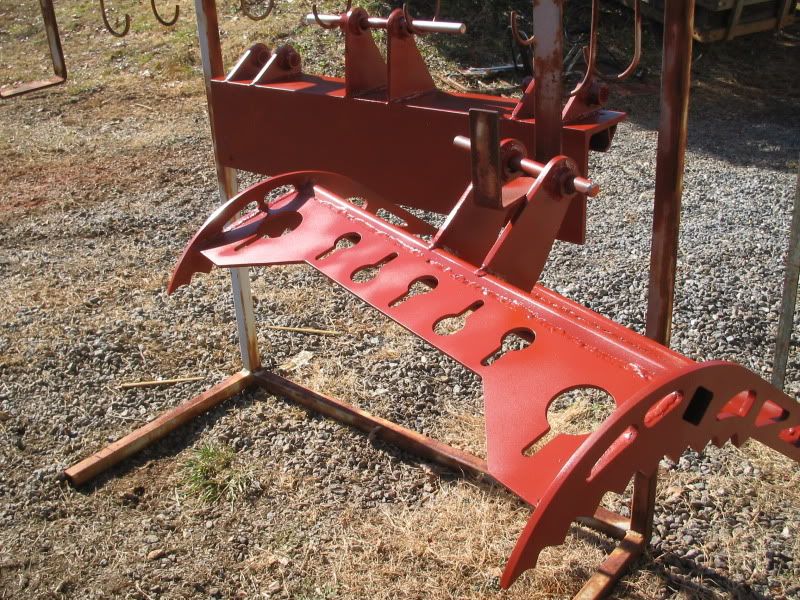
You might notice in that first picture I added some brackets to the back of the base angle. They hook onto the top lip of the bucket. That way there are just two bolts to attach it to the bucket.
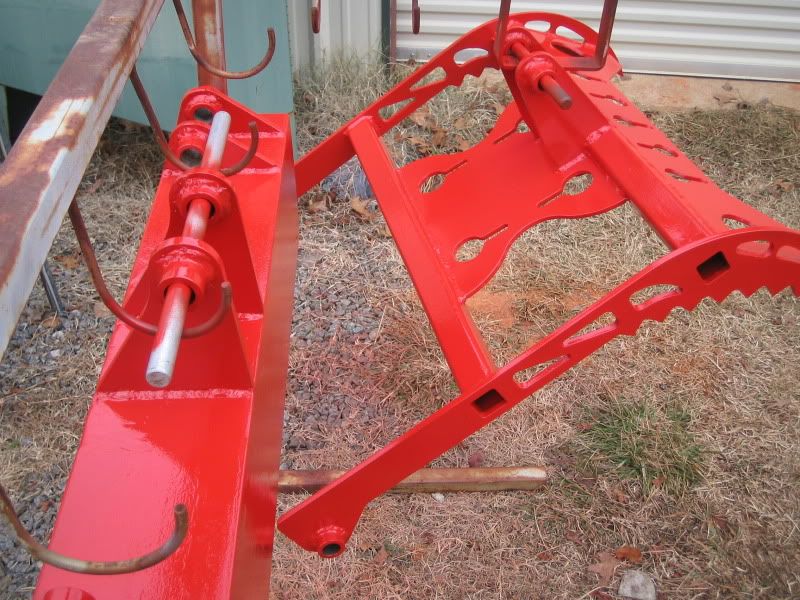
Here it is in International Harverser Red. It turned out to be a little more orangey than the tractor body but I think it looks okay.
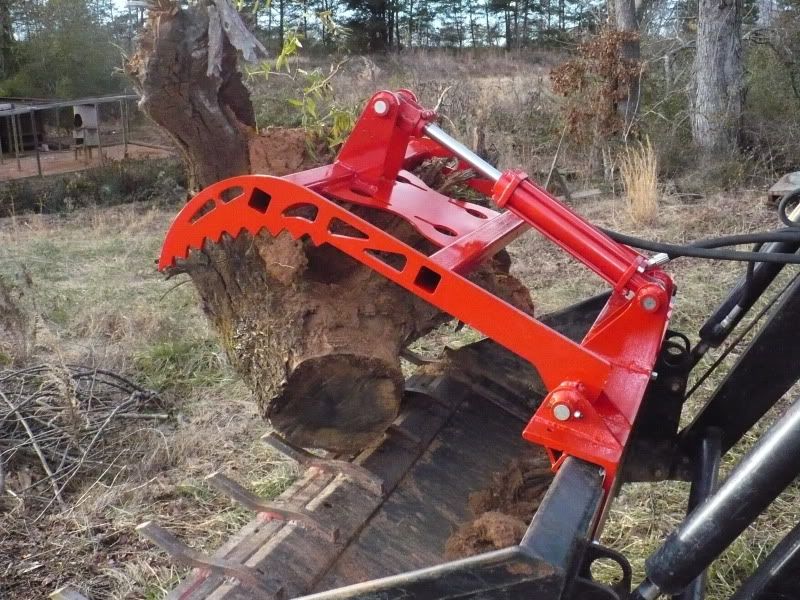
As seen in that last picture it's on the tractor! That was last weekend. I got all of the pins made and fixed their rotation with 1/4-20 bolts through holes in the bushings just like on my Koyker loader.
I actually didn't have enough hose then for the full range of motion even though I managed to grab that stump. This weekend I added another 72" of hose and routed it. Total hose length from the grapples to the rear remote is now 24' and it seems just right. I only have 4 male quick-connects that fit the factory remotes so I have 4 each 6' hoses made up with those original male ends on one end and Pioneer style female ends on the other. For most applications like my log splitter and backhoe outriggers I can just plug them right into male QC fittings on the implement. I had bought some 144" hoses with the grapple cylinder at Agri Supply but they still came up a little short to route properly so I added another pair of 6' sections yesterday. I realize now I need some pictures of the routing. And yes I plan to add a solenoid valve in the future.
Anyhow it works great! Just as planned! I made a slight adjustment to the cylinder length at the threaded end of the rod clevis and it powers all the way from the full open stops to the bucket lip. In that last picture with the stump gripped on one side of the jaw there was very little twist with full pressure applied to the cylinder. I didn't get a picture but today I picked up a 24" diameter x 8' oak log with no problem.
Here is a video showing it in motion. Speed is plenty fast with the single 2" cylinder. This is with the engine at idle around 600RPM.
Here again is the video from the 3-D model for comparison:


")