Uncle Wayne
Silver Member
- Joined
- May 18, 2009
- Messages
- 154
- Location
- Moulton, Alabama (Lawrence County)
- Tractor
- 4320 John Deere
The storms of last month in north Alabama pushed my decision to build a new tractor shed up a couple of years. My insurance company, ALFA, is working on my claim for the damage to my old barn now but they are swamped with much more important claims than mine right now due to the tremendous damage from the tornadoes of April 27th.
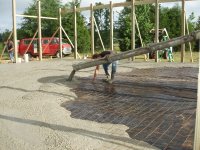
I'm building a 40' x 40' with a 14' lean-to on each side. My roll up "barrel" doors will be 12' x 12' and I'll have one 3' walk-in door. I'm planning for a 6" concrete slab thru the center where the tractor will be be parked / pulled and approximately 4" everywhere else. I plan to have electricity and water available also. I'll keep you updated to the progress via photos.
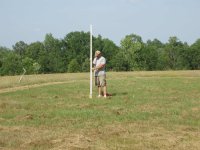
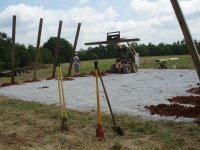
Photo 1: shooting the grade for my slab.
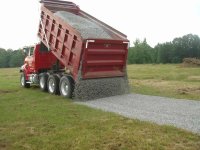
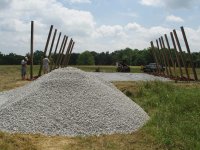
Photo 2: It took just over 24 ton of gravel for the base. I fine tuned it with my JD 4320 FEL and a 6' landscape box
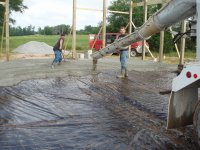
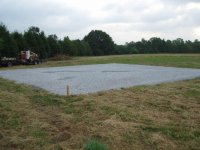
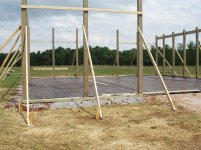
Photo 3: Final gravel base leveled to the stakes driven earlier. Note the string that is approximately grade level.
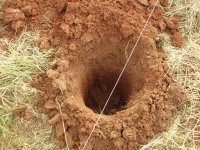
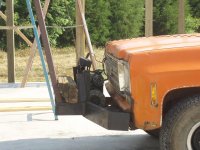
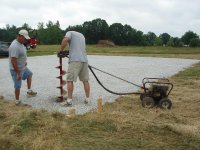
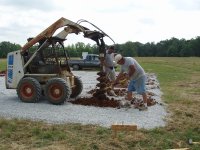
Photo 4:They tried drilling the holes with this small hole digger but my red dirt was too hard.
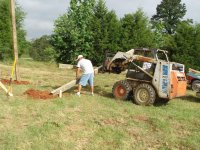
Photo 5: The bobcat attachment still had to work to drill the holes for the 6" x 6" pt posts.
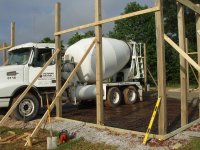
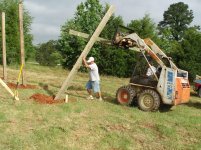
Photo 6: Placing the 6" x 6" poles in the holes.
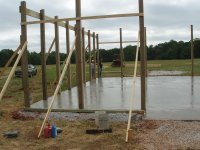
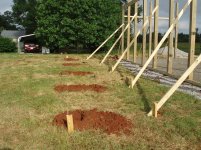
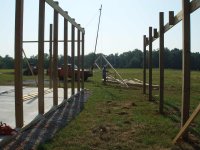
Photo 7: A look at the the poles.
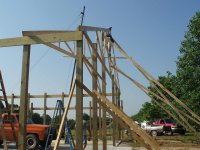
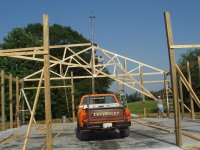
Photo 8: Framing started.
I'm building a 40' x 40' with a 14' lean-to on each side. My roll up "barrel" doors will be 12' x 12' and I'll have one 3' walk-in door. I'm planning for a 6" concrete slab thru the center where the tractor will be be parked / pulled and approximately 4" everywhere else. I plan to have electricity and water available also. I'll keep you updated to the progress via photos.
Photo 1: shooting the grade for my slab.
Photo 2: It took just over 24 ton of gravel for the base. I fine tuned it with my JD 4320 FEL and a 6' landscape box
Photo 3: Final gravel base leveled to the stakes driven earlier. Note the string that is approximately grade level.
Photo 4:They tried drilling the holes with this small hole digger but my red dirt was too hard.
Photo 5: The bobcat attachment still had to work to drill the holes for the 6" x 6" pt posts.
Photo 6: Placing the 6" x 6" poles in the holes.
Photo 7: A look at the the poles.
Photo 8: Framing started.
Attachments
Last edited: