OP
GPintheMitten
Elite Member
- Joined
- Sep 8, 2009
- Messages
- 3,291
- Location
- Flushing, Michigan
- Tractor
- Kubota B2620 with BH65 backhoe, Ford 2N
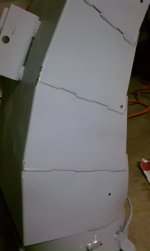
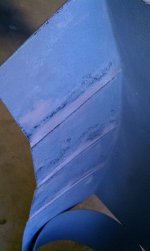
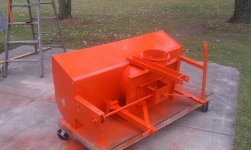
And here are some afters ... well after painting. It is still in parts and pieces.
I'll come back in about a week and post up after I reassemble it.
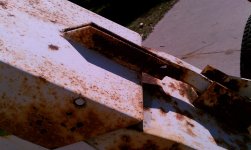
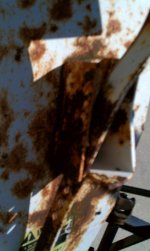
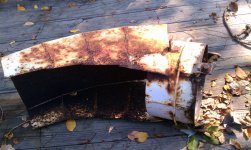
I guess I'm not a painter. I tried spray painting and had a heck of time. First I couldn't get it to spray at all. Then, by the time I had it working I was getting pretty tired. So I got many runs, drips and errors.
Today I just got a brush out and painted some more by hand. Next spring, when it is time to put the snowblower away, my plan is to power wash it, sand the larger sections of flats to get the drips out and try spraying it again.
But it will have to do for this winter season. At least it is protected from the elements for now.
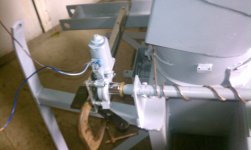
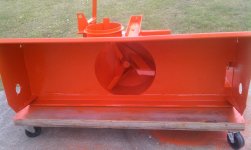
The gears are mounted in a U shaped box bolted to the blower box and there is a shield for the top.
So it is only open on the bottom.
Good point though.
Thanks guys. I'll keep it greased.
KubotaSam said:This may sound a little strange, however I have the original parts and owners manual for my Kubota B-222A which is the 48" version of the same snow blower. It clearly states that the gears in the right angle drive are designed to run dry and require no lubrication.