Thanks for the update, Scotty. It's looking great.
I am at the point on the built-ins that I need to move a couple electrical outlets. Around here, everything is in conduit, so that can be a pain in existing walls. Then I need to patch the walls and then see how well the cases fit into their respective corners. Then I will attach contouring strips to the carcase corners if I need them. I am also thinking that once I've fit the carcases, I will paint the room before I do the final intall. Just seems easier that way.
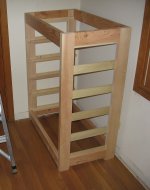
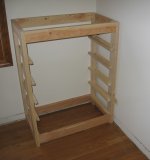
I included a couple photos of the chests standing in their corners. You can see the Electrical outlets are in the way of where the chests want to be.
This part goes really slowly, so I probably won't have pictures for a while, but Scotty's moving right along, so the thread shouldn't get too stale.
Cliff
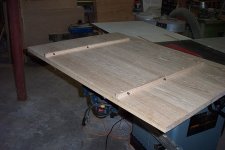
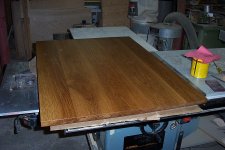
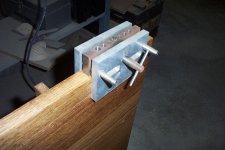
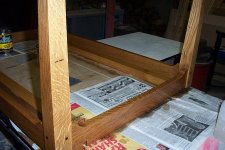
 but nothing my trusty laminate trimmer couldnt take care of.