LED light install... BUT look mom, no holes!

   / LED light install... BUT look mom, no holes!
  • Thread Starter
#11  
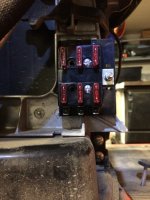
Next to mount the brains of the system. Again thanks to 4shorts for some prudent electrical guidance here. This is also where I took the liberty to overkill the project a bit but since I had the parts... what the heck. I mounted an auxiliary fuse panel and relay also using some CB parts. For the fuse panel I used some vibration dampened standoffs.
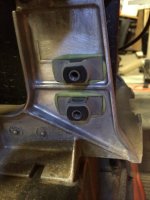
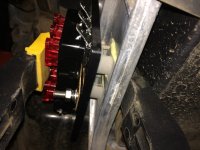
IMG_0412.jpg IMG_0400.jpg IMG_0414.jpg

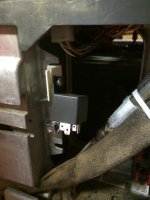
For the relay I used a 'PinchMount' fastener. Another clever little part that 'pinches' the flange of the structure and accepts a screw.
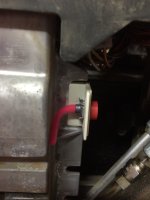
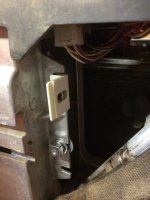
IMG_0424.jpg IMG_0425.jpg IMG_0427.jpg
 
Last edited:
   / LED light install... BUT look mom, no holes!
  • Thread Starter
#12  
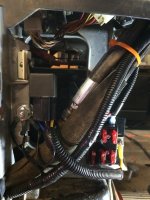
Again... no holes so far. I used the slot on the frame with a bolt/nut and mounted all of the 'ground' leads. See also second pic in last post.

IMG_0443.jpg
 
   / LED light install... BUT look mom, no holes!
  • Thread Starter
#13  
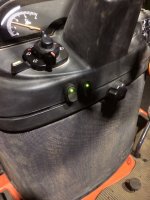
Next step was where I ended up deviating from the 'no hole' plan. I just couldn't come up with a slick way to mount the lighted switches that was ergonomic, looked good, etc. so I did drill two holes in the plastic dash and easily mounted the switches. Sorry pic quality not good but in person it looks 'stock'. Two switches, one for the fronts and one for the rears.

IMG_0463.jpg
 
   / LED light install... BUT look mom, no holes!
  • Thread Starter
#14  
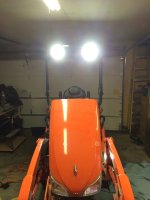
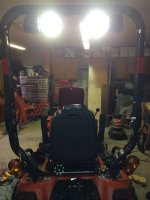
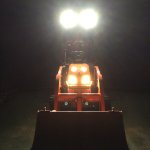
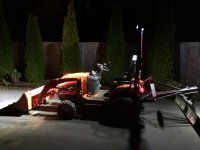
The last step was to tie into the ignition switch so the lights would need a key. It was bit of a struggle but once done I can't believe I spent so much time screwing around. Really pretty simple once I got the ignition switch pulled so I could access a switched wire. Then I pulled the trigger and wallah!!! Let there be light!

IMG_0445.jpg IMG_0447.jpg IMG_0454.jpg IMG_0460.jpg

Amazing the amount of white light at such a low wattage (and minimal battery drain)! They completely overpower the stock hood lights and now I have both front and rear lights. Best part of it all I got room on the aux fuse panel and dash for more circuits and switches... :cool2:
 
Last edited:
   / LED light install... BUT look mom, no holes! #15  
Nice job, those seem like some great lights, and the install first class. If you wanted to paint the adhesive and plastic fasteners-could you?
 
   / LED light install... BUT look mom, no holes! #16  
Nice install dragon, it is amazing what you can do nowadays with adhesives isn't it?

James K0UA
 
   / LED light install... BUT look mom, no holes! #17  
Wow. So nice to see mods done not only the right way but using ultra modern methods. The Click Bond system looks like it was designed for applications such as this. I'll be using CB in the next few days to secure my ROPS lighting harness. The stick on tie holders aren't working to well on my ROPS.

You did a fantastic job on this project. I think you've put Click Bond on the map when it comes to doing tractor mods. No doubt its a product trusted by industry and aerospace alike.

Thanks for taking the time to post all your work on this project and I'm happy to have helped in some small way so thanks for the honourable mention. :thumbsup:
 
   / LED light install... BUT look mom, no holes! #18  
What holds the PAF to the ROPS while the adhesive sets?
I could see using these studs to clamp third function hoses to a loader boom.
 
   / LED light install... BUT look mom, no holes! #19  
Very neat installation, looks great.
 
   / LED light install... BUT look mom, no holes!
  • Thread Starter
#20  
Nice job, those seem like some great lights, and the install first class. If you wanted to paint the adhesive and plastic fasteners-could you?
Yes, actually the plan. Just have to get the Kubota grey paint. They are very paintable... I will will use black ties so no attention will be drawn to the external wire harness.
 
 
Top