mitsu D2650FD...gettin' started

   / mitsu D2650FD...gettin' started #11  
Thanks for the correction Oliver28472... Len is a great knowledge base also....
 
   / mitsu D2650FD...gettin' started
  • Thread Starter
#12  
after an exchange to get the water pump that stuck out far enough, we have a winner...so far no leaks

the tach cable and ignition switch came in also, so I should have the dash back together tomorrow

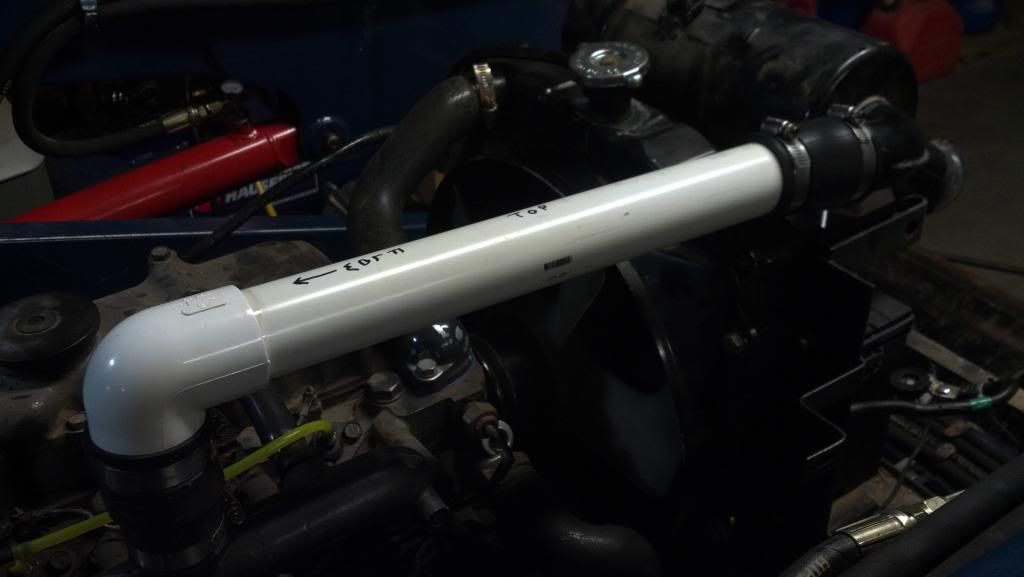
the air intake hose had a hole worn in it, so with a little help from HD, we have this...

2013-02-15_16-43-45_215_zps929fbc3f.jpg


nice to be able to put stuff back together again...still waiting on the new alt mount

have a good weekend!
 
   / mitsu D2650FD...gettin' started #13  
Do I see a plug on the water pump just above the bottom hose? Is so, you could remove that and use that spot for a gauge.
 
   / mitsu D2650FD...gettin' started
  • Thread Starter
#14  
yep...that plug used to be part of a bypass from below the thermostat back into the water pump...I'm not gonna run a thermostat, so it's just plugged.

just above that (and below the thermostat spot in the head) is the temp gauge probe. kind of a dark picture...apologies.
 
   / mitsu D2650FD...gettin' started
  • Thread Starter
#15  
got a few little things done today like headlight bulbs (and something else) while I waited for the stove to warm up the garage...oh yeah, installed new tach cable.

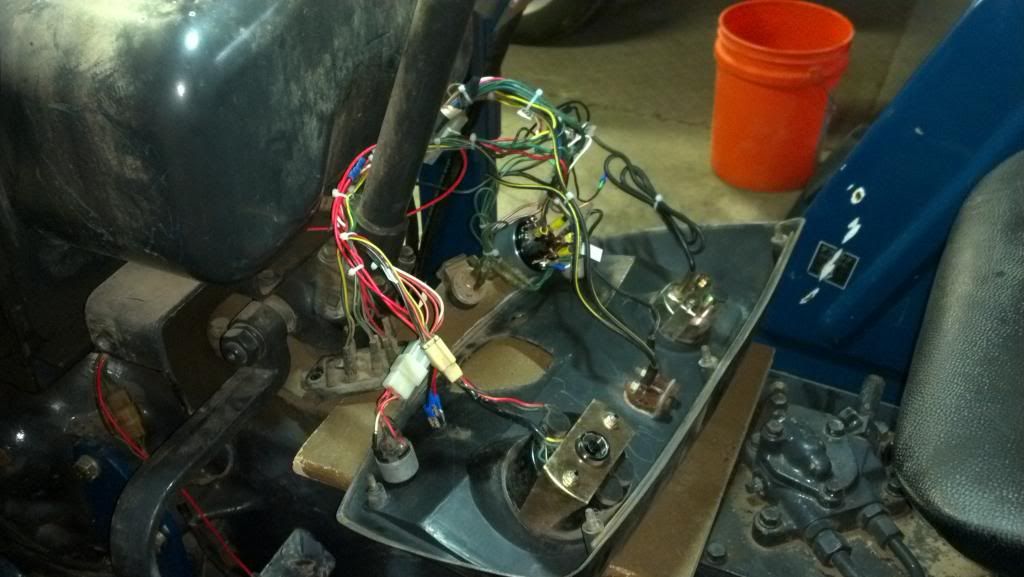
took me a while to get the ignition switch figured...a cheap parts house one had been swapped in. in the end it was the battery in my DMM that needed replacing...then everything checked out fine. was able to get the wiring tidy-ed up under the dash. removed the regulator, and installed some jumpers to utilize existing wiring for field and sensor connections on the new alternator. still waiting on the alt mount. :dance1:

was going to add wire loom, but zip ties worked better, and made more sense

2013-02-16_16-48-53_616_zpsb25f6893.jpg


took me a while to get the throttle linkage figured again...it's been awhile since I took it apart

gotta make a run for a FEL bolt and a new v-belt...will probably wait until alt mount comes in

cheers!
 
   / mitsu D2650FD...gettin' started
  • Thread Starter
#16  
so...she's runnin', and everything works (except the temp gauge stopped)...put the old alternator on as an idler, and the battery oughta last until the mount comes in. hydraulics primed themselves pretty quickly. man, those glowplugs sure cycle fast!

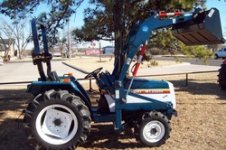
can anyone give me some insight on the VTEKS loaders on these little tractors? when the FEL is at full height, the bucket only tips forward to level...no way I could completely dump the bucket at full lift. is this normal? (not what I expected)

now, the original tilt cyl's have been swapped out for some farm store models, so maybe they just don't have enough throw? before I start chasing cylinders I thought I'd ask...

cheers!
 
   / mitsu D2650FD...gettin' started #18  
VTEK.jpgYZoutlet has a sticky at the top of the hydraulics forum. I don't know anything about them but they have some great prices. They don't have an exact match to the V2 cylinder specs that Scotty Dive posted but they have a 14" stroke cross tube for $65. It could probably be cut down and rewelded/modified to the correct stroke and length specs if someone wanted to put some effort into making them a better match. I cut/rewelded all the cylinders on my FEL and it was actually a pretty easy chore. Welded Tube Cross Cylinders - YZOUTLET
Also added a pic of a VTEK at full height an tilt angle
 
Last edited:
   / mitsu D2650FD...gettin' started
  • Thread Starter
#19  
View attachment 304551

Also added a pic of a VTEK at full height an tilt angle

awesome...thank you! that is what I was expecting, but currently ain't even close.

I'll check out that sticky, and do some figuring on what stroke is needed...after this blizzard settles down.

forgot to mention I have a V3.
 
   / mitsu D2650FD...gettin' started
  • Thread Starter
#20  
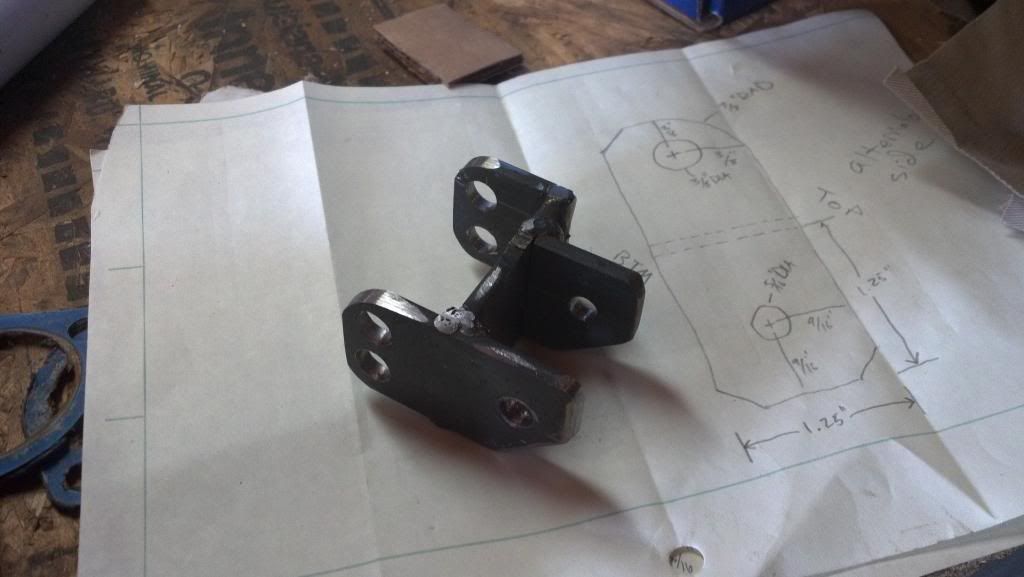
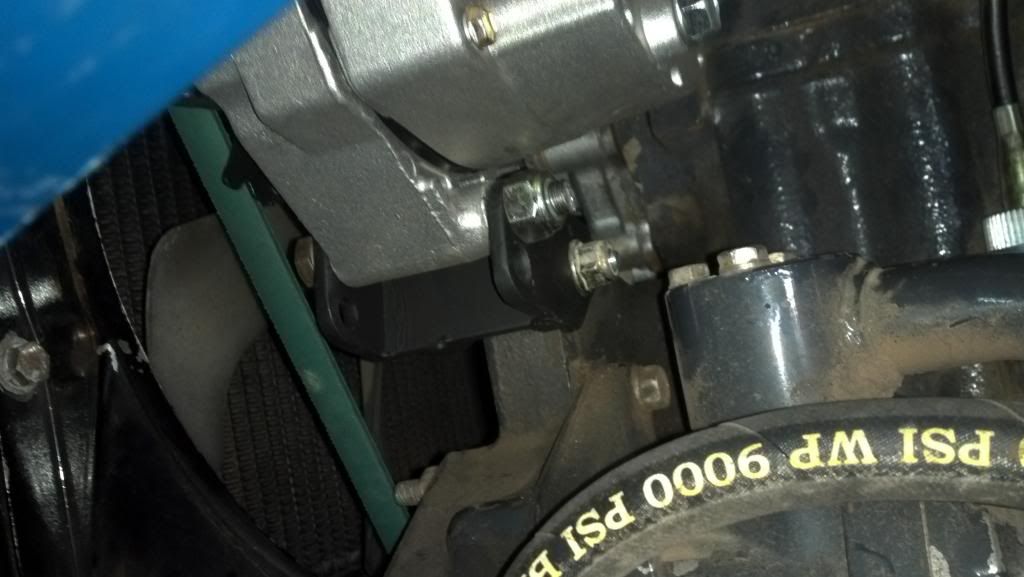
well...the alternator mount came in finally.

you can see it's mod'd a bit from the original sketches

2013-02-23_12-31-02_28_zpsfc2ed067.jpg


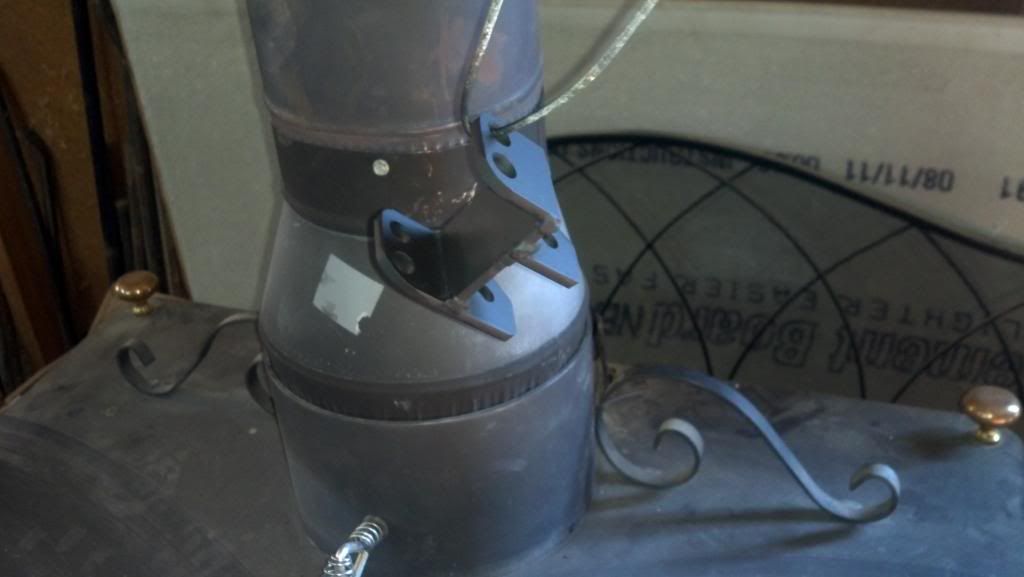
and it was a bit cold today, so I baked the paint on

2013-02-23_14-06-45_534_zps62d96a8b.jpg


it mounted up okay...took some finnegeling to find the sweet spot

2013-02-23_17-32-33_560_zpsd46e0567.jpg


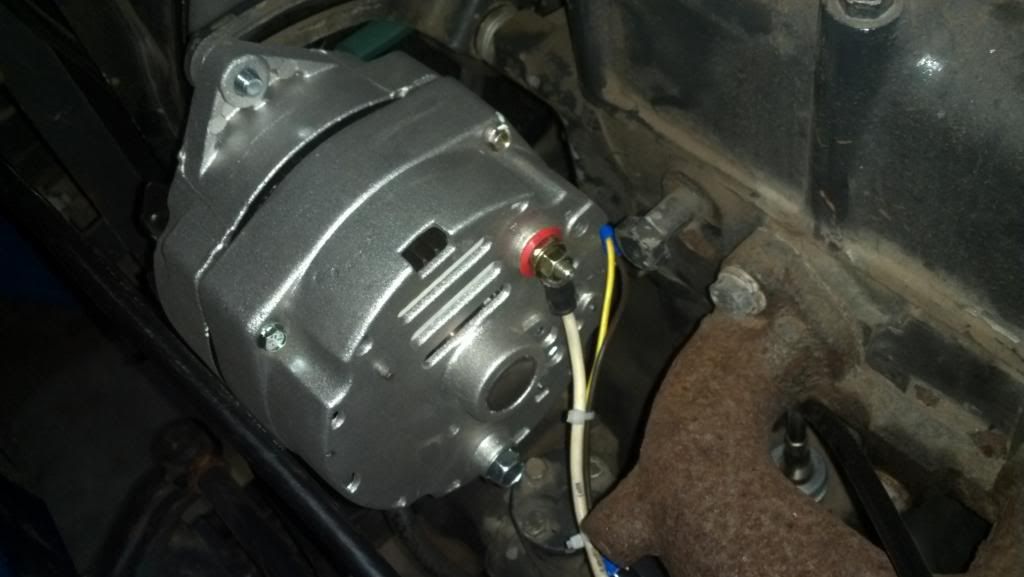
and she wired up okay...made a pigtail setup with 90 degree connectors (for the idiot light and exciter connections) for clearance when loosening tension on the belt

2013-02-23_17-19-33_626_zpsb310c850.jpg


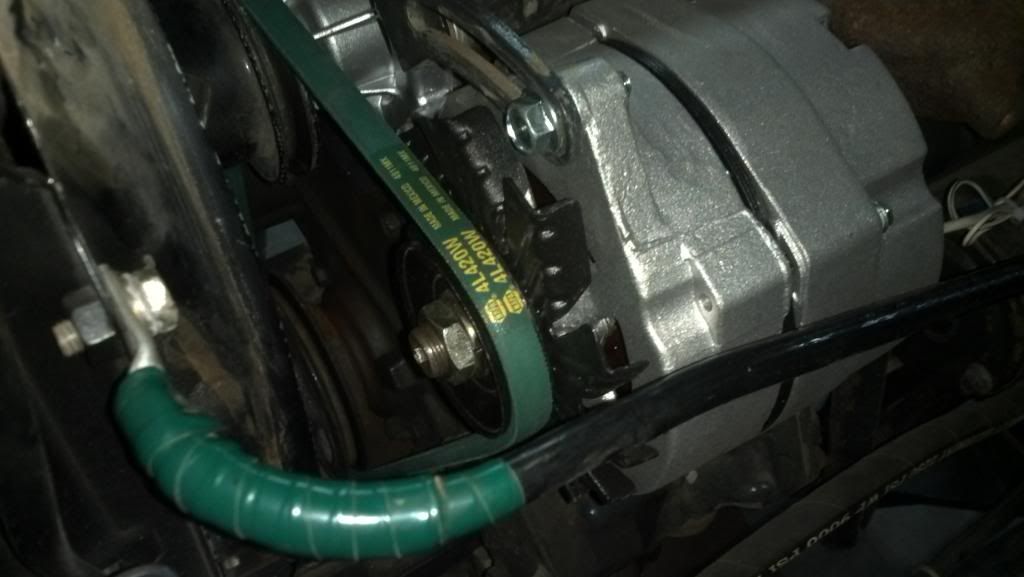
found a v-belt that worked...42" by 1/2" wide...the alignment ain't perfect, but this ain't the space shuttle either...it'll run forever

2013-02-23_17-20-04_266_zps13b37c5a.jpg


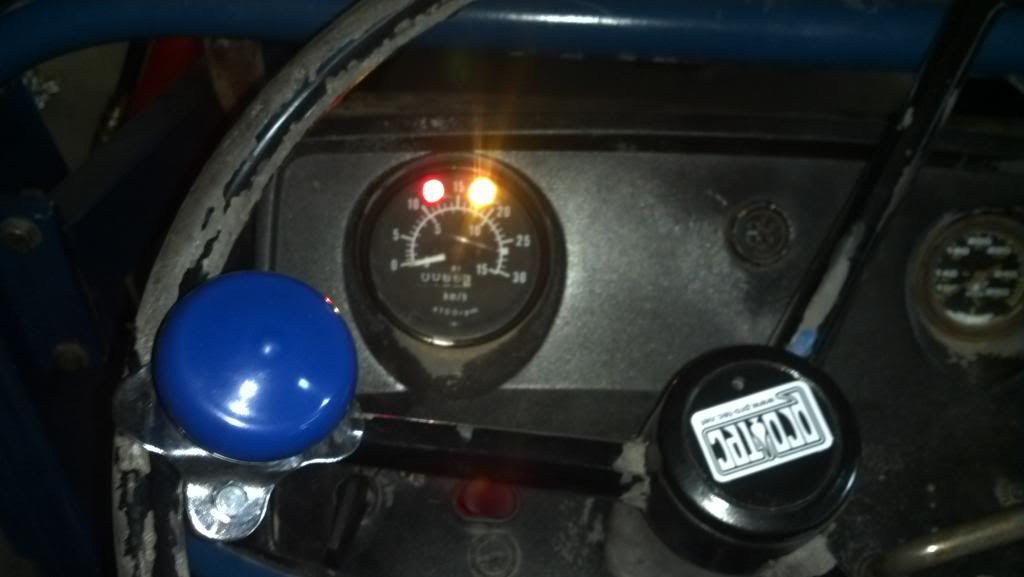
and the CHG idiot light functions properly!

2013-02-23_17-20-49_800_zpse49d6d0b.jpg


I ended up using existing wiring as much as possible (much cleaner, and less confusing later on...minmal ghost wires), which means I added some jumpers at the old regulator plug. now I have a commonly available alternator with an internal regulator.

cheers!
 
 
Top