Jacob: ....I really don't mean to interfere with what and how you are doing this job,....but just a wee bit of advice from one who has "been-there-done-that", .....(if you don't mind?)
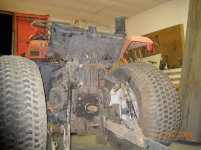
PLEASE,...please put your valve cover back on, sure use the old gasket and tighten it down snug. Then wash, blow, or Power-wash",...especially around the engine,...to get rid of the dirt, fine gravel and stuff I can see there,(some already among the valves)..BEFORE it gets down INTO the engine! Unless of course you are planning to pull the engine down and do a complete rebuild.
Just that once you start removing covers (with gaskets),..its tooooo late and dirt gets where you definitely don't want it!!! If you don't have access to a power-washer or even a garden hose,...then use a pan of varsol and a paint brush to wash away the dirt FIRST!! If you use the varsol-paintbrush method,...throw some sawdust on the floor under the engine first, so it is an easier clean up after. (cat litter works).
Just keep in mind,...if dirt and crap gets in,...all your new filters and clean oil etc are wasted. I could see bits of dirt around the push-rods and valve springs (that got there AFTER you took the valve cover off), and I strongly urge you to carefully pick them out before they get down inside.
That way, you don't have to worry about bits of gravel etc getting into things. Please don't see this as criticism,...believe me, I have been there and know the value of working "CLEAN" !! I'm only trying to save you a whole lot of grief later on.
One more thing Jacob, then I'll get out and leave you alone: STOP dismantling! Organize your tear-down,..(little boxes),..otherwise you'll end up with bits and pieces, screws and bolts and capscrews intermingled all over the place with a huge guessing game of where they go. Don't be afraid to ask the guys you admire, like (John Deere 4300 Complete Rebuild) for some suggestions on "Organizing-Your-TearDown". Most of us "want" to help,...IF,..we get the idea that you "want" the help AND "appreciate" it. If you'd rather we just mind our own business and leave you to it,...then just say so.
Just trying to help,...good luck to you!!
. . tug
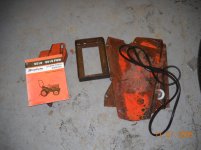
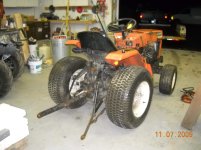

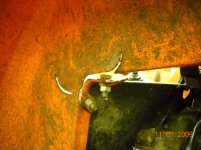
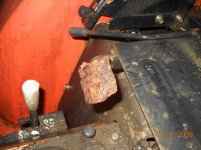

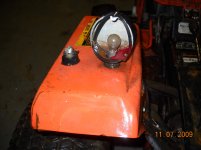
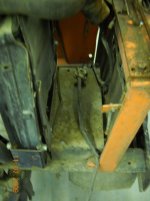
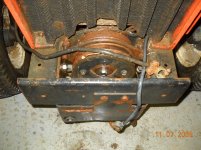
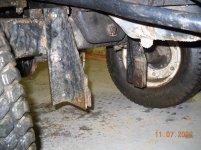
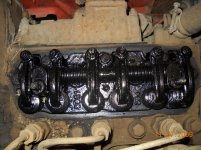
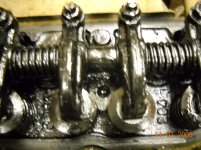
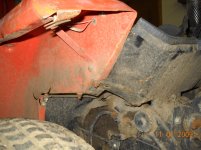
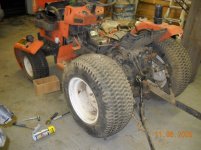
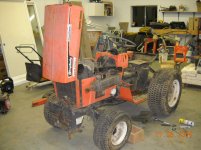
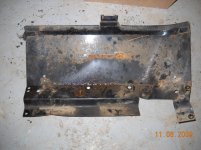
 Photo 8 is the bracket behind the seat. It was bolted to the fender causing it as well to bend. The 6th picture i took to show basically what it looks like without a fender. I did have to cut the wires to the lights since the fender wouldnt come off with out doing so. I plan to replace the lights.