OP
buggyman1
Platinum Member
Buggyman1,
Those look great.
Now I may have to buy that mixer:laughing:
Thanks...I wouldn't have even attemped it without the mixer.
Buggyman1,
Those look great.
Now I may have to buy that mixer:laughing:
buggy, I forgot to ask did you use any of the glass agent/polished broken bits/materials in the mix or in the pour? Saw some small tables done this way like a mosaic type thing but was set on the mold first then the crete poured over it. I dont think it was mixed in and then poured as that would bury much of it. only saw the end result not the process...
mark
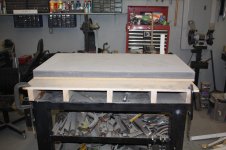
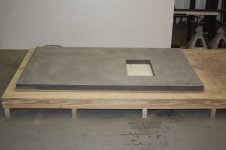
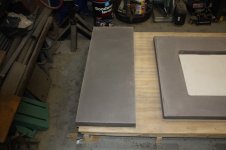
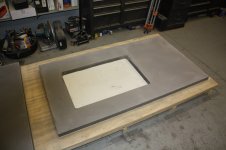
A couple more pics.
Is this the backside (unseen) or the topside??? How will you fill in the pin holes and them match???
I would like to do these for inside the house if they work our for you.
Chris