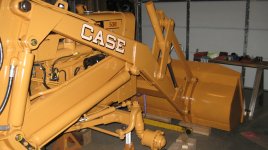
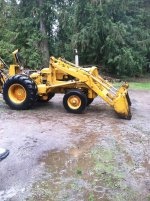
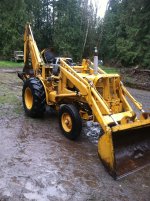
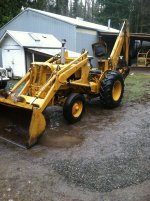
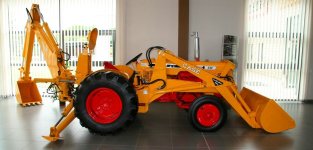
As I said earlier, here is a post on the rebuild of my 12" bucket. It had worked OK, but the bushings of course were worn and especially the pivot bore was really in bad shape. And as you all know, a new bucket is really cost prohibitive and used ones are sort of hard to find. This bucket had worked well for me, so I thought I would refurbish it and hopefully make it more functional. When I had cleaned it all up I found that the pivot bushings were not only worn but someone had tried to weld them in because the bore was so wallowed out that the bushing would not stay in place. The bucket flange that has the pivot bore in it is only 3/4" thick and not really wide enough to contain the pressure placed on it in the digging process. So the bushing was bound to fail.
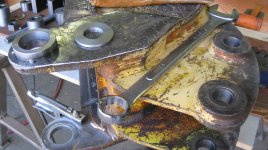
In this shot you can see the new boss that I machined and tack welded to the bucket flange. I aligned it with the bore before tacking it with an internal sleeve that I also machined. That way when I made the new bushing it would be retained by twice the surface area as the original 3/4" flange, the new thickness would be 1 1/2" which I thought would stand a better chance of resisting the wear that a backhoe exerts.
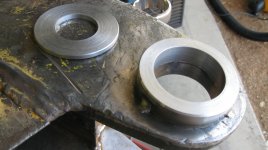
Just a closer view of the new boss and pin washer to the side. I made larger washers to help retain the pin in place. this also gives you and idea of the final alignment. When you don't have a line boring tool you have to be inventive to still maintain the concentricity of the bore.
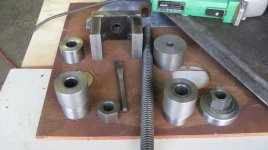
This is one of the many alignment bushings and devices I had to make to align bosses and bushings. I used 1" acme threaded rod stock to make the bushing puller-pusher. Regular all-thread was not nearly as manageable as the acme thread. It seemed to me that the amount of effort needed to turn the acme nut for pulling or pushing my bushings was about 1/3 that required to turn a 1" all-thread nut.
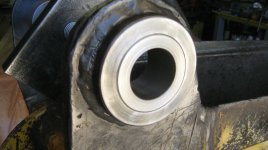
Here is one of the bushings in place and of course 2 times longer than the original bushing.
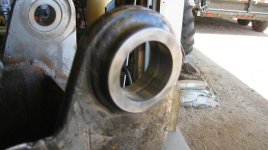
In the far side of the picture you can see the new bushing installed and in the nearer view, the interior surface of the bore about ready to have the bushing pressed in.
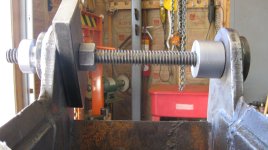
I took this one to show how the pressing device looks when it's being used and in position. As you can tell, it's very important to keep the bores in alignment and with this view the alignment bushing is on the right hand side with the acme threaded rod inserted in the bushing bore and then you can see on the left side that I am pushing the bushing into position using a piece of 1" bar and the acme nut on the right side, that way I'm not pulling the flanges together to install the bushing. On the far outboard side you will notice that the nut has been removed and the bushing pusher is partially out of the bore, that's because the bushing has already been pressed into place.
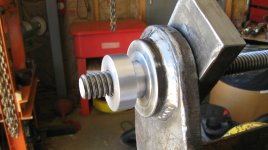
Just a closer look at the in place bushing and pushing mandrel.
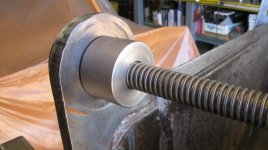
Just one of the alignment bushing.
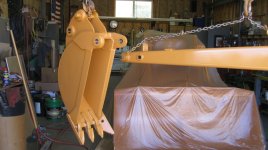
And of course; the finished bucket. Even though I've been using the hoe a bunch now, writing up this post brings back a flood of memories.
