duggie
Member
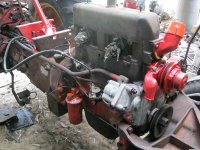
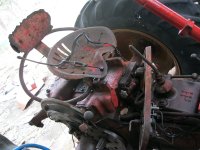
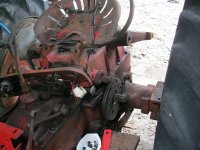
Australian built McCormick
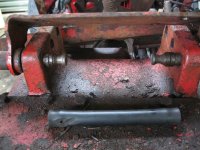
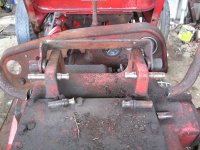
I posted earlier in a thread My Tractors but seeing I will be rebuilding this McCormick I thought it would be better here.
I am still learning about these. Its an A414. A for Australian built as opposed to the B414 which is British built.
I have been told there were only 5,400 of these built between Oct 1963 and Nov 1966.
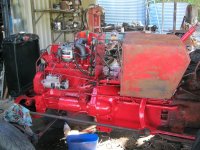
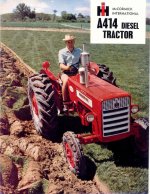
Here is a pic of what they should look like.
Duggie
I posted earlier in a thread My Tractors but seeing I will be rebuilding this McCormick I thought it would be better here.
I am still learning about these. Its an A414. A for Australian built as opposed to the B414 which is British built.
I have been told there were only 5,400 of these built between Oct 1963 and Nov 1966.
Here is a pic of what they should look like.
Duggie
Attachments
Last edited:
")