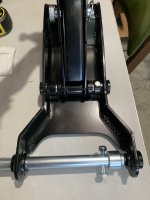
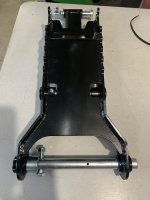
I finally got the thumb welded on. It was 60 yesterday and I wanted to do it outside in the full sun. First I had to drade the driveway/lane and that ate time but I got it well tacked on and tried it out.
View attachment 734667
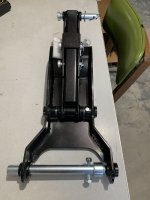
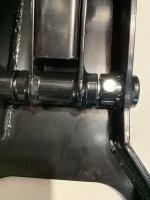
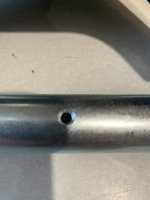
I took these at night with a flash so it may be hard to see but the thumb is a little too long (This is the 24"); about 4". My first thought was just cut off the extra length, but then I thought it'd be better to cut off the top of the thumb and redrill the hole. That would preserve the last tooth which extends a little further than the other teeth. But that would also move the connection of the crossbrace up higher unless I also redrill a hole for it to connect to the thumb.
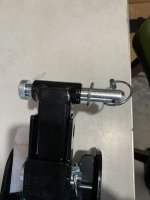
The upside of all this cutting/drilling is I can somehow align the holes on the mount and thumb so there would be a storage position which is currently missing. As others have remarked you have to use a bungee cord such to secure the thumb up out of the way or remove it entirely.
Another possibility is taking 1" off the bottom and 3" off the top. That would move the attachment of the crossbrace to the thumb only 3". BTW my BIL has a nice steel band saw to do the cutting and my neighbor/friend has a full machine sop so he'll drill the holes in the correct location.
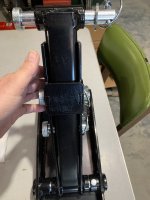
If you look close or zoom in you can see my half-ass welds. I used my Titanium 125 w/.035 FC wire which is only rated to 3/16" and the mount is 1/2" and the dipstick is 1/4" or more. I'll finish burning it in when all is said&done. I tried to pick up a 36" long log and the overextended teeth made it harder. But it did pick it up (4-6 times).
Any advice would be appreciated.
View attachment 734666