I'll resurrect this thread with an update. Originally, the dealer was supposed to get a tarp kit for me & do a no-charge install. After a month of "maybe next week", I started looking for alternative sources. The first try was the PJ Trailers parts web site, unfortunately they did not have the model I needed & after waiting a week, they still didn't know a restock date. I finally had success with another dealer who had stock on hand. (BTW, the tarp kit is a third party item that PJ standardized on - it is actually made by Buyer's Products)
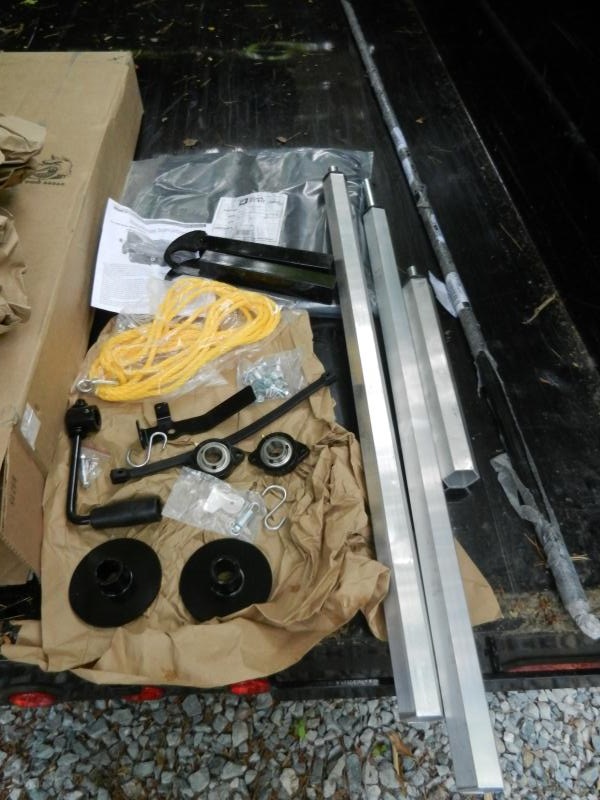
This is Monday's delivery - the 5'x14' tarp kit for D5 trailers consists of bearings, a roller bar assembly, crank with sprocket & latch, tarp, anti-sail bar, tie-down, pull cord and mounting hardware. They also include some unneeded weld-on hooks to retain the anti-sail bar, which are already present on PJ dump trailers. Unfortunately the box was damaged & a few things were either mis-packed or lost. The supplier was very good about immediately shipping out replacements.
The missing items were a sprocket, one of two rubber tie-downs, and the inner roller bar shaft (they were supposed to send one driver side outer, one passenger side outer & one inner that nests inside the outer bars - they sent one driver & 2 different sized passenger side but no inner). I got all those missing items in today (Wednesday) so I could finish the install.
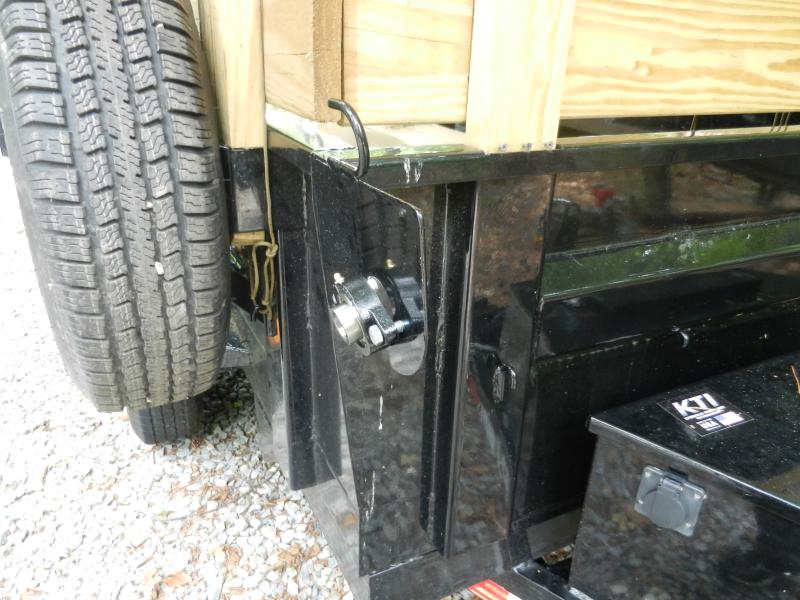
Installation is simplified on a PJ Dump as they include the tarp roller bearing mount on all production. For some other models, you would need to either weld or drill & bolt on mounting plates.
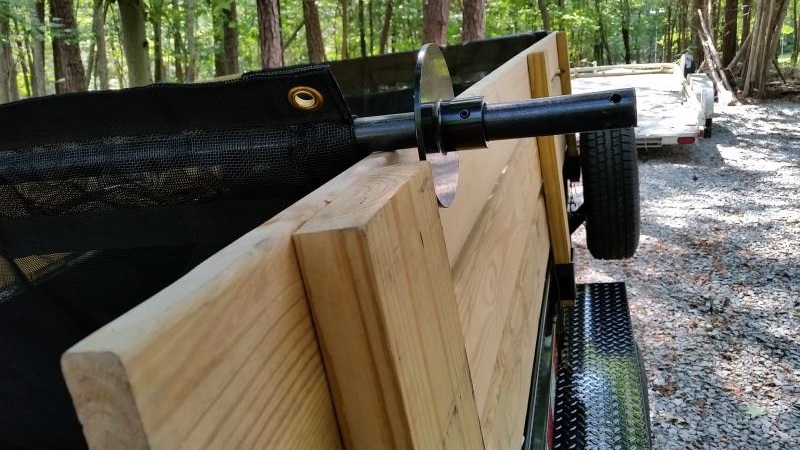
After trimming the passenger side roller piece to fit, the two outer roller pieces are joined by the nesting inner piece and then secured with self tapping screws
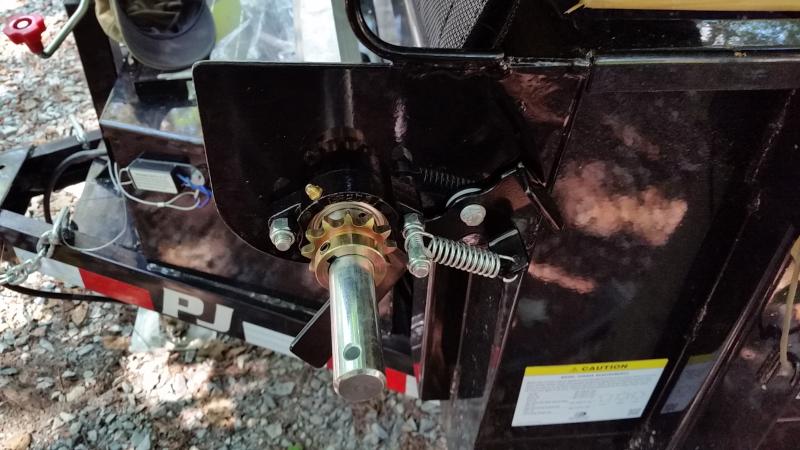
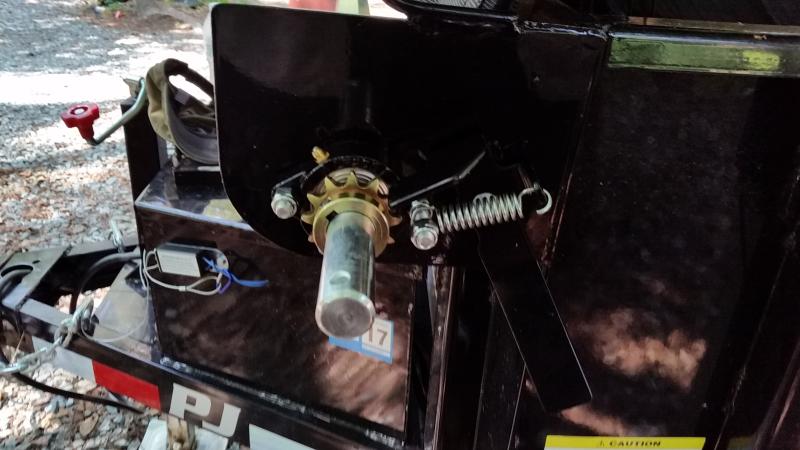
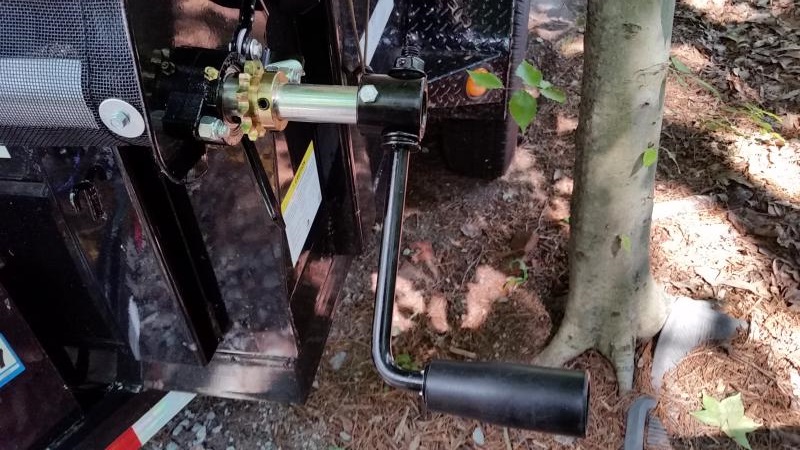
The driver side bearing/sprocket/handle assembly gets installed along with the spring loaded latch. Set screws secure bearings & sprocket to the roller shaft.
(unlatched)
(latched)
... and finally the handle is on
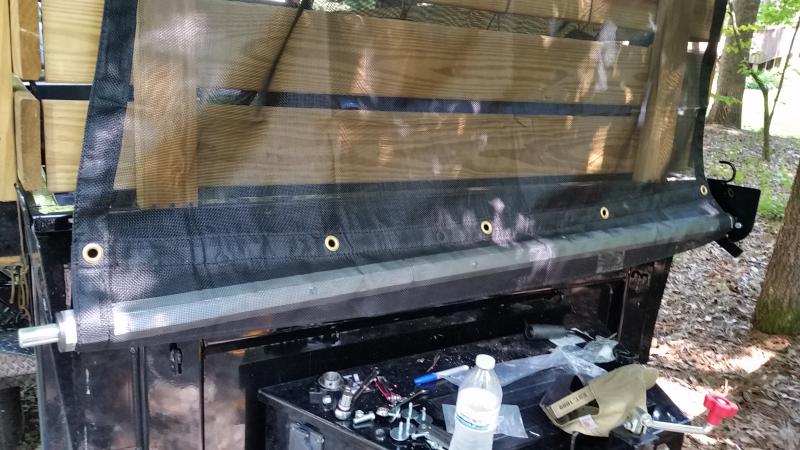
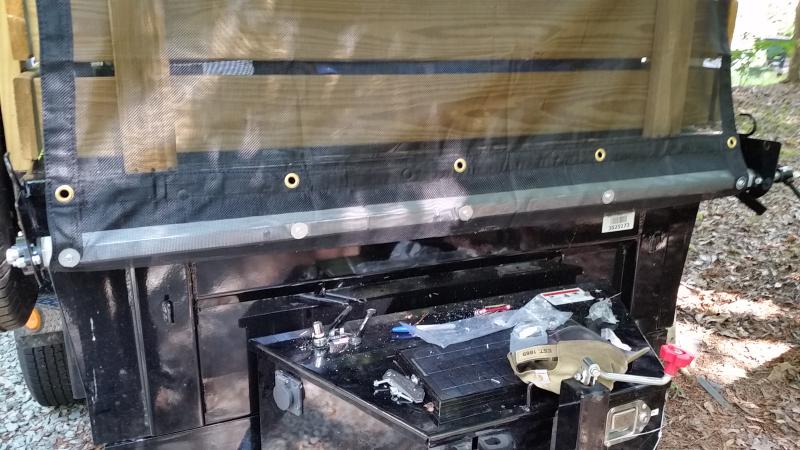
The roller gets threaded through the tarp end pocket
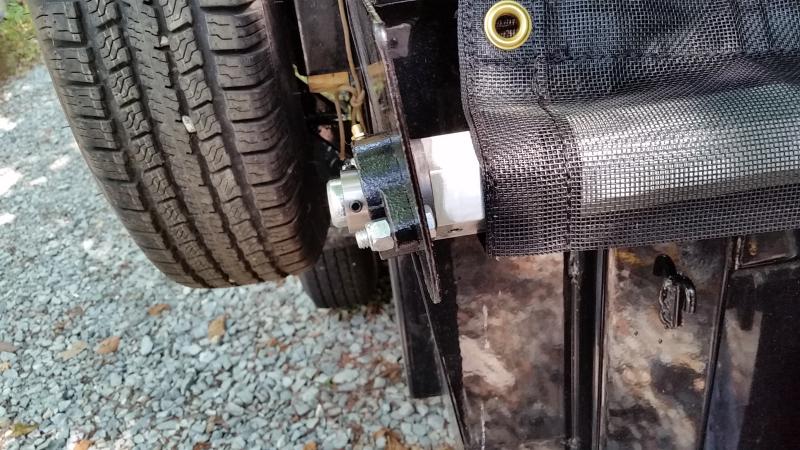
and the passenger side bearing installed. Note the angle between shaft & bearing housing. They are "self-adjusting" bearings that can shift the angle of the race in the mount.
Then more self tapping screws w/fender washers to bind the tarp to the roller.
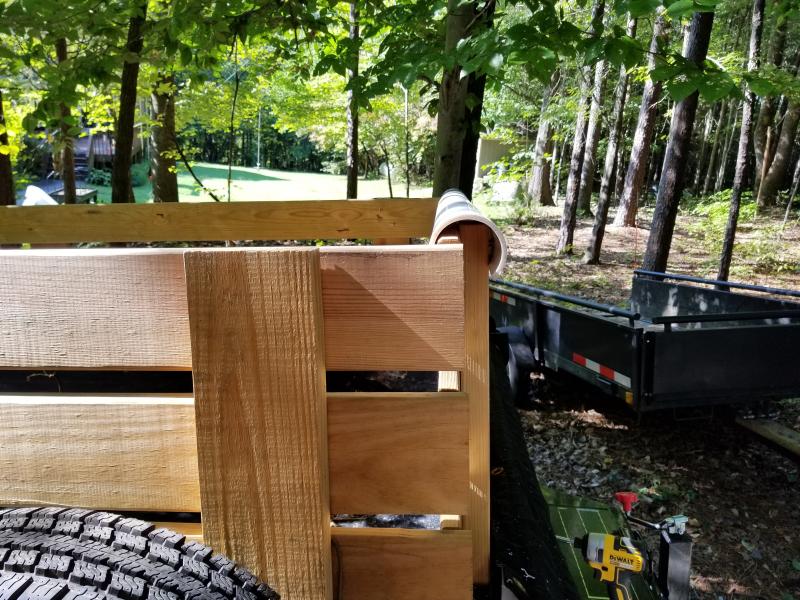
After getting trimmed to length, the anti-sail bar gets threaded through the smaller pocket at the far end of the tarp & caps secured with set screws.
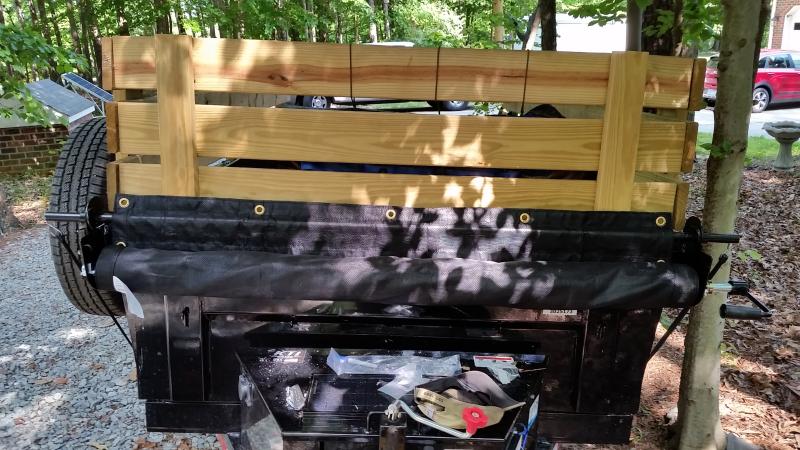
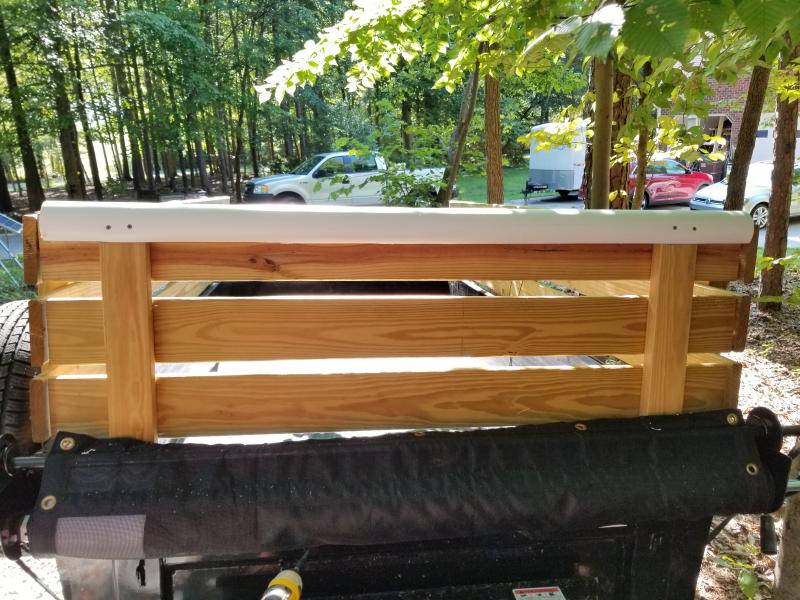
Last step was to wind up the tarp & secure the anti-sail bar in the front storage position.
All said, it was a pretty simple install with a few hand tools & is a lot easier to store, transport and use than a loose tarp & bungees.
Nick