Dump Trailer - start to finish

   / Dump Trailer - start to finish
  • Thread Starter
#11  
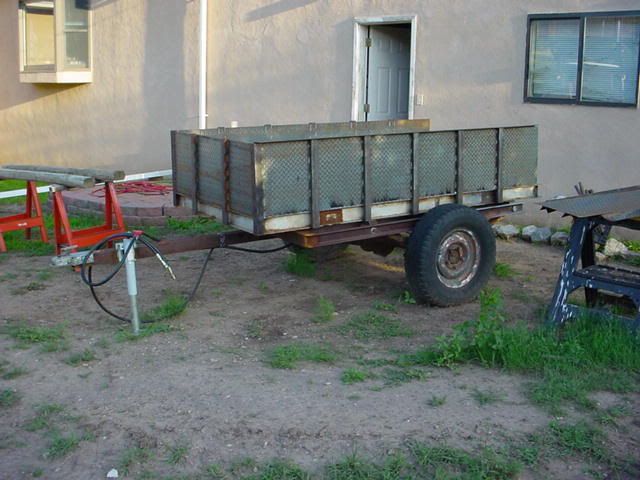
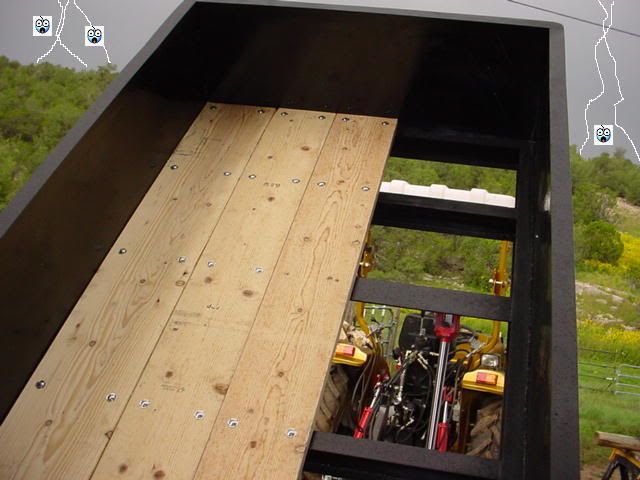
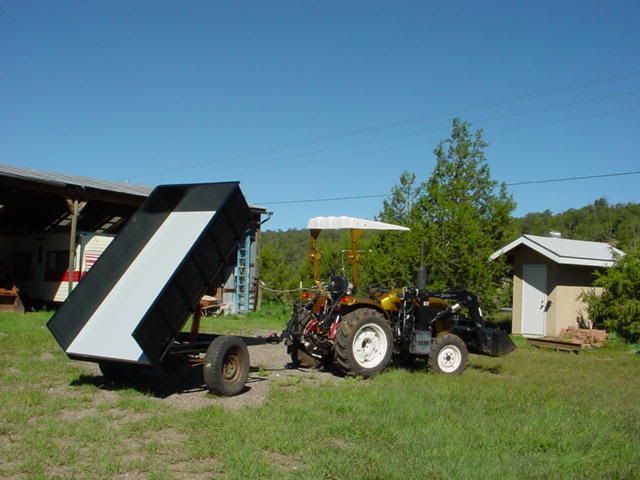
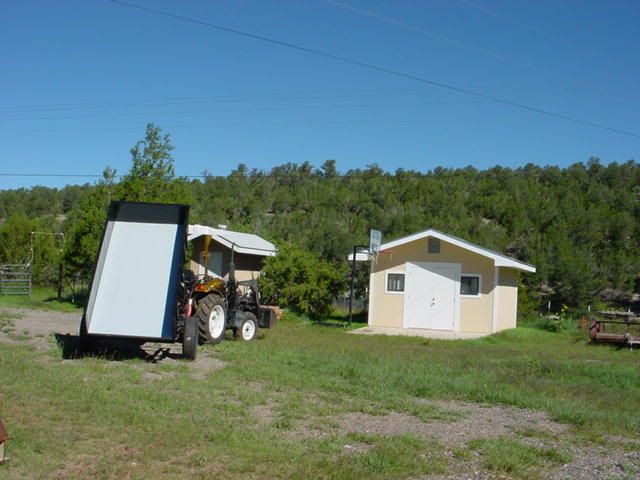
Here is what I got done today. The sides are on.
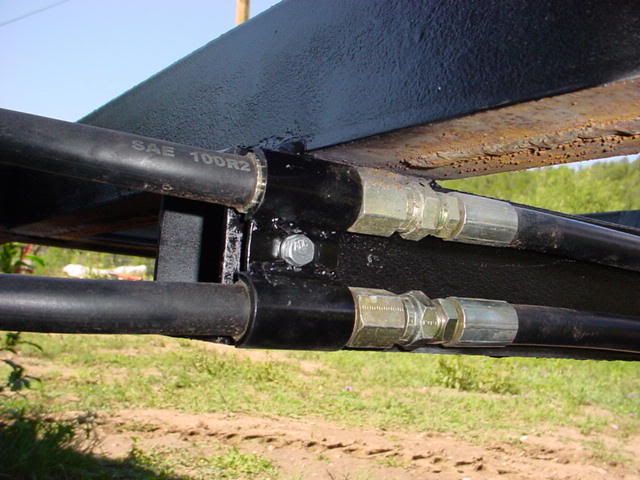
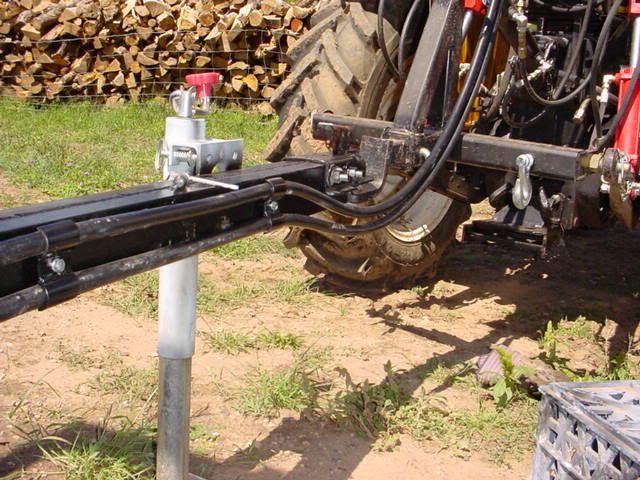
I still have some "engineering" and fabrication to do on the rear of the trailer where the tail gate is to be installed.
 
   / Dump Trailer - start to finish
  • Thread Starter
#12  
An over all shot from a little distance.


I will use 2"x12"'s for the decking and paint them gray.
They will be installed with 5/16" carriage bolts, with some fancy stainless steel square cut washers I found on-line. They are designed for carriage bolts & wood and the exact name of them is Stainless Steel Torque Washers
CLICK HERE To see them
 
   / Dump Trailer - start to finish
  • Thread Starter
#13  
The weather was finally nice today (Labor-day) and I got busy on the dump trailer project. Took the twisted wire wheel cup & the angle grinder to all the rust. Cleaned it up real nice. Then I primed it.
Here is a picture of the primed trailer.
As always you may click on the picture to enlarge.
 
   / Dump Trailer - start to finish
  • Thread Starter
#14  
It took about two hours of the wire wheel to get all the rust off to my satisfaction.
 
   / Dump Trailer - start to finish
  • Thread Starter
#15  
After the primer cured for about an hour I proceeded to paint it black.
I had 12 cans of black but ran short by about 2 cans. It will need two coats of black so I need to pick up some more paint next time I'm in town.
 
   / Dump Trailer - start to finish
  • Thread Starter
#16  
When painting the underside I used the tractor hydraulics to "dump" the trailer so that is was easy to get to the bottom of things.


I still have a few things left to do.
Finish the black paint & give it a second coat.
Pick up the lumber for the floor, Paint the lumber, install the floor.
Make some brackets to hold the hydraulic hoses.
Make the tail gate.
After I do the above items I am going to use it around the homestead.
Then next year I think I will make it "Street Legal" by adding some fenders and lights, get it weighed, inspected and get a license plate for it.
 
   / Dump Trailer - start to finish
  • Thread Starter
#17  
Worked on the dump trailer again today.
Finished all the painting, it now has two coats of Black.
The hydraulic hoses can now be attached to the tong. I needed to make the clamps. I scrounged around the shop and remembered I have a bunch of steel bushings. So I cut four of them in half (long ways)
This first pic is cutting the bushings in half. I have cut pipe before but not like shown in the picture. I didn't want my fingers any where near the blade so I came up with this crazy idea:

Here they are all cut in half along with the center piece with mounting hole drilled and ready to weld together:
 
   / Dump Trailer - start to finish
  • Thread Starter
#18  
Got them welded together, primed and painted.

Here is a close up of one installed, I used 1/4-20 bolts, Drilled & taped the tong to install the clamp.
 
   / Dump Trailer - start to finish
  • Thread Starter
#19  
I installed four clamps evenly spaced ~ 20" apart to hold the hydraulic hose so that it would not sag.

I picked up the lumber for the floor yesterday. I started to install it as the clouds were starting to build up in the sky (AGAIN) :mad:
I got 3 of the 5 planks drilled & carriage bolted on. Then as I was getting ready to cut the fourth board it was lightening all around me, real close :eek: . Then the sky let loose and the rains came down. So I scrambled to pick up all my tools and took the last shot of the day. Just as well, I was getting tired and hungry the Mrs. was ready to serve up dinner.
 
   / Dump Trailer - start to finish
  • Thread Starter
#20  
It finally stopped raining! Probably for the rest of the year.
I had a little time this past weekend to finish the floor on my dump trailer in between celebrated my Mom & Dad's 60th wedding anniversary. My sisters from Florida & Ohio were there as well as my brother from Albuquerque it was also a family reunion. Had a wonderful time.
Anyway I got all the floor boards installed, primed & painted machine tool gray.
In the background to the right you can see my "Solar Powered Outhouse". It's stuccoed to match the house :D
I say solar powered because I installed a solar charged "reading" light :cool:.

This shot includes the Motorcycle "shed" It's finished inside complete with sealed concrete floor, Smooth finished & painted Sheetrock walls and textured celling.

Next is to make some fenders, tail gate, and install some tail lights. I will do that at my leisure as it's time to go get more firewood for winter.
 

Tractor & Equipment Auctions

Unused 2025 CFG QNT50R Mini Excavator (A49461)
Unused 2025 CFG...
WHITE CI-7 DRAW WORKS POWERED BY TWIN DETROIT 12.7S (A50854)
WHITE CI-7 DRAW...
5th Wheel Dolly (A49461)
5th Wheel Dolly...
Oil Well Pump Jack with Motor (A49461)
Oil Well Pump Jack...
2001 KENWORTH T800 TRI AXLE TANKER TRUCK (A51222)
2001 KENWORTH T800...
SDLG WHEEL LOADER FORKS MAST W/ 48" FORKS (A51242)
SDLG WHEEL LOADER...
 
Top